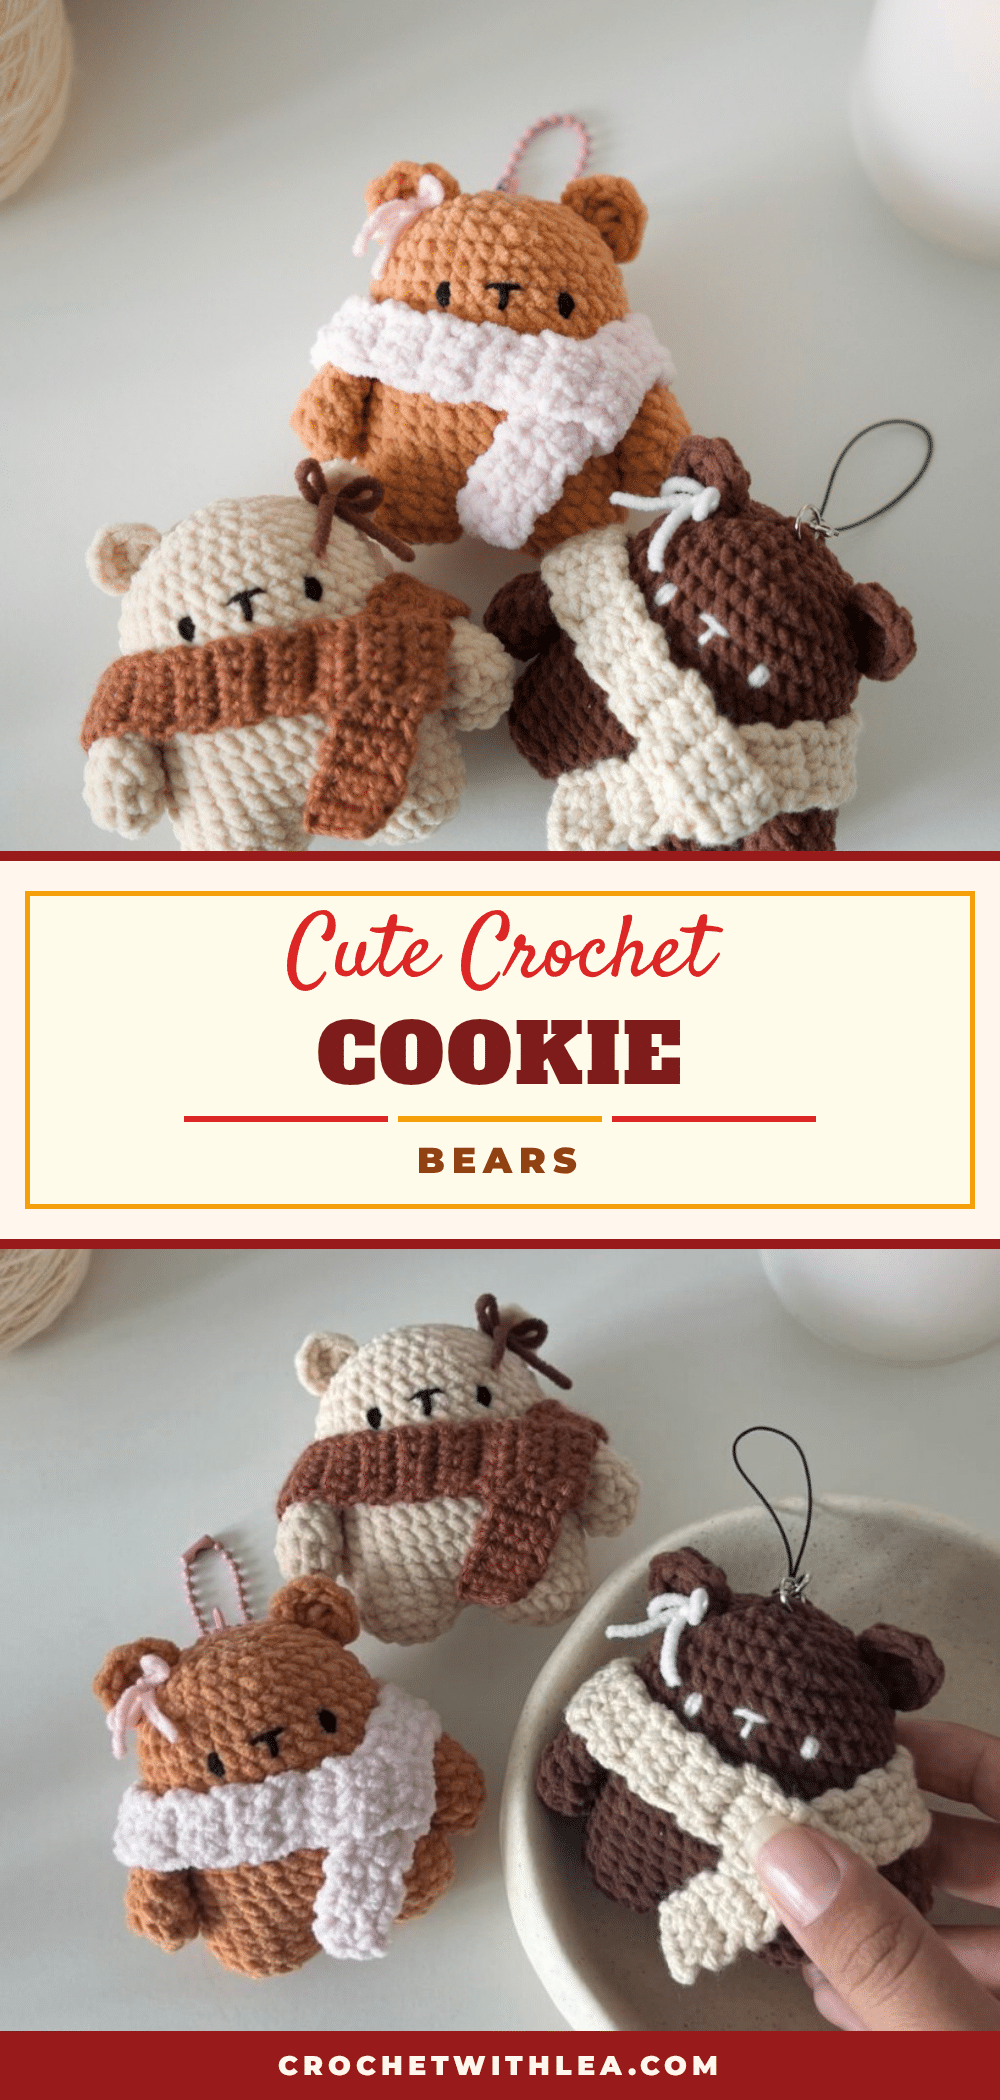
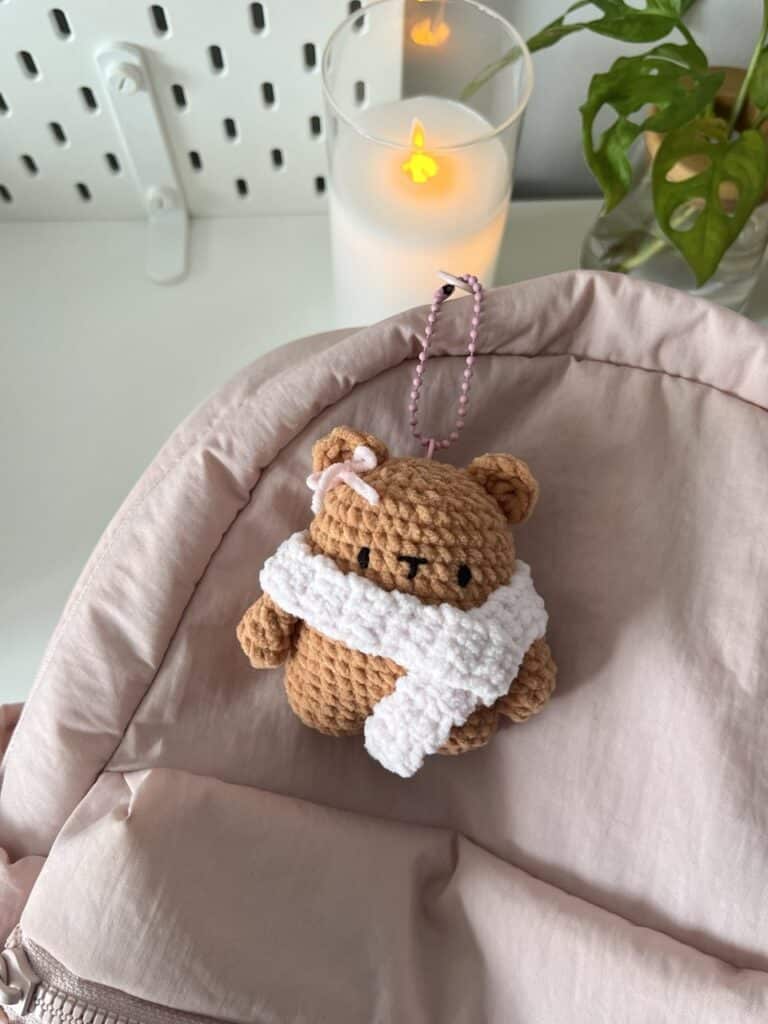
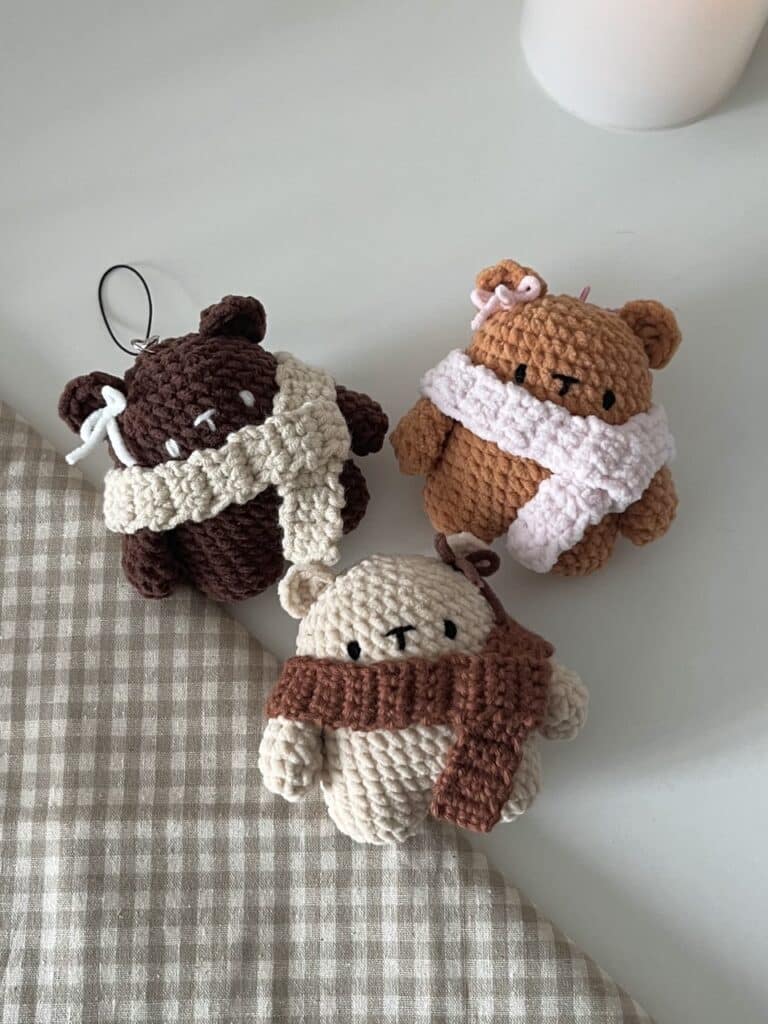
There is a specific magic in amigurumi that comes from the tactile experience of working in continuous rounds. It is the rhythm of the hook, the gradual expansion of the magic ring, and the satisfying way the fabric builds up stitch by stitch. With the Cookie Bear pattern, that texture is elevated by the choice of yarn. Whether you choose the cloud-like softness of chenille or the crisp definition of cotton, the shaping relies on precise increases and decreases to create that plump, inviting silhouette. The little details—the way the ears are tilted, the placement of the eyes, and the tiny scarf—transform simple stitches into a character full of personality.
Texture and Stitch Notes
This pattern is designed to be forgiving yet structured. The use of chenille yarn, while optional, adds a fuzzy halo that softens the individual stitches, giving the bear a plush, cookie-like appearance. If you prefer a sharper definition of your rounds, sports weight cotton or acrylic yarns work beautifully. The key to the “cookie bear” look lies in the stuffing. Ensure the body is firmly stuffed during the middle rounds (R8–R12) to maintain the round shape, but leave the head slightly softer to allow for the final decrease closure without creating hard ridges. The scarf adds a functional texture element that breaks up the smoothness of the body, providing a nice contrast in the final assembly.
Project Overview
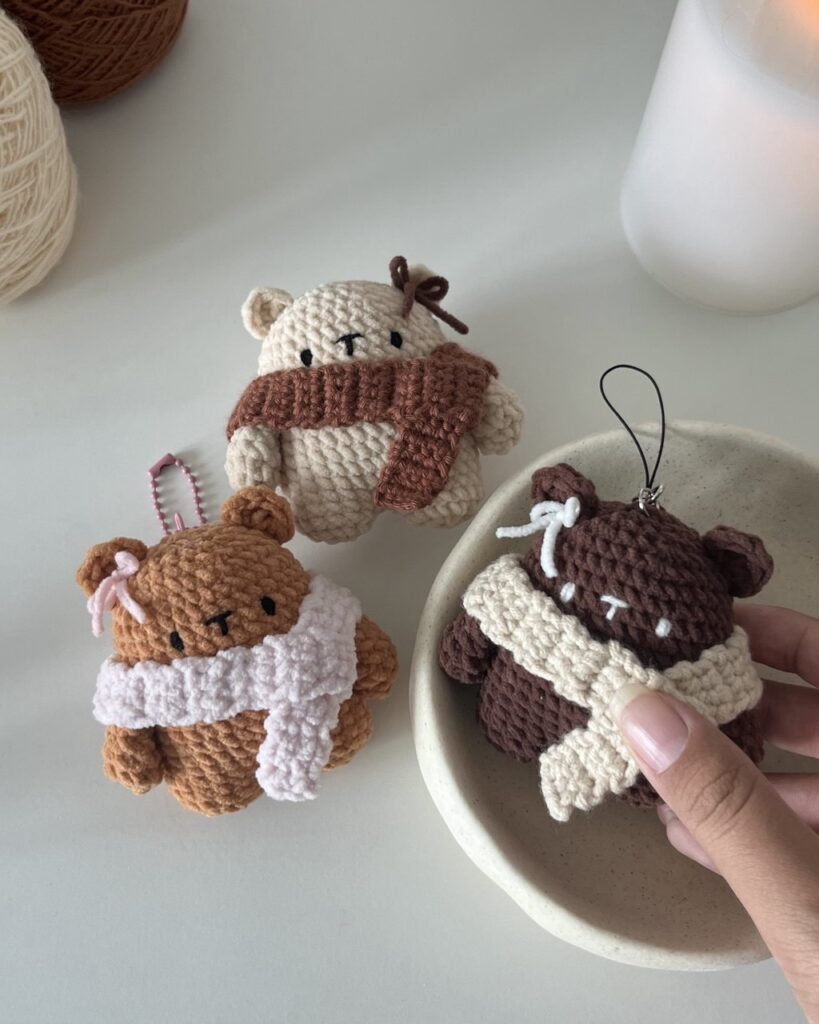
The Crochet Cookie Bear is a beginner-friendly amigurumi project that is quick to make, typically taking only an hour or two to complete. It features a chunky body, small hands, perky ears, and a tiny scarf accessory. The pattern is written in US terminology and is designed to be worked in continuous rounds without joining, which helps maintain a spiral effect common in amigurumi.
Materials
- Yarn: Thin Chenille yarn OR Cotton/Acrylic yarn (sports weight, 5ply) in any color you prefer.
- Crochet Hook: 3mm hook.
- Stuffing: Polyester fiberfill or stuffing materials.
- Tools: Stitch markers, darning needle, and scissors.
Gauge and Finished Size
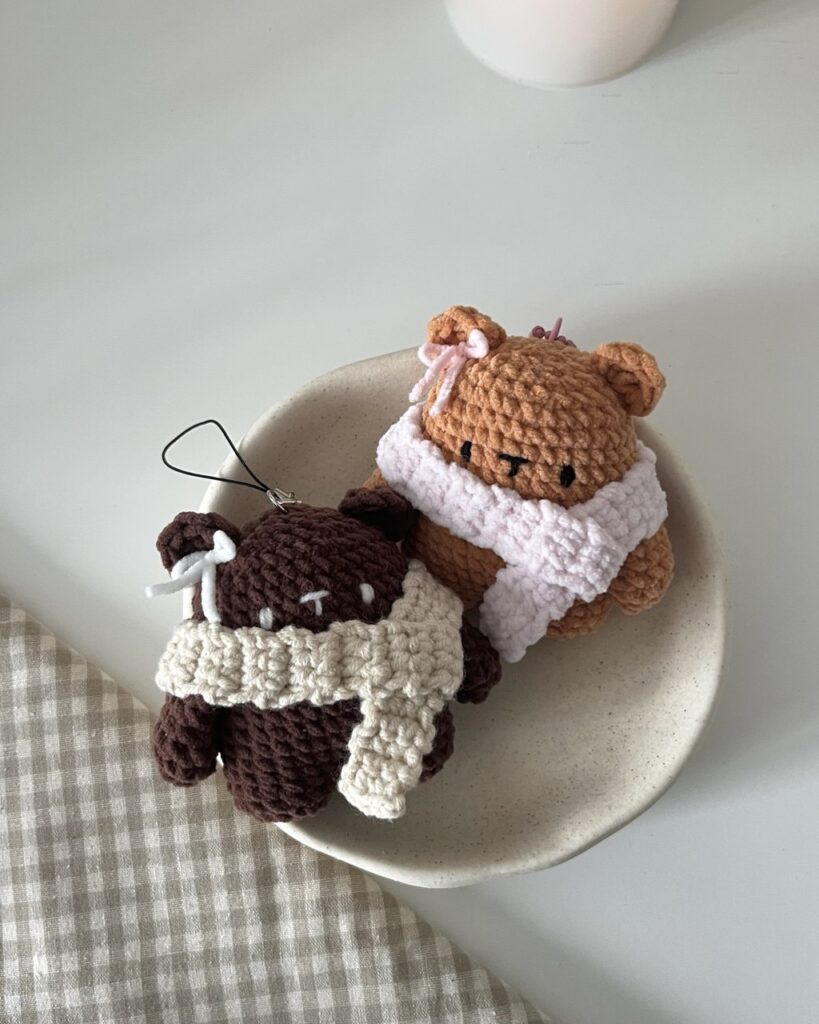
Gauge and finished measurements are not specified for this pattern. The size of the finished bear will depend on your tension and the specific weight of the yarn used. Using the recommended 3mm hook and sports weight yarn will yield the intended proportions.
Abbreviations
All abbreviations are in US terminology.
- R: round/row
- Ch: chain
- mr: magic ring
- st: stitch
- sc: single crochet
- dc: double crochet
- hdc: half double crochet
- inc: increase
- dec: decrease
- slst: slip stitch
- FLO: front loop only
- BLO: back loop only
- *: repeat
- []: total stitch count in each round/row
- sk: skip
Pattern Notes
- This pattern is for personal use only. You may sell finished items made from this pattern, but mass production or selling the pattern itself is not allowed.
- Stitch counts are provided in brackets
[]at the end of each round. - For complex assembly steps, such as joining legs or arms, visual tutorials are recommended to ensure correct placement.
Pattern Instructions
Hands (Make 2)
Start with a magic ring.
- R1: 8sc in mr [8]
- R2: (3sc, 1inc) *2 [10]
- R3–R6: 10sc (4 rounds) [10]
Close the hand by crocheting opposite sc together & cut the yarn!
Legs & Body (Worked Continuously)
Legs: Start with a magic ring.
- R1: 8sc in mr [8]
- R2: 8inc [16]
- R3: 16sc [16]
Joining Legs: In R4, join the two legs, starting at the 3rd sc of the 1st leg. (Refer to video tutorial for detailed explanation).
- R4: 16sc (on 1st leg), 16sc (on 2nd leg) [32]
- R5–R6: 32sc (2 rounds) [32]
- R7: (7sc, 1inc) *4 [36]
- R8–R12: 36sc (5 rounds) [36]
Joining Arms: In R13, join the arms by crocheting them together with the body. (Refer to video tutorial for detailed explanation).
- R13: 8sc, (4sc together with hand), 12sc, (4sc together with hand), 8sc [36]
- R14–R17: 36sc (4 rounds) [36]
- R18: (4sc, 1dec)*6 [30]
- R19: (3sc, 1dec)*6 [24]
- R20: (2sc, 1dec)*6 [18]
- R21: (1sc, 1dec)*6 [12]
- R22: 6dec [6]
Cut the yarn and close the body. (Refer to video tutorial to see how to close!).
Ears (Make 2)
Start with a magic ring.
- In mr, 2ch, 1hdc, 2dc, 1hdc, 2ch, 1slst
Cut the yarn leaving a long tail for sewing.
Scarf
Start with a slip knot and make 4ch.
- R1: Starting from 2nd ch from the hook, 3sc [3]
- R2–R9: Ch1 & turn, 3sc (8 rows) [3]
- R10: Crochet R9 and bottoms of each ch of R1 together to create a loop; 3sc [3]
- R11–R40: Ch1 & turn, 3sc (30 rows) [3]
Cut the yarn and weave in the ends!
Assembly
- Eyes: Embroider the eyes on R15 of the body with 6sc apart between the two eyes.
- Ears: Sew the ears across R18 to R20 slightly tilted.
- Scarf: Tie a mini bow slightly below one ear using the scarf piece.
- Stuff the body firmly before closing the final hole in R22.
Tips
- Video Tutorial: For the most effective and time-saving process, especially for joining legs and arms, open the accompanying video tutorial as you crochet along.
- Yarn Choice: Chenille yarn is excellent for hiding stitch definition, creating a smooth, plush look. If you want to see your stitch work clearly, use cotton or acrylic.
- Stitch Markers: Always use a stitch marker to keep track of the beginning of each round, especially when joining components.
FAQs
1. What yarn is best for this pattern?
The pattern recommends thin chenille yarn for a plush, fuzzy look, but sports weight cotton or acrylic yarns work well if you prefer a tighter stitch definition.
2. How do I join the legs correctly?
In R4, you join the two legs by starting at the 3rd stitch of the first leg. It is highly recommended to watch the video tutorial for this step to ensure the legs are aligned properly.
3. Where should I place the eyes?
The eyes should be embroidered on R15 of the body, with 6 single crochets apart between the two eyes.
4. How do I make the scarf?
The scarf is a small rectangular piece worked back and forth in rows of 3sc, then joined at R10 to form a loop before continuing in rows to create the length.
5. Can I sell finished Cookie Bears?
Yes, you are welcome to sell finished items made from this pattern for personal use, but mass production and selling the pattern itself are not allowed.
Pin This Crochet Pattern!