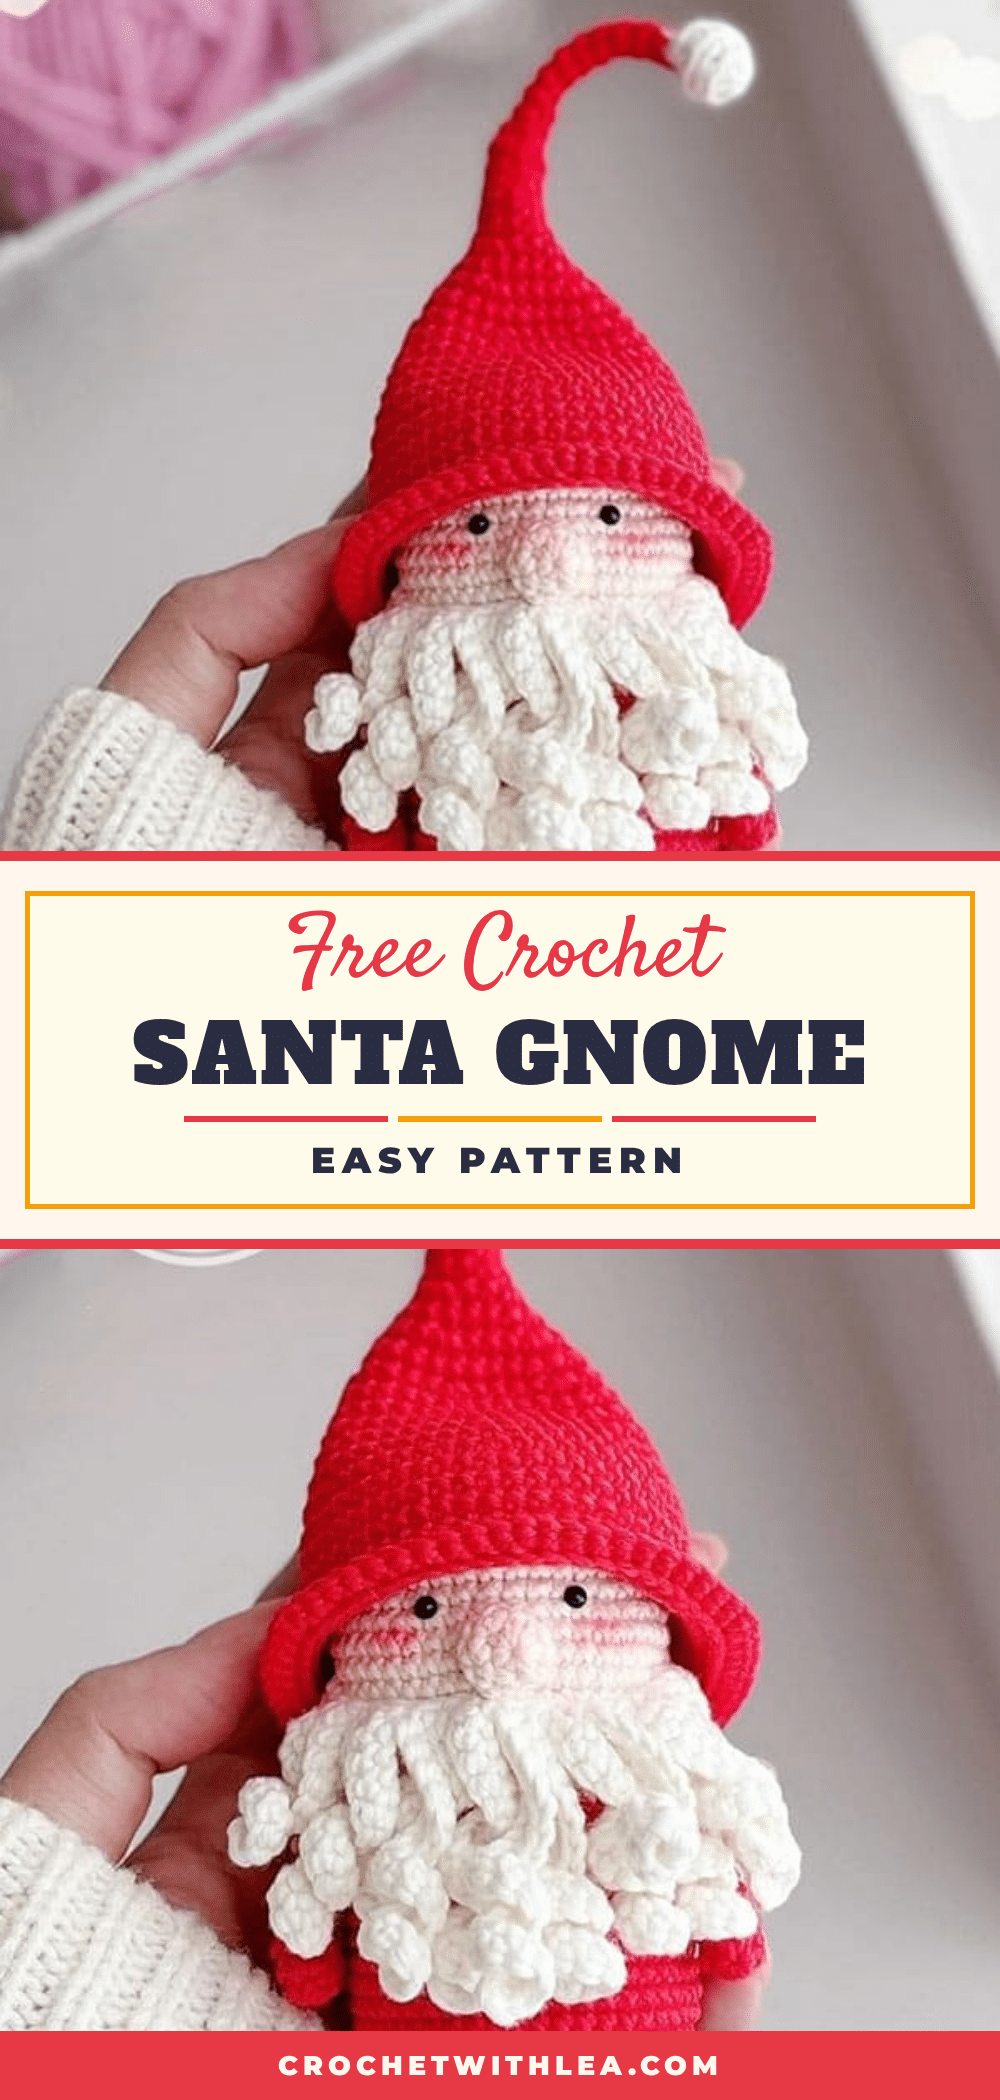
There is something deeply satisfying about the rhythmic click of the hook and the way yarn transforms into a three-dimensional form. This Cute Crochet Santa Gnome Amigurumi Pattern captures that joy perfectly. The design relies on precise shaping, moving seamlessly from the rounded head into the body, with distinct color changes that define the classic Santa look. The texture of the single crochet stitches builds a sturdy yet soft structure, while the intricate beard adds a playful, fluffy dimension that makes this little guy stand out on your holiday mantel.
Texture and Stitch Notes
One of the most charming aspects of this pattern is the beard. Unlike a typical amigurumi face, this gnome features a large, cascading beard made from a foundation chain with multiple loops of single crochet. This technique creates a dense, textured fringe that mimics the look of a fluffy white beard. When working the hat, pay close attention to the Front Loop Only (FLO) rounds; this subtle stitch change creates a defined ridge that helps the hat sit securely on the gnome’s head. The body’s color blocking—using white and red stripes—adds a festive visual rhythm, while the smooth skin tone of the face provides a clean contrast.
Project Overview
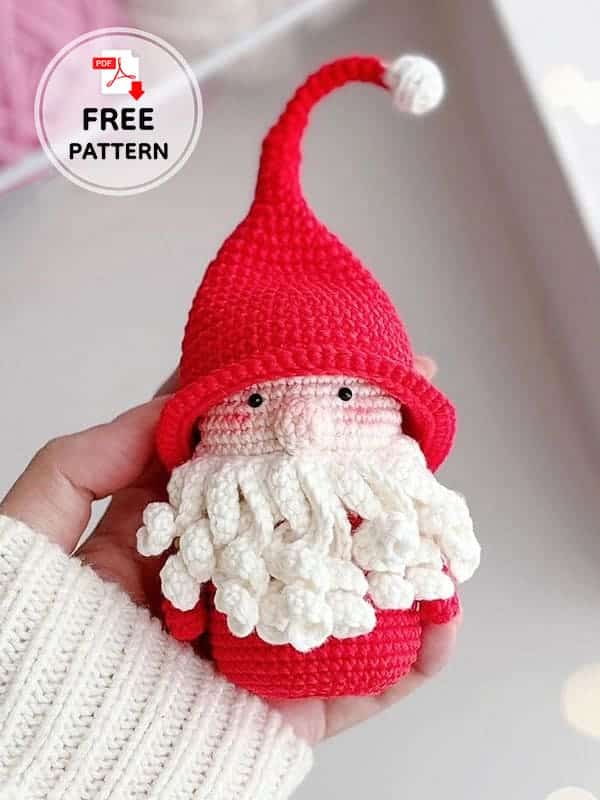
This free crochet gnome pattern is a Christmas-themed amigurumi project. It is designed to be made quickly, making it perfect for holiday crafting sessions. The pattern begins with the head and body worked in one continuous piece, followed by separate components for the arms, hat, and beard. The assembly is straightforward, involving sewing the facial features and attaching the hat and beard to complete the character.
Materials
While specific yarn weights and hook sizes are not provided in the source data, you will need yarn in the following colors:
- Skin tone yarn
- White yarn
- Red yarn
You will also need:
- Safety eyes
- Fiberfill stuffing
- Yarn needle for assembly
Gauge and Finished Size
Specific gauge measurements and finished size dimensions are not provided in the source pattern. The size will depend on the yarn weight and hook size used.
Abbreviations
The following standard crochet abbreviations are used:
- sc: Single crochet
- inc: Increase (2 sc in the same stitch)
- dec: Decrease (2 sc together)
- MR: Magic Ring
- slst: Slip stitch
- BLO: Back Loop Only
- FLO: Front Loop Only
- ch: Chain
Pattern Notes
The head and body are crocheted in one continuous piece. Color changes are integrated directly into the rounds. Safety eyes are inserted between rounds 11 and 12. The beard is constructed using a chain foundation with multiple loops of single crochet worked into the chain.
Pattern Instructions
Head & Body
Start with Skin tone.
- Rnd 1: 7 sc in MR (7)
- Rnd 2: 7 inc (14)
- Rnd 3: [sc, inc] x 7 (21)
- Rnd 4: [2 sc, inc] x 7 (28)
- Rnd 5: sc, inc, [3sc, inc] x 6, 2 sc (35)
- Rnd 6: [4sc, inc] x 7 (42)
- Rnd 7-11: (5 rounds) 42 sc (42). Insert the safety eyes between rounds 11&12, 7 sts apart.
- Rnd 12: 12 sc, inc, [3 sc, inc] x 4, 13 sc (47)
- Rnd 13: 23 sc, inc, 23 sc (48)
- Rnd 14-16: (3 rnds) 48 sc (48)
- Rnd 17: 23 sc, dec, 23 sc (47)
- Rnd 18: 12 sc, dec, [3 sc, dec] x 4, 13 sc (42)
- Rnd 19: 12 sc, dec, [6 sc, dec] x 2, 12 sc (39)
- Switch to white.
- Rnd 20: [12 sc, inc] x 3 (42)
- Rnd 21: 42 sc (42)
- Switch to red.
- Rnd 22-23: (2 rnds) 42 sc (42)
- Switch to white.
- Rnd 24-25: (2 rnds) 42 sc (42)
- Switch to red.
- Rnd 26: [5 sc, inc] x 7 (49)
- Rnd 27-32: (7 rnds) 49 sc (49)
- Rnd 33: [5 sc, dec] x 7 (42)
- Rnd 34: [5 sc, dec] x 6 (36)
- Rnd 35: [4 sc, dec] x 6 (30)
- Rnd 36: BLO [sc, dec] x 10 (20)
- Rnd 37: 10 dec (10). Cut the yarn. Close the remaining gap. Hide your yarn tail.
Nose
With skin tone yarn.
- Rnd 1: 6 sc in MR (6)
- Rnd 2: [sc, inc] x 3 (9)
- Rnd 3: 9 sc, slst (9). Cut the yarn. Leave a long tail for sewing.
Arm (make two)
With red and white yarn. Start with red.
- Rnd 1: 6 sc in MR (6)
- Rnd 2: [sc, inc] x 3 (9)
- Rnd 3: 9 sc (9)
- Rnd 4: 2 sc, dec, 3 sc, dec (7). Switch to white.
- Rnds 7 & 10 are crocheted with red.
- Rnd 5-12: (8 rnds) 7 sc (7). Cut the yarn. Leave a long tail for sewing.
Hat
With white and red yarn. Start with white.
- Rnd 1: 5 sc in MR (5)
- Rnd 2: 5 inc (10)
- Rnd 3: 10 sc (10)
- Rnd 4: 5 dec (5). Switch to red yarn.
- Rnd 5-11: (7 rnds) FLO 5 sc (5)
- Rnd 12: 4 sc, inc (6)
- Rnd 13: [sc, inc] x 3 (9)
- Rnd 14: 9 sc (9)
- Rnd 15: [2 sc, inc] x 3 (12)
- Rnd 16: 12 sc (12)
- Rnd 17: [sc, inc] x 6 (18)
- Rnd 18: 18 sc (18)
- Rnd 19: [2 sc, inc] x 6 (24)
- Rnd 20: 20 sc (20)
- Rnd 21: [3 sc, inc] x 6 (30)
- Rnd 22: 30 sc (30)
- Rnd 23: [4 sc, inc] x 6 (36)
- Rnd 24: 36 sc (36)
- Rnd 25: [5 sc, inc] x 6 (42)
- Rnd 26: 42 sc (42)
- Rnd 27: [6 sc, inc] x 6 (48)
- Rnd 28: [7 sc, inc] x 6 (54)
- Rnd 29-31: (3 rnds) 54 sc (54)
- Rnd 32: [8 sc, inc] x 6 (60)
- Rnd 33-34: (2 rnds) 60 sc (60)
- Rnd 35: [9 sc, inc] x 6 (66). Cut the yarn. Hide yarn tail.
Beard
With white yarn.
- Rnd 1: main ch 28, 10 sc on chain, [[ch 15, 14 sc on chain], slst on main ch] x 2, [[ch 18, 17 sc on chain], slst on main ch] x 3, [[ch 25, 24 sc on chain], slst on main ch] x 4, [[ch 18, 17 sc on chain], slst on main ch] x 3, [[ch 15, 14 sc on chain], slst on main ch] x 2, [ch 11, 10 sc on chain], slst on main ch. Cut the yarn. Leave a long yarn tail for sewing.
Assembly
- Insert the safety eyes between rounds 11&12, 7 sts apart.
- Stuff the head and body firmly, then close the remaining gap at the bottom of the body.
- Sew the nose onto the face.
- Sew the arms to the sides of the body.
- Sew the hat onto the top of the head.
- Sew the beard below the nose and mouth area.
Tips
- When working the beard, ensure the slip stitches on the main chain are secure to prevent the loops from unraveling.
- Use the long tails left on the nose, arms, hat, and beard for neat sewing.
- Blocking the beard after assembly can help it lay flatter and look more uniform.
FAQs
What type of yarn is best for this pattern?
The source pattern does not specify a yarn weight. However, for amigurumi, a worsted weight (Category 4) acrylic or wool blend is commonly used for its durability and stitch definition.
How do I attach the beard?
The beard is attached using the long yarn tail left at the end of the pattern. Sew the top edge of the beard to the face, just below where the nose is attached, ensuring it covers the lower part of the face symmetrically.
Can I use a different color for the hat?
Yes, you can customize the hat colors. The pattern uses white and red, but you could use green and white, or any other holiday-themed color combination.
How do I handle the FLO rounds in the hat?
Front Loop Only (FLO) rounds are used in the hat to create a defined ridge. Work only into the front loop of each stitch for the specified rounds to create this structural detail.
Is this pattern suitable for beginners?
This pattern involves basic amigurumi stitches (sc, inc, dec) and color changes. The beard construction is unique but follows a clear sequence. It is suitable for crocheters with basic amigurumi experience.
Pin This Crochet Pattern!