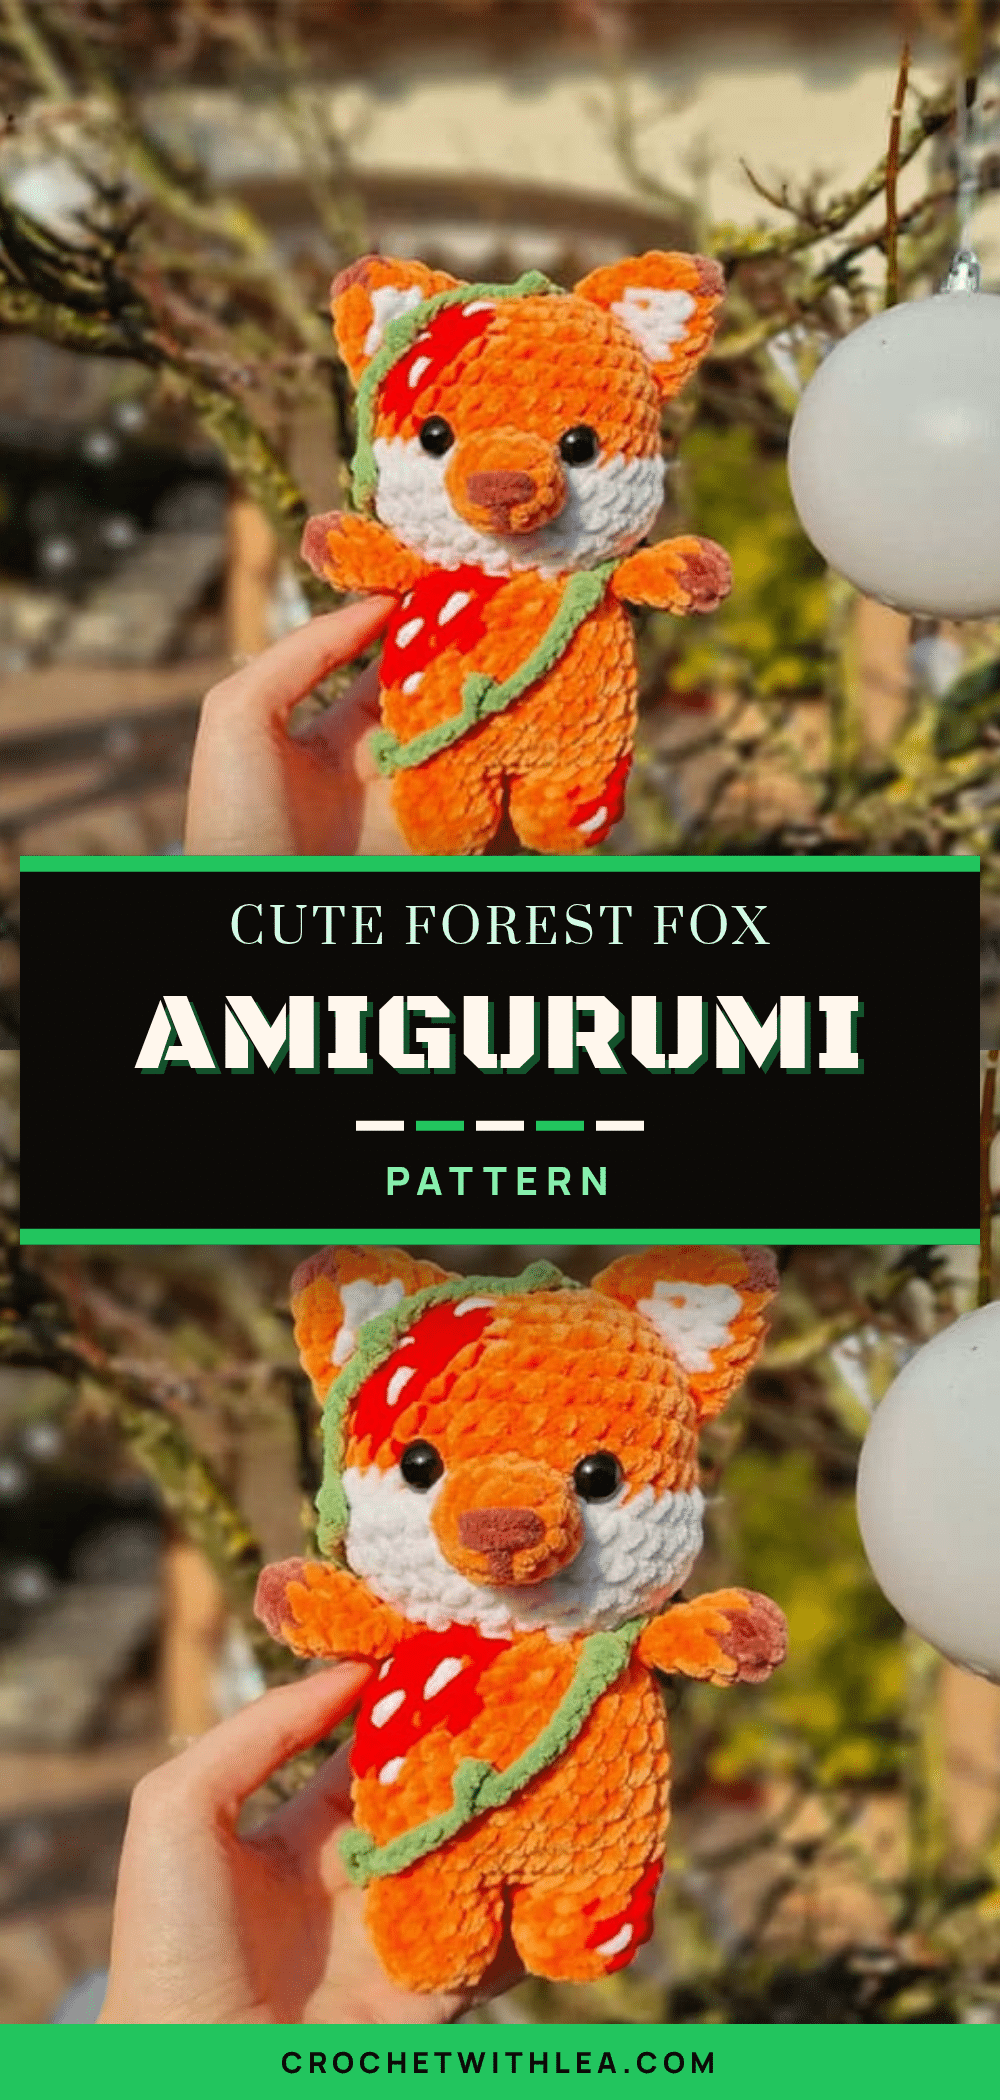
There is something undeniably magical about holding a finished amigurumi that looks like it just stepped out of a storybook. This cute forest fox amigurumi is the perfect blend of squishy, display-worthy, and giftable. With its soft chenille texture and whimsical mushroom-inspired details, it is a project that brings an immediate smile to the face of anyone who sees it. Whether you are looking for a cozy companion for your shelf or a unique handmade gift, this sweet fox is ready to become your new favorite creation.
Why the Finished Piece Stands Out
What truly makes this forest fox special is the thoughtful design choices that elevate it from a standard animal pattern to a character with personality. The use of chenille yarn gives the finished piece a velvety, tactile appeal that is incredibly satisfying to touch. The pattern incorporates a unique “strawberry pattern” effect on the body through strategic color changes, mimicking the look of mushroom spots, which ties beautifully into the forest theme. Additionally, the optional ivy leaf accents add a layer of intricate detail that makes the fox feel like a living part of its woodland environment. It is a project that rewards patience with a high-end, boutique look.
Project Overview
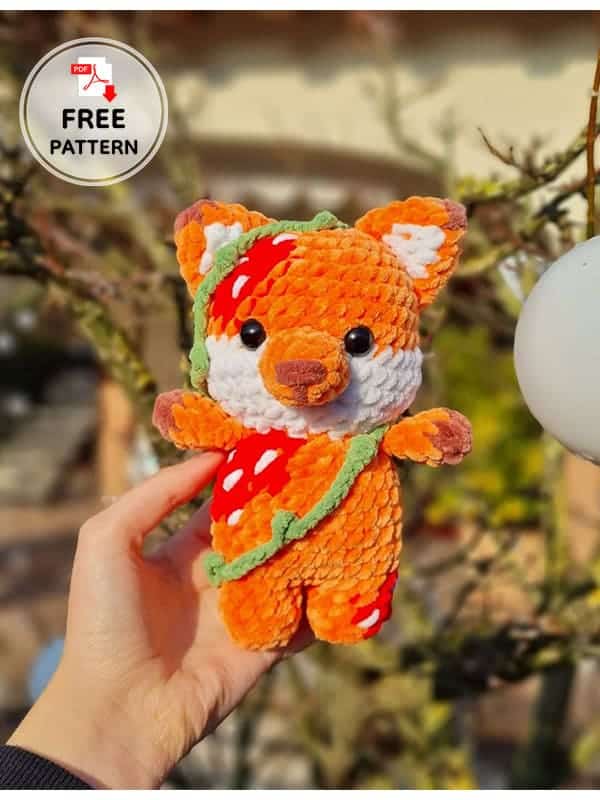
This free amigurumi pattern creates a charming forest fox featuring a soft chenille body, mushroom-inspired color blocking, and optional ivy leaf accents. Designed by eliyarnart, this project utilizes two different hook sizes to achieve the right structure for the body and the delicate leaves. The fox is constructed using standard amigurumi techniques with color changes to create the distinctive red and orange patterns.
Materials
- Yarn:
- Orange chenille size 4 medium
- Red chenille size 4 medium
- White chenille size 4 medium
- Green chenille size 3 light (for leaves)
- Brown yarn (for arms and ears)
- Hook: 5mm (for the body) and 3.5mm (for the leaves)
- Accessories: 12mm safety eyes, stuffing, tapestry needle, stitch markers, scissors
Gauge and Finished Size
Specific gauge and finished size measurements are not provided in the source pattern. Because chenille yarn can vary in thickness and tension, it is recommended to check your hook size against your yarn label and adjust if your stitches feel too tight or loose. The final size will depend on your personal tension and the amount of stuffing used.
Abbreviations
The following abbreviations are used in this pattern:
- R- round
- MR- magic ring
- st- stitch
- sc- single crochet
- ch- chain
- hdc- half double crochet
- dc- double crochet
- slst- slip stitch
- inc- increase
- dec- decrease
- FO- fasten off
- cc- color change
- BLO- back loop only
Pattern Notes
- This pattern is completely free and designed to be beginner-friendly with detailed steps.
- The fox features a soft texture due to the chenille yarn.
- The body includes a strawberry-like pattern created by color changes.
- Ivy leaves are included in the pattern but are optional; you may omit them if desired.
- Detailed photos are recommended to follow the color changes and assembly steps accurately.
Pattern Instructions
Head
Use orange yarn:
- R1. 8 sc in a mr (8)
- R2. 8 inc (16)
- R3. (sc,inc)x8 (24)
- R4. inc, 3sc, inc, 2sc, cc to red sc, inc, 2sc, cc to orange sc, (inc,3sc)x3 (30)
- R5. 2sc, inc, 4sc, inc, cc to red 4sc, inc, sc, cc to orange 3sc, (inc,4sc)x2, inc, 2sc (36)
- R6. 11sc, cc to red 5sc, cc to orange 20 sc (36)
- R7. 11sc, cc to red 4sc, cc to orange 21 sc (36)
- R8. 12sc, cc to red 2sc, cc to orange 22 sc (36)
- R9. 36 sc (36)
- R10. cc to white and make 9 sc, 3 inc, 12 sc, 3 inc, 9 sc (42)
- R11. (5sc,dec)x6 (36)
- R12. (4sc,dec)x6 (30)
- R13. (3sc,dec)x6 (24)
- R14. (4sc,dec)x4 (20)
Cut yarn, FO with invisible join. Insert safety eyes on R9-10, 4 visible sts apart. Add fiber fill, stuff a lot to get a rounded face and paying attention to filling the cheeks.
Body
Start with orange yarn:
- R1. 5 sc in a mr (5)
- R2. 5 inc (10)
- R3. BLO 3sc, cc tored 4sc, cc to orange 3 sc (10)
- R4. 4sc, cc to red 4sc, cc to orange 2 sc (10)
Cut yarn and FO with an invisible join.
Make another leg: Use orange yarn:
- R1. 5sc in a mr (5)
- R2. 5 inc (10)
- R3. BLO: 10 sc (10)
- R4. 10 sc (10), this time don’t cut yarn and ch2.
- R5. Insert the hook in any of the first leg sts and make 4sc, cc to red 3sc, cc to orange 3sc, 2 sc in the 2ch, 10 sc, 2 sc in the 2ch (24).
- R6. 2sc, inc, sc, cc to red 2sc, 2 sc, inc (5sc,inc)x2, 3 sc (28)
- R7-9. 28 sc (28) (3 rounds)
- R10. 19sc, cc to red 4sc, cc to orange 5 sc (28)
- R11. 18sc, cc to red 6sc, cc to orange 4 sc (28)
- R12. 16sc, cc to red 8sc, cc to orange 4 sc (28)
- R13. dec, (5sc,dec)x2, cc to red 5sc, sc, cc to orange 4sc (24)
Start stuffing as you go, when you stuff the feet remember to keep them flat.
- R14. (4sc,dec)x2, cc to red dec, 4 sc, dec , cc to orange 4 sc (20)
Finish stuffing. Cut yarn leaving a long tail for sewing.
Arms (make 2)
Start with brown yarn:
- R1. 4 sc in a MR (4)
- R2. 4 inc (8)
- Cc to orange yarn: R3-5. 8 sc (8) – 3 rounds.
- R6. Fold the Arm and close it making 3/4sc (3/4) – don’t stuff the arm.
Cut yarn leaving a long tail.
Ears (make 2)
Start with brown yarn:
- R1. 5 sc in a MR (5)
- R2. cc to orange sc, 4 inc (9)
- R3. sc, cc to white inc, cc to orange sc, inc, 4sc, inc (12)
- R4. sc, cc to white, 3 sc, cc to orange 8 sc (12)
- R5. sc, cc to white sc, inc, sc, cc to orange sc, inc, 5sc, inc (15)
Cut yarn leaving a long tail for sewing.
Snout
Use orange yarn:
- R1. 5 sc in a mr (5)
- R2. 5 inc (10)
- R3. sc, inc, 8 sc (11)
Cut yarn leaving a long tail for sewing.
Tail
Start white yarn:
- R1. 7 sc in a mr (7)
- R2. 7 sc (7)
- R3. dec, sc, 3inc, sc (9)
- R4. 9 sc (9)
- R5. dec, sc, 5inc, sc (13)
- Cc to orange: R6. 13 sc (13)
- R7. dec, 2sc, 5inc, 2sc, dec (16)
- R8. 16 sc (16)
- R9. (2sc,dec)x4 (12)
- R10. (sc,dec)x4 (8)
Cut yarn leaving a long tail for sewing and stuff.
Leaves
Use a 3.5mm hook and green yarn:
- ch 6 starting in the 2nd ch from the hook make hdc, sc, (ch10 starting in the 2nd ch from the hook make hdc,sc)x12.
Cut yarn and leave a long tail for sewing.
Assembly
- Sew the head to the body.
- Sew ears between R3-7.
- Sew arms between R13-14.
- Sew snout between R9-11 and stuff it while sewing.
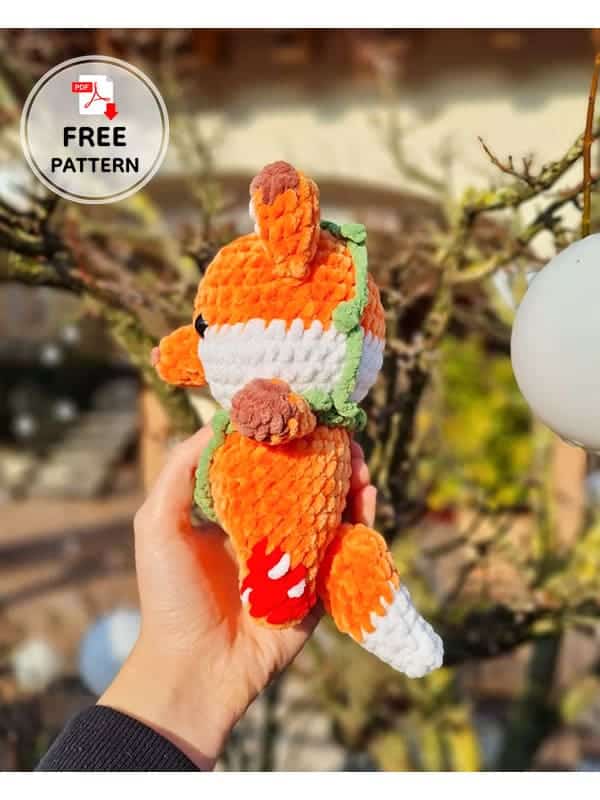
- Sew tail on R7-8 in the center.
- Sew the white dots in the red mushroom spots.
- Sew the leaves: Start behind down the tail, then up to the front, to the back again around the neck, going up in front of the ear and down to the back of the head.
- Sew the nose using brown yarn.
Tips
- Eye Placement: Insert safety eyes on R9-10, 4 visible sts apart.
- Stuffing: Add fiber fill generously to get a rounded face, paying special attention to filling the cheeks.
- Feet: Start stuffing as you go, but remember to keep the feet flat when stuffing.
- Arms: Do not stuff the arms; fold and close them as instructed.
- Snout: Sew the snout between R9-11 and stuff it while sewing to ensure it holds its shape.
FAQs
Can I make this fox without the leaves?
Yes, the ivy leaves are completely optional. You can omit them if you prefer a simpler look or if you are short on green yarn.
What type of yarn is best for this pattern?
The pattern specifically calls for chenille yarn to achieve the soft, velvety texture. Size 4 medium yarn is recommended for the body, and size 3 light for the leaves.
How do I handle the color changes?
Use the “cc” (color change) instruction to switch yarns. The pattern includes specific rounds where you change to red, orange, or white to create the mushroom-like spots and facial features.
Why are two different hook sizes used?
A 5mm hook is used for the body and head to create a sturdy structure, while a smaller 3.5mm hook is used for the leaves to create tighter, more defined stitches for the delicate ivy.
How do I keep the feet flat?
When stuffing the body, avoid overstuffing the leg areas. Stuff the body firmly but leave the feet relatively flat so they can stand or sit properly when assembled.
Pin This Crochet Pattern!