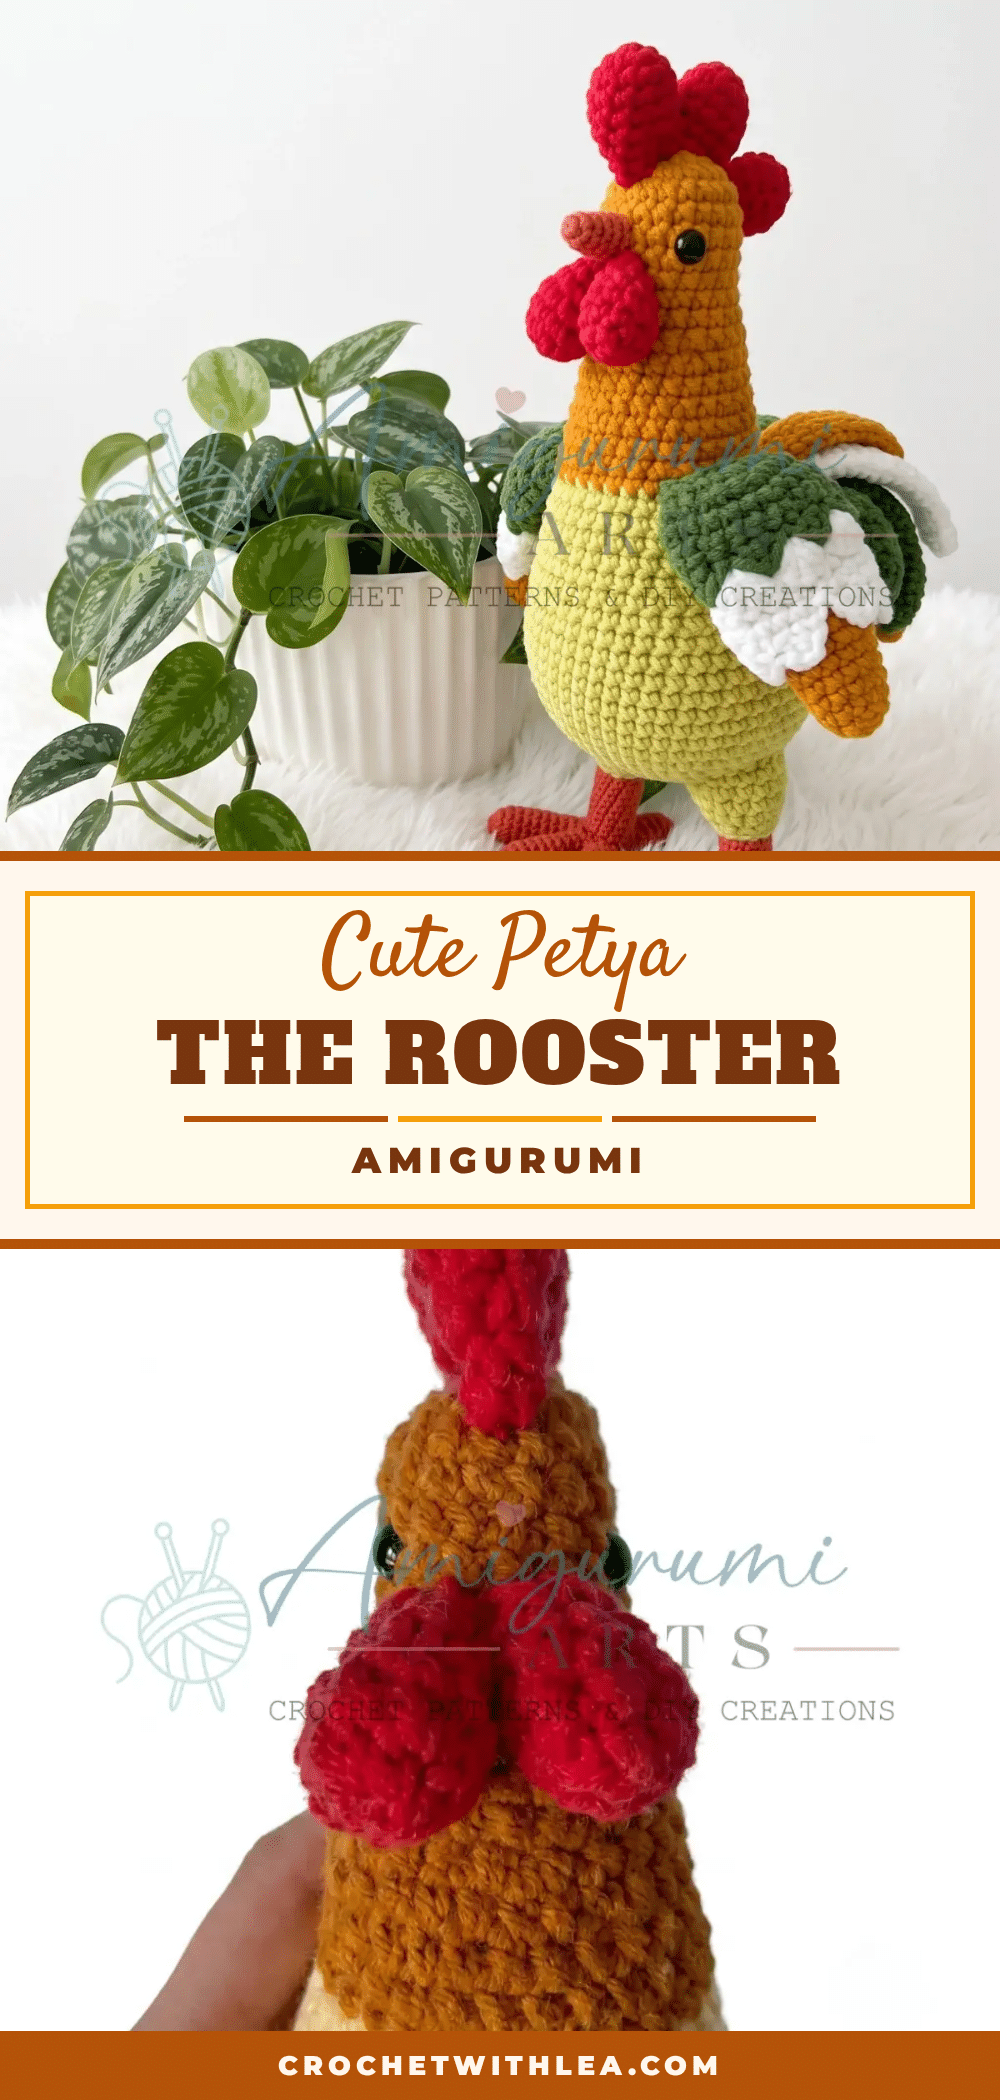
There is something deeply soothing about the rhythm of amigurumi. A quiet evening, a small batch of yarn, counting stitches, and a relaxing repeat. This is the perfect backdrop for bringing Petya the Rooster to life. As you work through the continuous spirals and shape his plump body, you will find that the repetitive nature of the single crochet stitches allows your mind to wander while your hands create something tangible and bright. It is a ritual that transforms simple yarn into a character full of personality.
Small Details That Make It Better
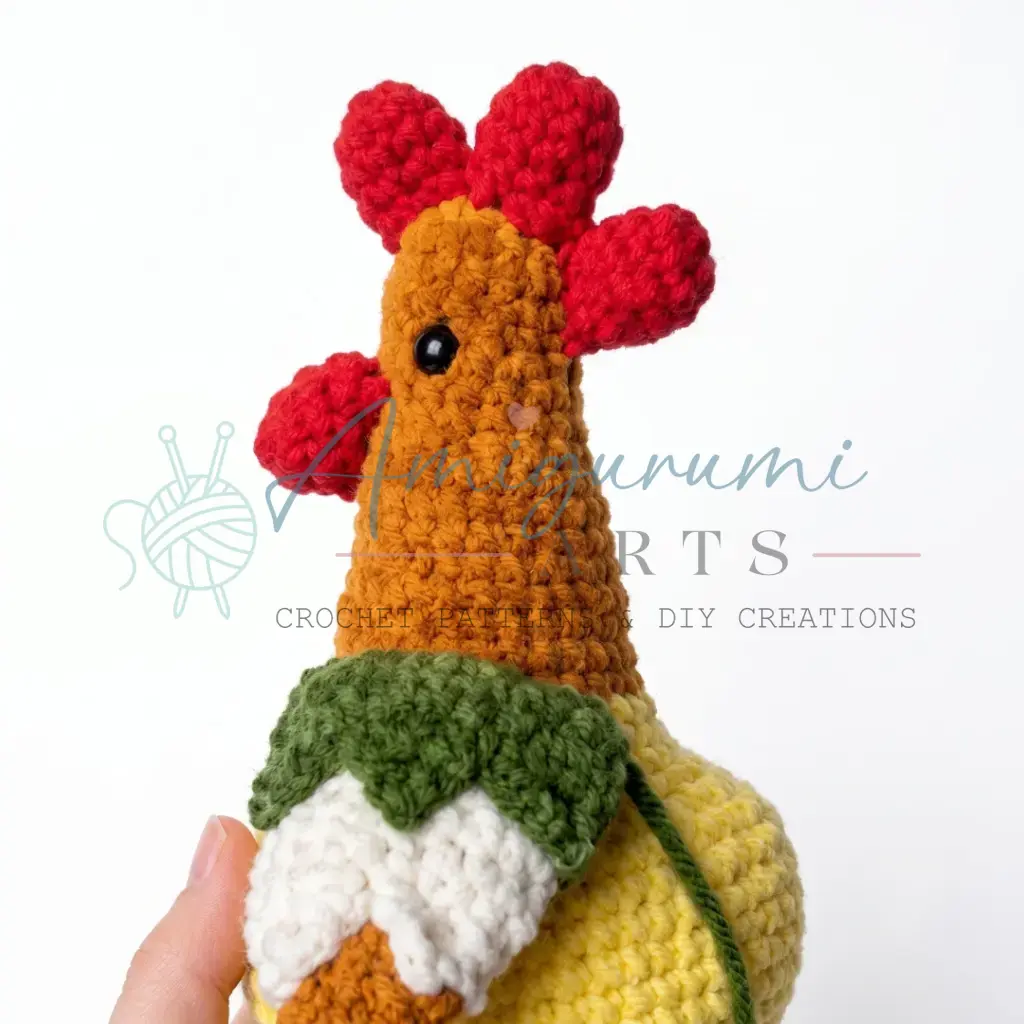
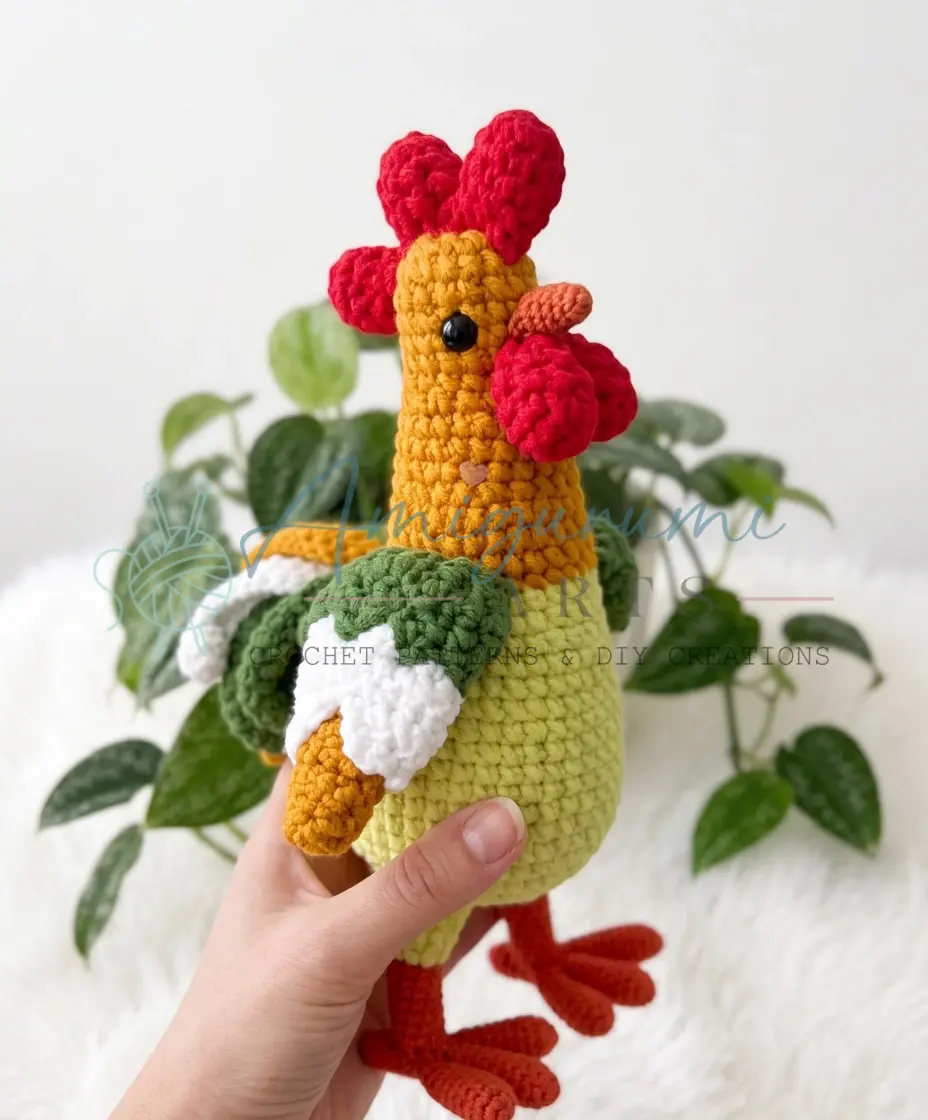
Petya’s charm lies in the specific choices of texture and color. The plush or velour weight of the yellow yarn gives his body a soft, tactile appeal that invites touch, while the sport/DK weight used for the beak and legs provides a necessary structural contrast. When assembling the wings and tail, the layering of green, white, and orange feathers creates a depth that flat pieces cannot achieve. Paying attention to the placement of the safety eyes—specifically the five-stitch gap noted in the pattern—ensures he has that distinct, proud rooster expression. These finishing touches elevate the project from a simple toy to a display-worthy piece.
Project Overview
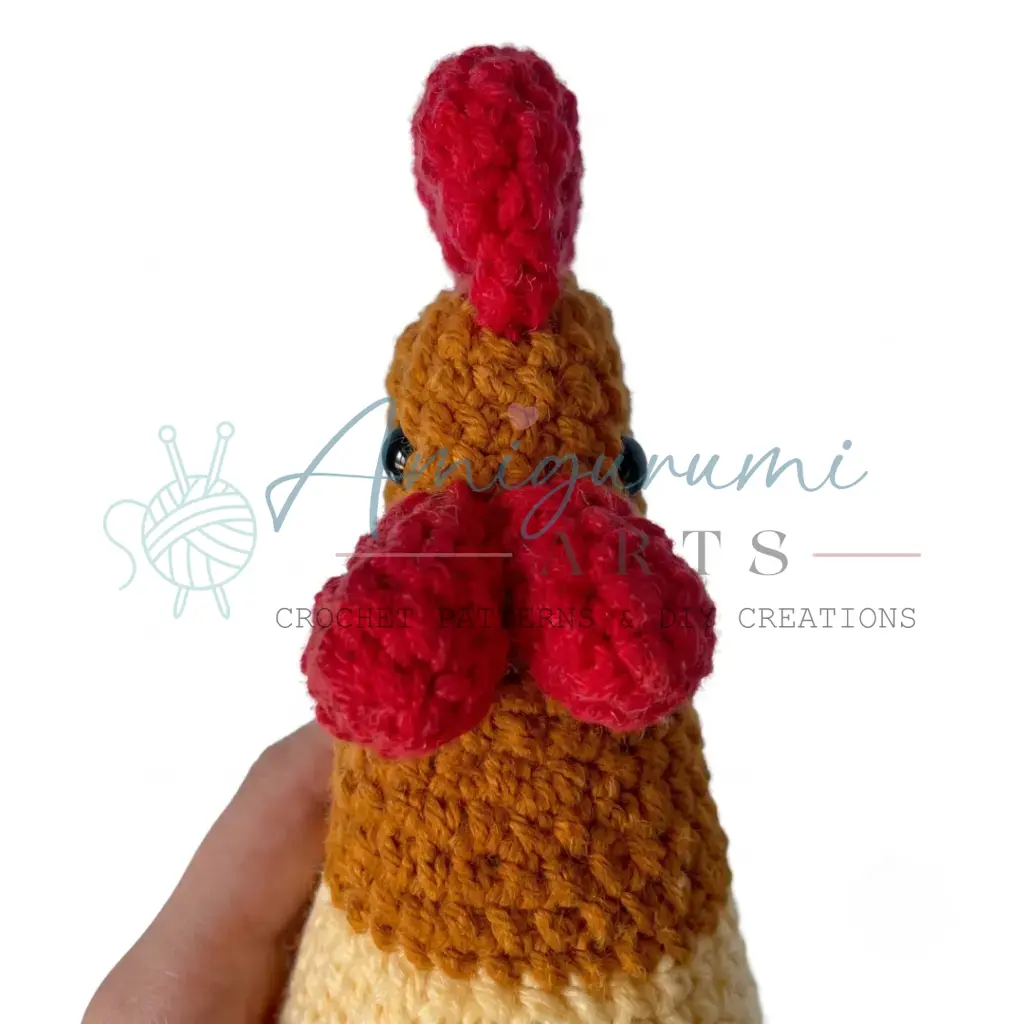
Petya the Rooster is an intermediate-level amigurumi pattern that builds character through distinct, sewn-on components. The pattern is written in US crochet terminology and works in a continuous spiral for the body, head, legs, and toes. The wings and tail are constructed from individual feather pieces that are assembled and layered before attachment. This approach allows for a highly textured, colorful finish that captures the essence of a farmyard rooster.
Materials
- Yarn — Yellow: Plush or velour weight for the main body.
- Yarn — Orange: Sport or DK weight (such as Pekhorka) for the beak, legs, toes, and wing feathers.
- Yarn — Red: For the comb and wattles.
- Yarn — Green: For wing feathers and tail feathers.
- Yarn — White: For wing feathers and tail feathers.
- Hook size: Appropriate for your yarn weight—typically C-2 to E-4 (2.5–3.5 mm). Use the size that gives you a tight, firm fabric with no gaps.
- Safety eyes: 2, sized proportionally (12–14 mm recommended for this body scale).
- Fiberfill: Enough to stuff body, legs, and toes firmly.
- Stitch markers: At least 2.
- Yarn needle / tapestry needle.
- Scissors.
Gauge and Finished Size
Gauge is not critical for this project, but your fabric must be tight enough that fiberfill does not show through. If you can see stuffing between stitches, go down a hook size. The finished size is determined by the yarn weight and hook size used, but the proportions are designed to support the upright stance of the rooster.
Abbreviations
- BLO: Back Loop Only
- ch: Chain
- dec: Invisible Decrease (insert hook through front loops of next 2 sts, pull through, complete as sc)
- inc: Increase (2 sc in same stitch)
- MR: Magic Ring
- Rnd: Round
- Row: Row
- sc: Single Crochet
- sk: Skip
- sl st: Slip Stitch
- SM: Stitch Marker
- st / sts: Stitch / Stitches
Pattern Notes
This Petya the Rooster amigurumi pattern is written in US crochet terminology. The body, head, legs, toes, comb, wattles, and beak are all worked in a continuous spiral—do not join rounds or chain up unless specifically instructed. Use a stitch marker to track the beginning of each round. Stitch counts are given at the end of each round or row in parentheses: (##). Insert safety eyes before closing the head section—placement is noted at the correct round within the Body instructions. The eyes are placed in Round 35, with 5 stitches between them. Stuff the body and legs firmly as directed within the instructions. A rooster this size benefits from dense stuffing to help him stand upright. The wings are assembled from individual feather pieces sewn together before attaching to the body. The tail is made from individual chain-based feather strips.
Pattern Instructions
Body & Head
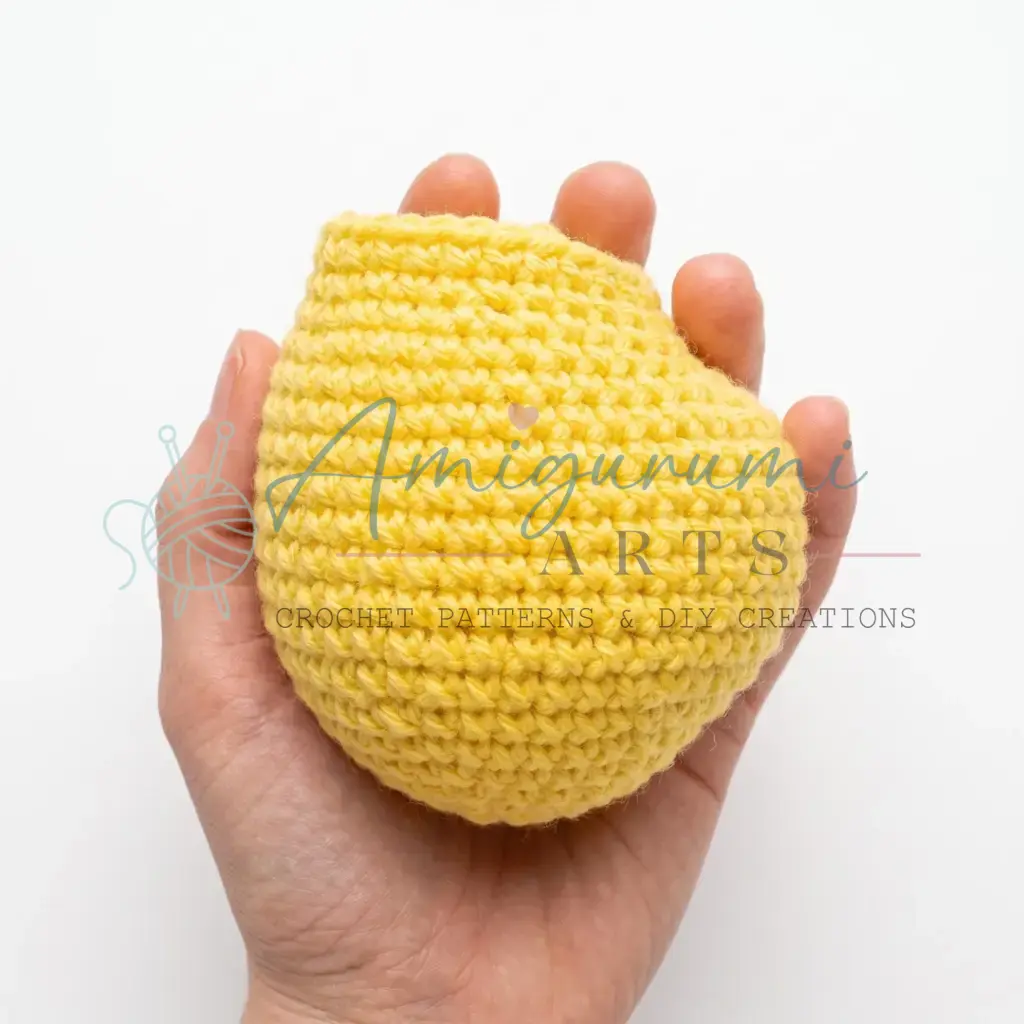
Begin with yellow yarn.
- Rnd 1: 6 sc in MR. (6)
- Rnd 2: inc in each st around. (12)
- Rnd 3: sc, inc repeat 6 times around. (18)
- Rnd 4: 2 sc, inc repeat 6 times around. (24)
- Rnd 5: 3 sc, inc repeat 6 times around. (30)
- Rnd 6: 4 sc, inc repeat 6 times around. (36)
- Rnd 7: 5 sc, inc repeat 6 times around. (42)
- Rnd 8: 6 sc, inc repeat 6 times around. (48)
- Rnd 9: 6 inc, 42 sc. (54)
- Rnd 10: sc in each st around. (54)
- Rnd 11: 12 sc, then 5 sc, dec repeat 6 times. (48)
- Rnds 12–16: sc in each st around. (48) 5 rounds.
- Rnd 17: 6 dec, 36 sc. (42)
- Rnd 18: 3 dec, 36 sc. (39)
- Rnd 19: 2 dec, 33 sc, 1 dec. (36)
- Rnd 20: 4 sc, dec repeat 6 times around. (30)
Stuff the body firmly at this point.
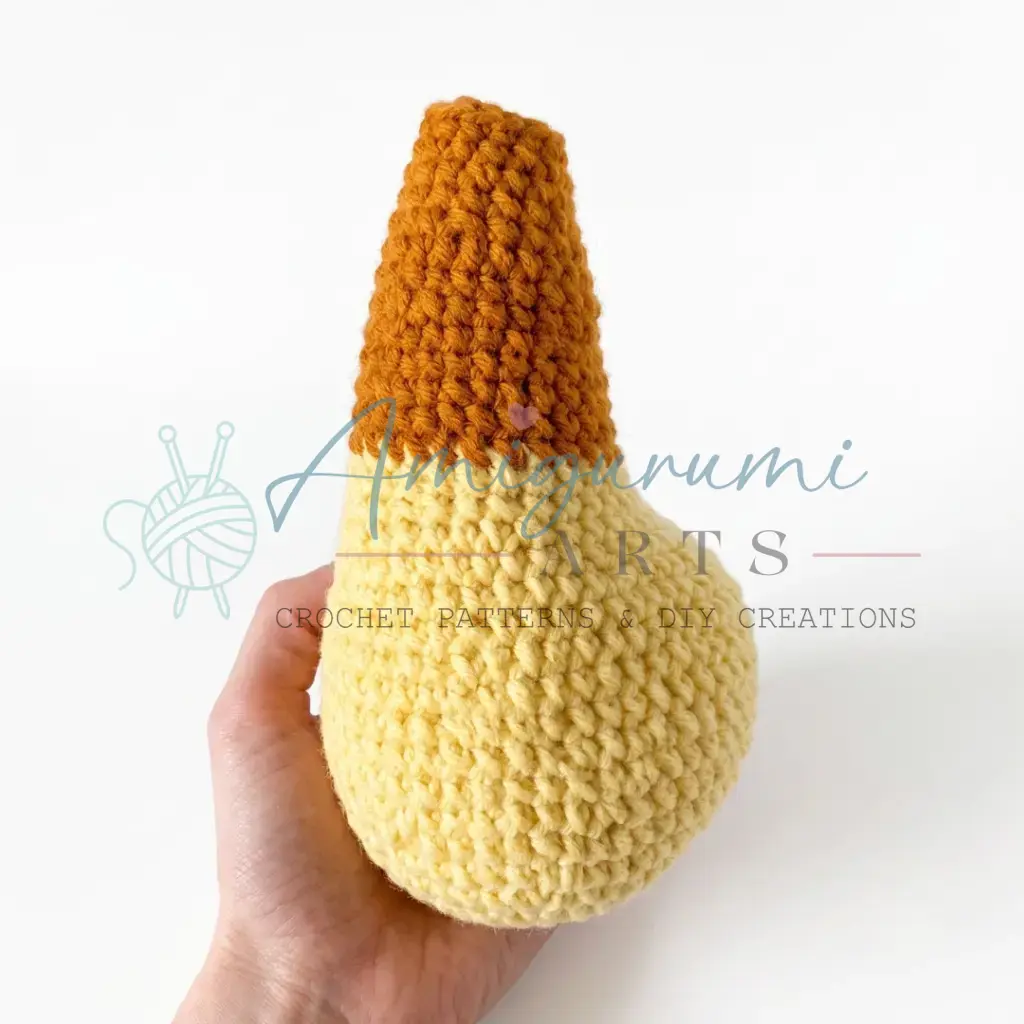
Switch to orange yarn.
- Rnds 21–26: sc in each st around. (30) 6 rounds.
- Rnd 27: 3 sc, dec repeat 6 times around. (24)
- Rnds 28–30: sc in each st around. (24) 3 rounds.
- Rnd 31: 2 sc, dec repeat 6 times around. (18)
- Rnds 32–37: sc in each st around. (18) 6 rounds.
Stuff the head firmly. Insert safety eyes in Round 35 with 5 stitches between them.
- Rnd 38: sc, dec repeat 6 times around. (12)
- Rnd 39: 6 dec. Fasten off and pull yarn tight to close.
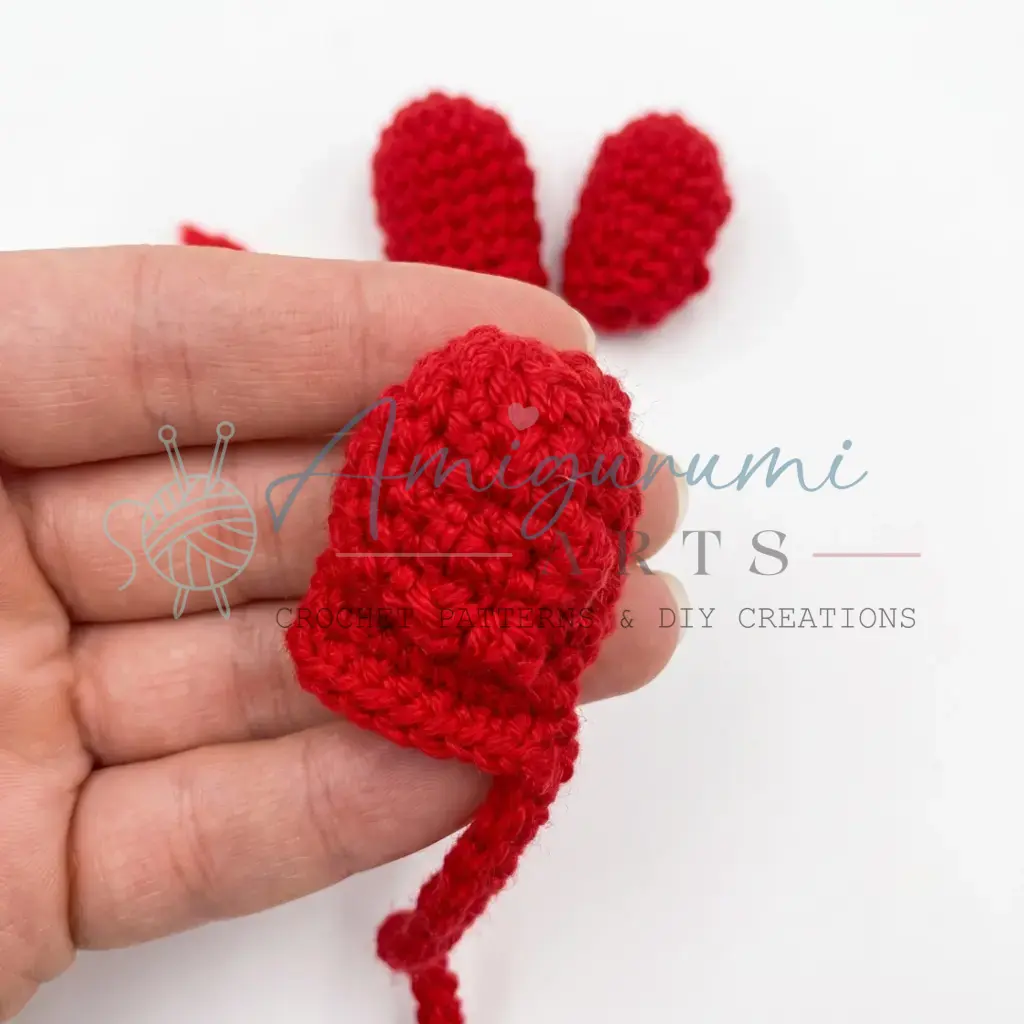
Comb & Wattles — Make 5 Total
Work all 5 pieces in red yarn. These pieces serve as both the comb (attached to the top of the head) and the wattles (attached beneath the beak).
- Rnd 1: 7 sc in MR. (7)
- Rnds 2–5: sc in each st around. (7) 4 rounds.
Work 3 sc through both loops to close the tip, then leave a long yarn tail for sewing.
Beak
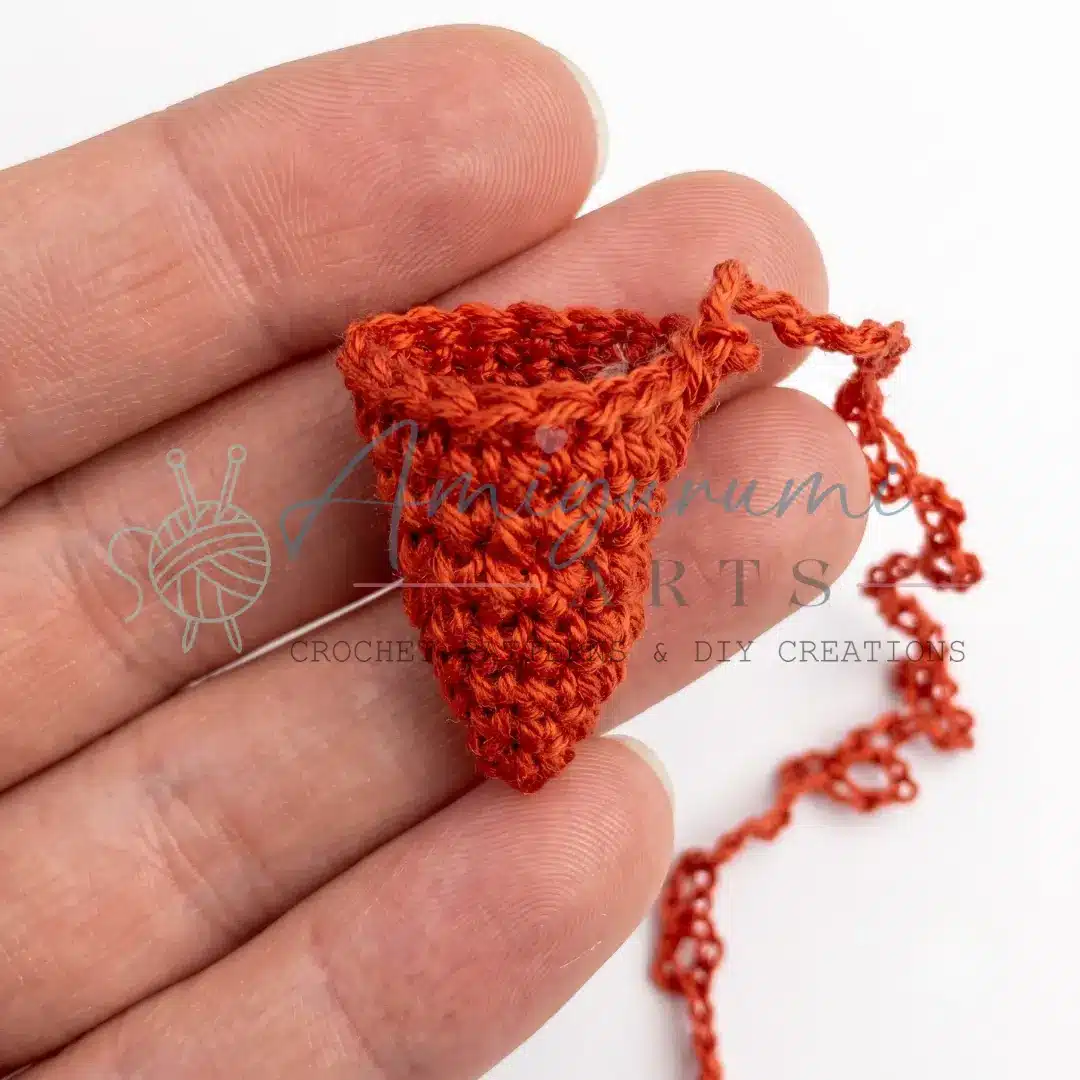
Work in orange yarn (sport/DK weight).
- Rnd 1: 4 sc in MR. (4)
- Rnd 2: sc in each st around. (4)
- Rnd 3: sc, inc repeat 2 times. (6)
- Rnd 4: sc in each st around. (6)
- Rnd 5: 2 sc, inc repeat 2 times. (8)
- Rnd 6: sc in each st around. (8)
- Rnd 7: sc, inc repeat 4 times. (12)
- Rnd 8: sc, inc repeat 6 times. (18)
- Rnd 9: sc in each st around. (18)
Leave a long yarn tail. Sew the beak to the head, centered below the safety eyes.
Wing Feathers — Individual Pieces
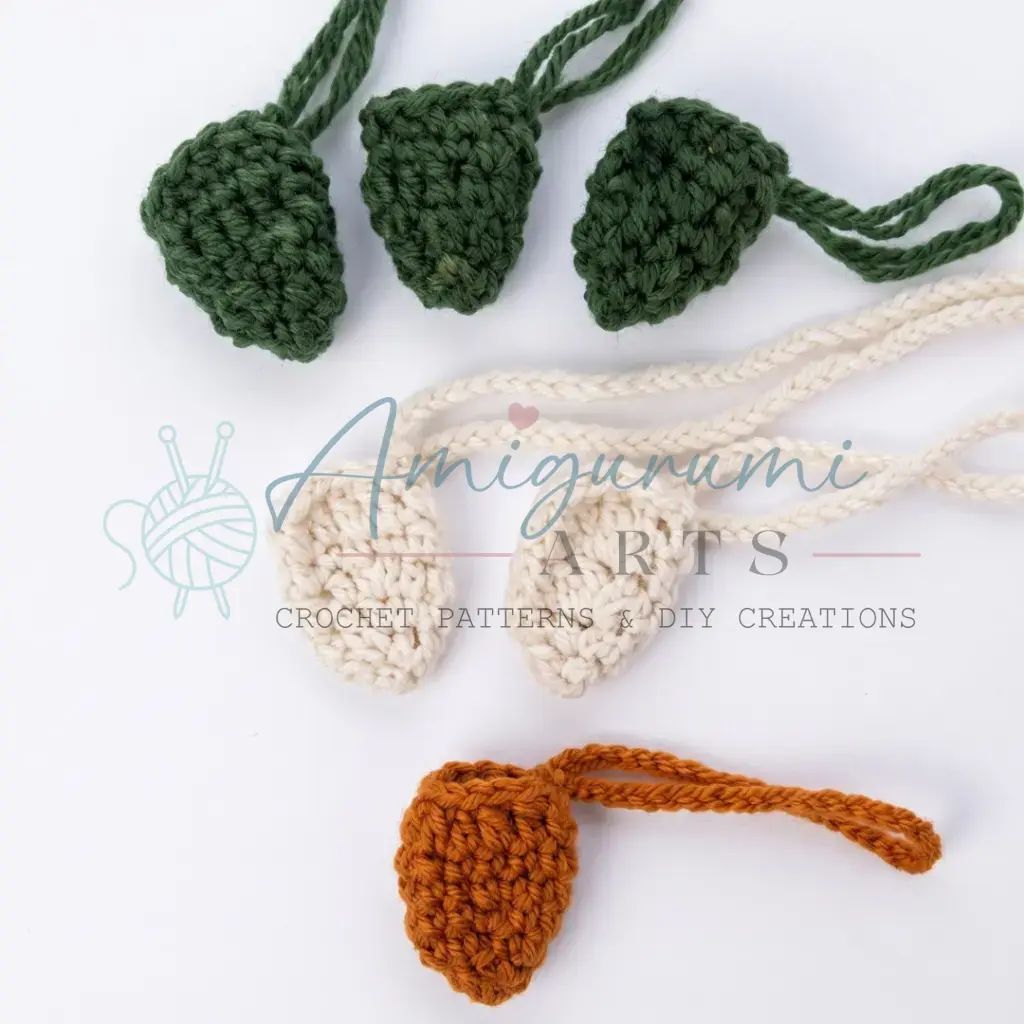
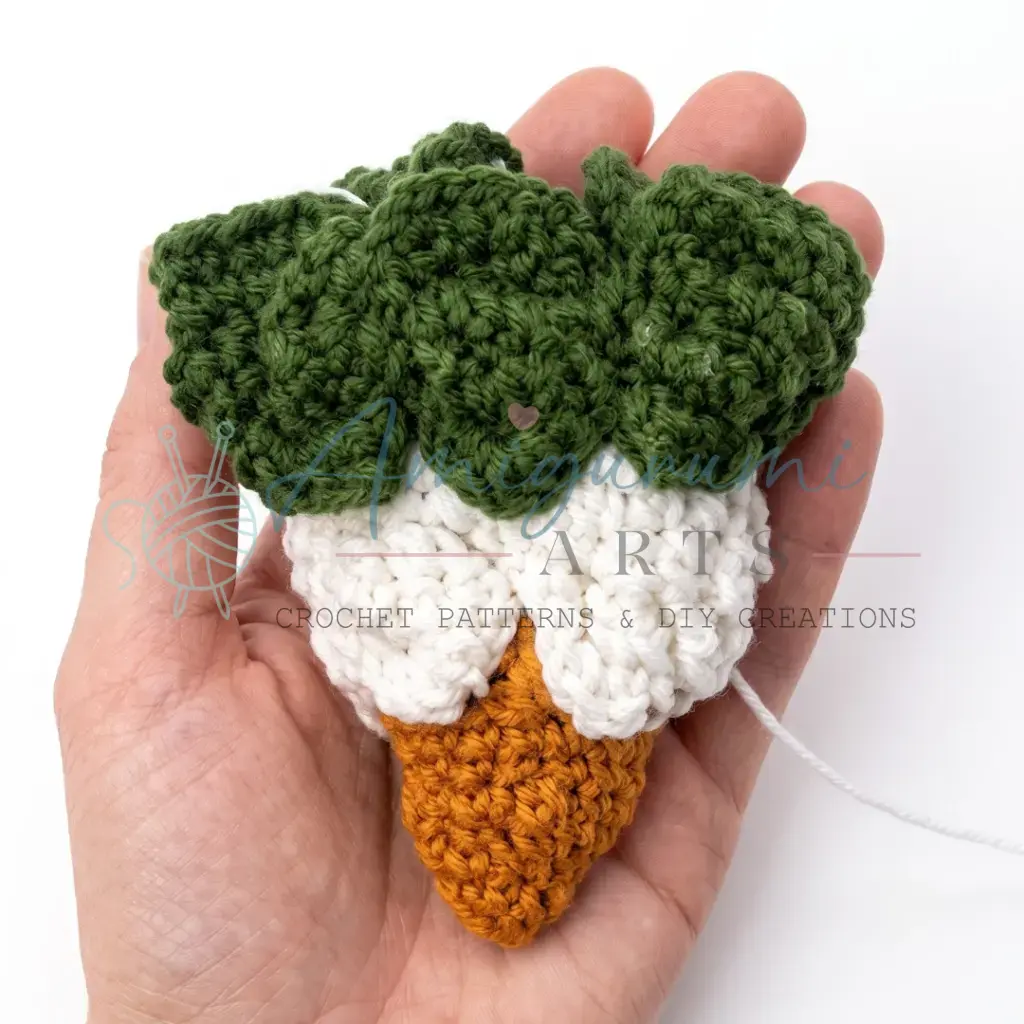
You will make 24 individual feather pieces total, then pair and sew them together to create 2 finished wings (12 feathers per wing, layered). Break down by color:
- Green: 12 pieces
- White: 8 pieces
- Orange: 4 pieces
Each feather is worked flat in rows.
- Foundation: ch 5. (5)
- Row 1: Starting in the 2nd ch from hook, sc across. (4)
- Rows 2–3: sc in each st across. (4)
- Row 4: sc in each st across. (4)
- Row 5: 2 dec. (2)
- Row 6: 1 dec. Fasten off.
Arrange feathers by color into groups and sew them together into two layered wings. Sew the completed wings to the sides of the body.
Tail Feathers — Make 12 Total
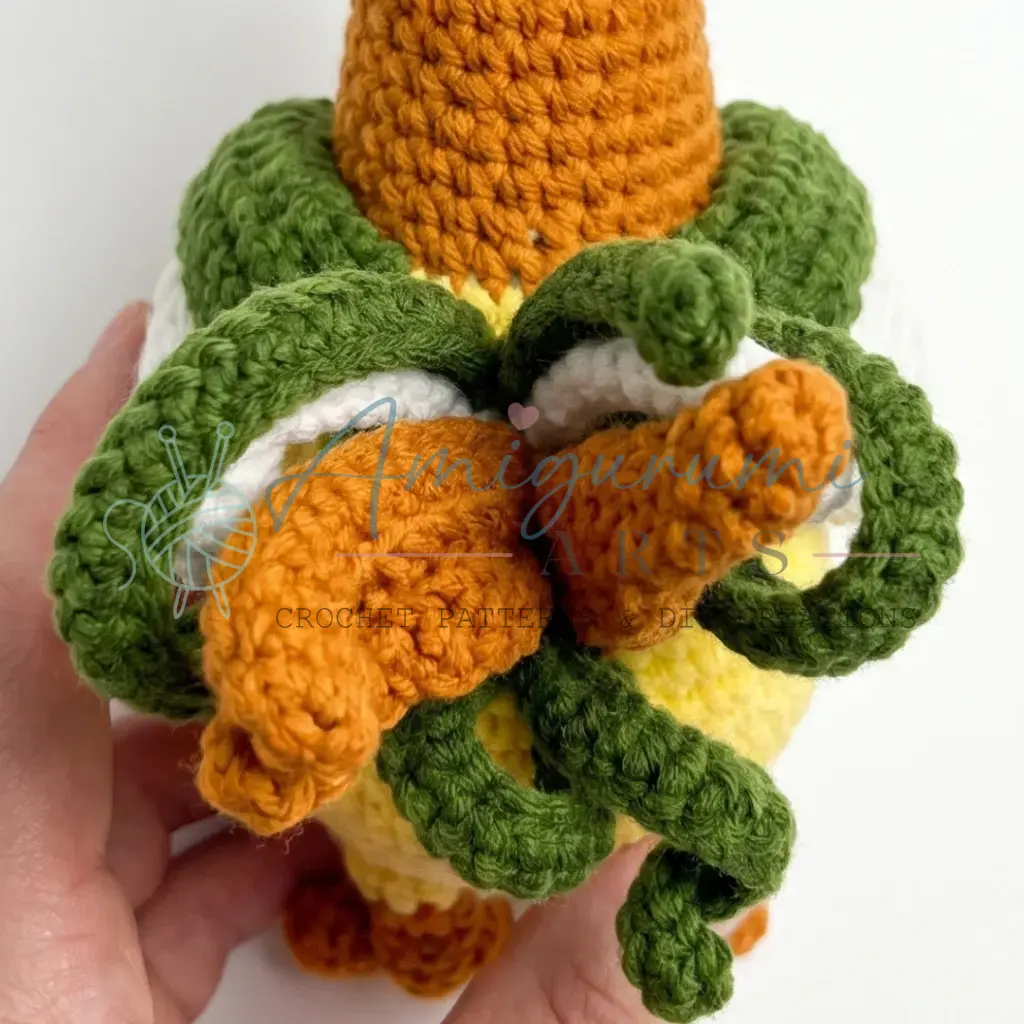
Green: 4 pieces, Orange: 4 pieces, White: 4 pieces.
Each tail feather is worked flat.
- Foundation: ch 20. (20)
- Row 1: Starting in the 2nd ch from hook, sc across to end. (19) Fasten off.
Weave the yarn ends into the interior of the toy body as you attach each feather. Sew all 12 tail feathers to the back of the body, layering colors as desired.
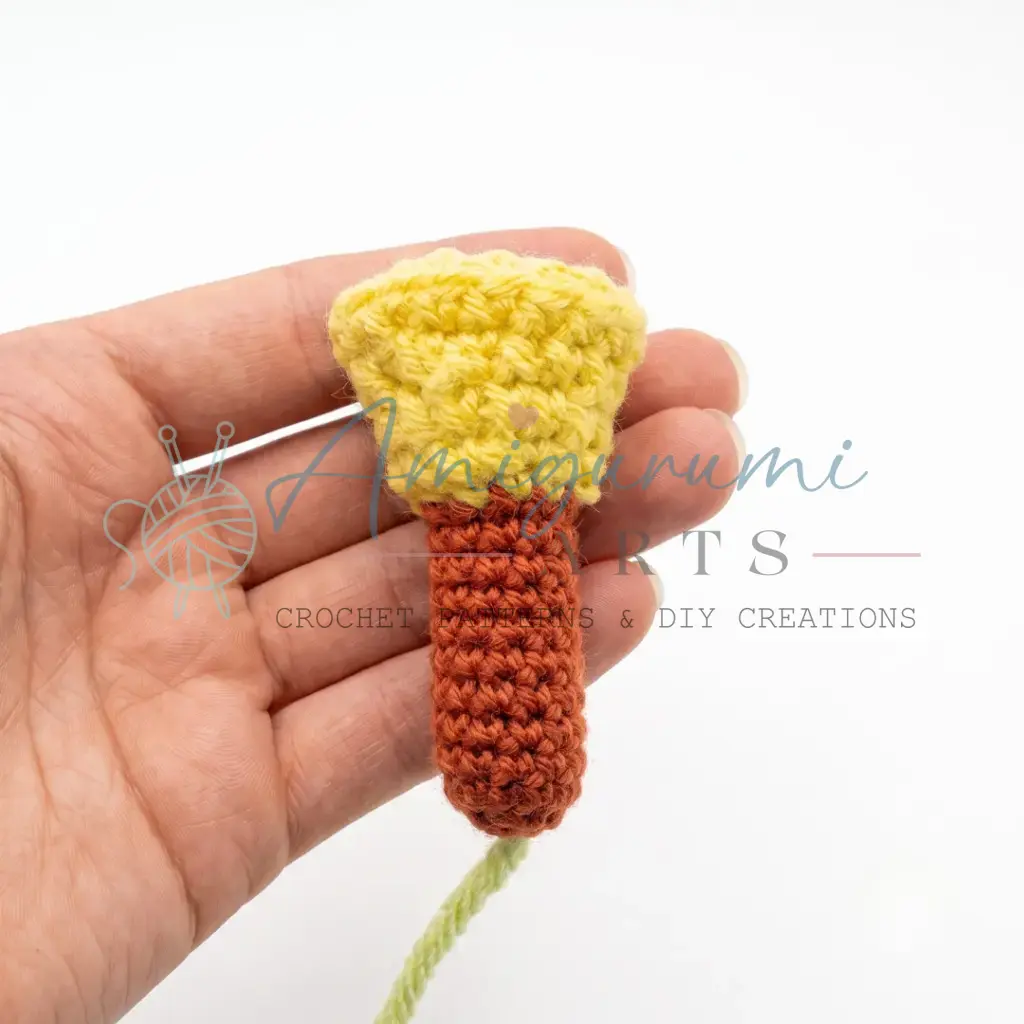
Legs — Make 2
Begin with orange yarn (sport/DK weight).
- Rnd 1: 6 sc in MR. (6)
- Rnd 2: inc in each st around. (12)
- Rnds 3–12: sc in each st around. (12) 10 rounds.
Switch to yellow plush yarn.
- Rnd 13: sc, inc repeat 6 times around. (18)
- Rnd 14: sc in each st around. (18)
Stuff firmly. Set aside—the toes will be attached before the leg is sewn onto the body.
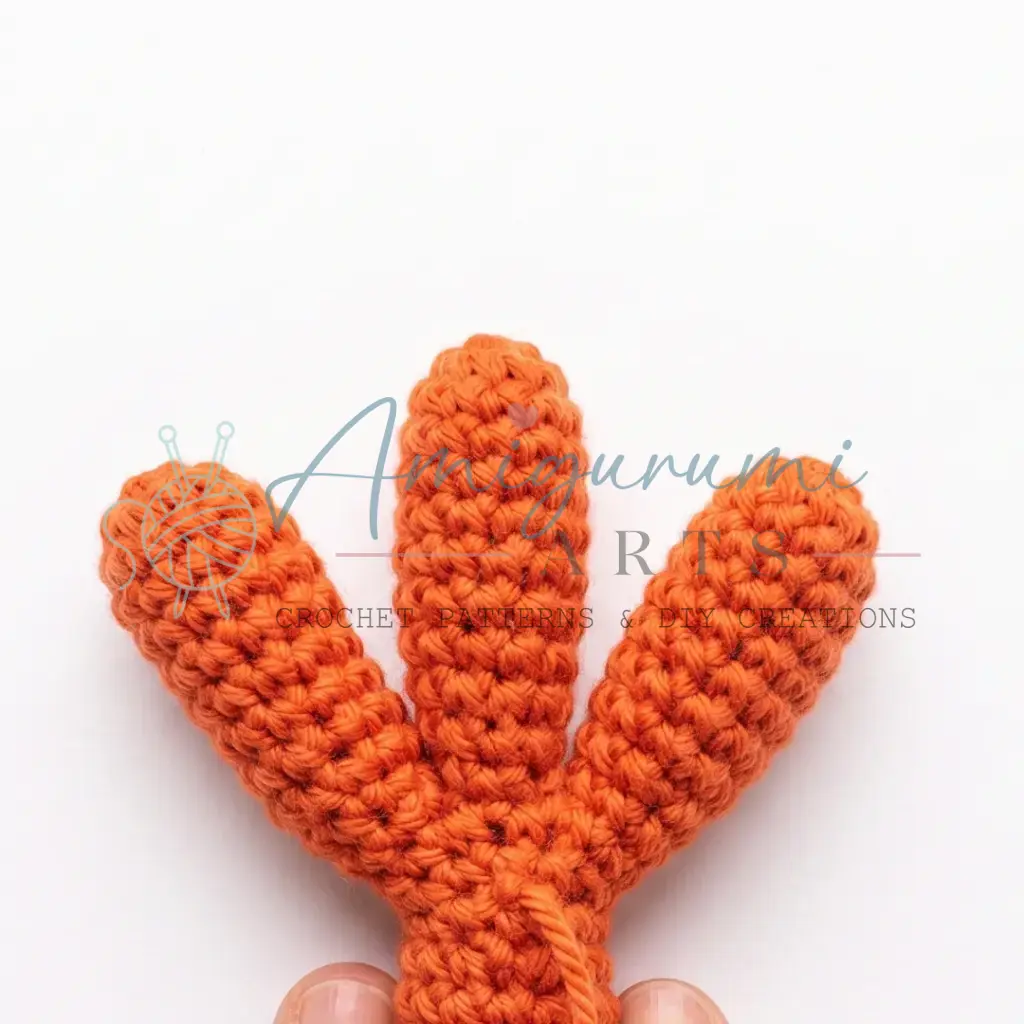
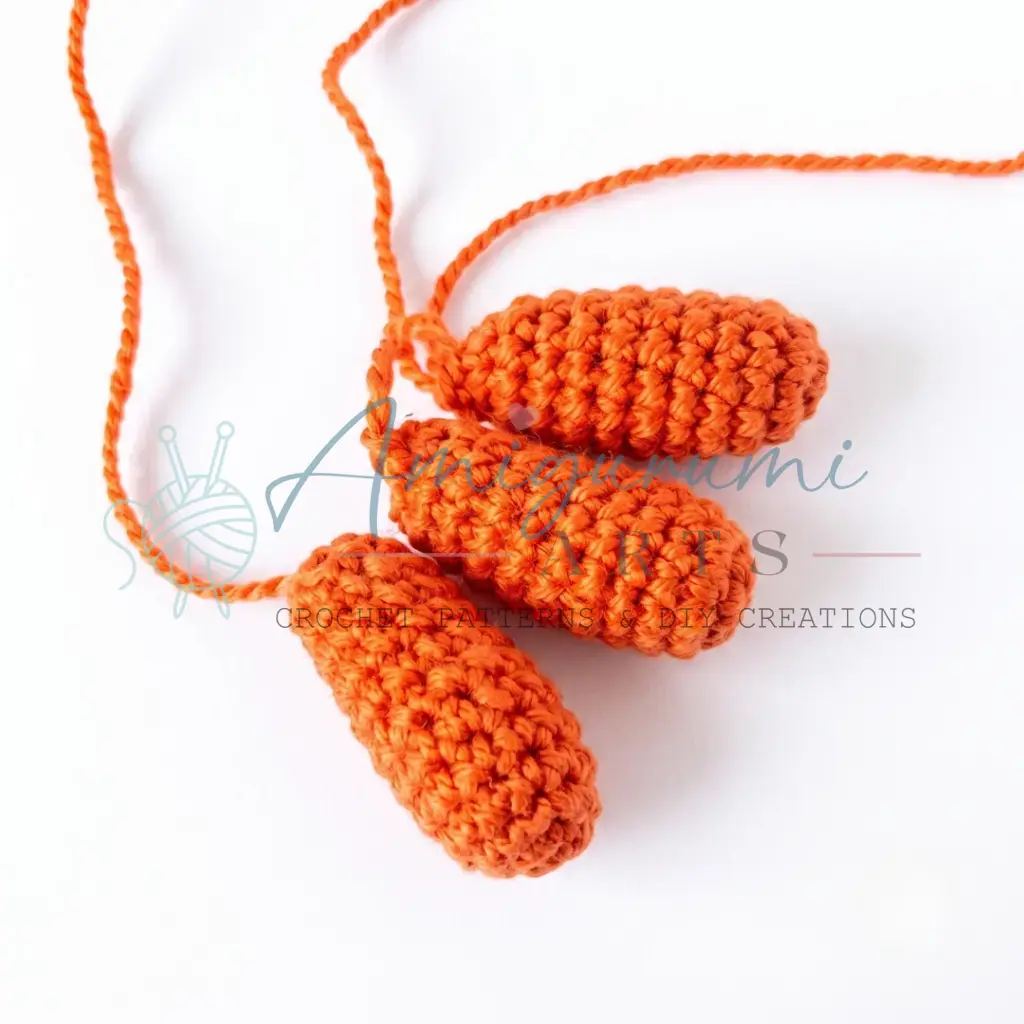
Toes — Make 3 Per Foot (6 Total)
Work each toe in orange yarn (sport/DK weight).
- Rnd 1: 6 sc in MR. (6)
- Rnd 2: inc in each st around. (12)
- Rnds 3–10: sc in each st around. (12) 8 rounds.
Stuff each toe firmly.
- Rnd 11: 6 dec. (6)
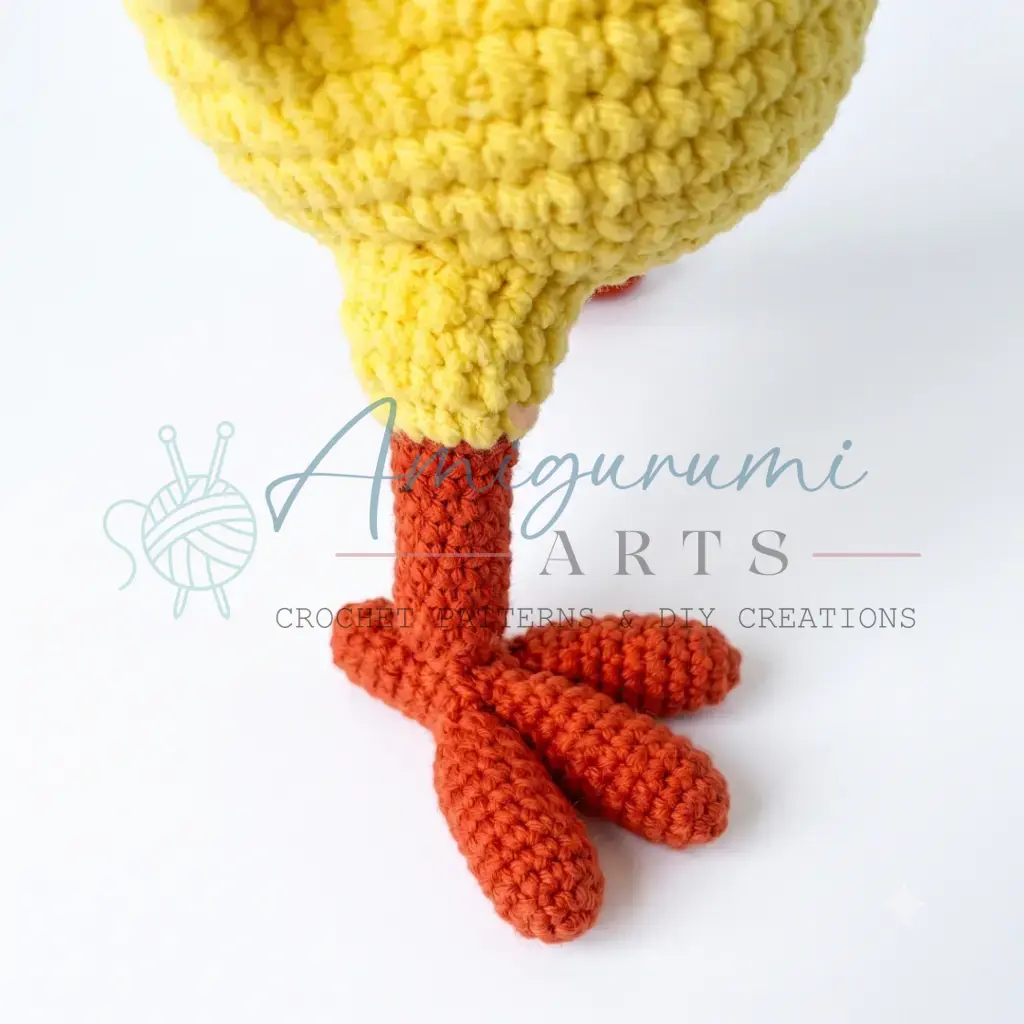
Do not fasten off after the third toe. Instead, join all three toes of one foot together as follows:
- Joining Round: 3 sc across the first toe, 3 sc across the second toe, 6 sc across the third toe, 3 sc back across the second toe, 3 sc back across the first toe. Place SM. (18)
- Rnd 13: sc, dec repeat 6 times around. (12)
- Rnds 14–20: sc in each st around. (12) 7 rounds.
Stuff the foot section firmly.
- Rnd 21: 6 dec. Fasten off and pull yarn tight to close.
Sew the completed toe-foot unit to the bottom of each leg.
Assembly
- Attach the beak: Center the beak on the front of the head, just below the safety eyes. Sew in place using the long yarn tail and a whipstitch. Weave in the end.
- Attach the comb: Arrange 3 of the red pieces along the top of the head in a fan shape. Sew each one firmly in place. Weave in ends.
- Attach the wattles: Sew the remaining 2 red pieces beneath the beak, one on each side. Weave in ends.
- Attach the wings: Position one assembled wing on each side of the body at approximately Rounds 12–18. Sew securely using a whipstitch along the base of each wing. Weave in ends.
- Attach the tail feathers: Fan out the 12 tail feathers at the back base of the body. Layer green, orange, and white pieces for a full, colorful tail. Sew in place, pushing yarn tails to the inside of the body as you go.
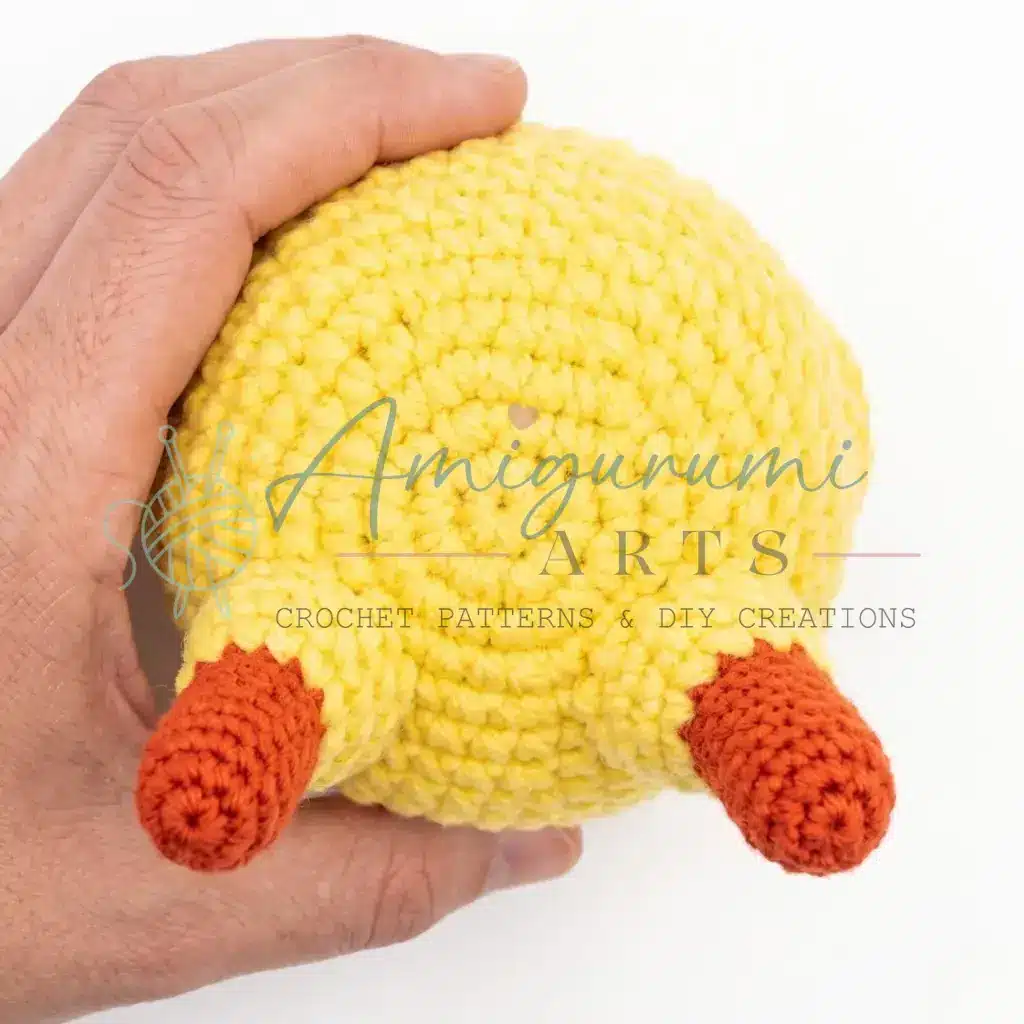
- Attach the legs: Position the legs at the bottom of the body, evenly spaced. Sew each leg firmly using a whipstitch and the yarn tail from the leg top. Weave in all ends.
- Final check: Weave in any remaining yarn ends throughout the project.
Tips & Tricks
- Keep your tension tight throughout: Amigurumi worked in continuous spirals needs a firm, close fabric so the stuffing stays hidden. If your stitches are loose, the fiberfill will peek through—especially in the color-change sections between yellow and orange.
- Use the invisible decrease every time: Rather than a standard decrease (which leaves a visible bump on the surface), insert your hook through the front loops only of the next two stitches. This keeps the surface of Petya’s body smooth, which matters especially on the rounded head section where any bumps are visible.
- Stuff in stages, not all at once: When the pattern says “stuff firmly,” add fiberfill gradually and use a blunt pencil or stuffing tool to pack it evenly into corners. Overstuffing in one go can distort the shape; building it up lets you check the silhouette as you go.
- Sew feathers together before attaching to the body: The wings and tail work best when you assemble the individual feather pieces into complete units first, then attach those units to the body. This gives you better control over placement and lets you adjust the layering before committing with stitches.
- Secure the legs with a strong anchor stitch: Because Petya needs to stand, his legs carry the weight of the entire toy. After sewing each leg on with a whipstitch, run your needle back through the attachment point two or three extra times before weaving in the tail. This dramatically reduces the chance of a leg coming loose over time.
Frequently Asked Questions
What hook size should I use?
Use a hook size appropriate for your yarn weight, typically C-2 to E-4 (2.5–3.5 mm). The most important factor is that your fabric is tight and firm with no gaps.
How do I ensure Petya stands upright?
Dense stuffing is key. Stuff the body and legs firmly as directed in the pattern. Additionally, secure the legs with extra anchor stitches during assembly to support the weight of the toy.
Can I use different yarn weights?
The pattern specifies plush/velour weight for the body and sport/DK for the beak and legs. Using different weights may alter the final size and texture, so it is best to stick to the recommended weights for the intended look.
How many feathers do I need for the wings?
You need 24 individual feather pieces total: 12 green, 8 white, and 4 orange. These are paired and sewn together to create two layered wings.
When should I insert the safety eyes?
Insert the safety eyes in Round 35 of the head section, ensuring there are 5 stitches between them.
Pin This Crochet Pattern!