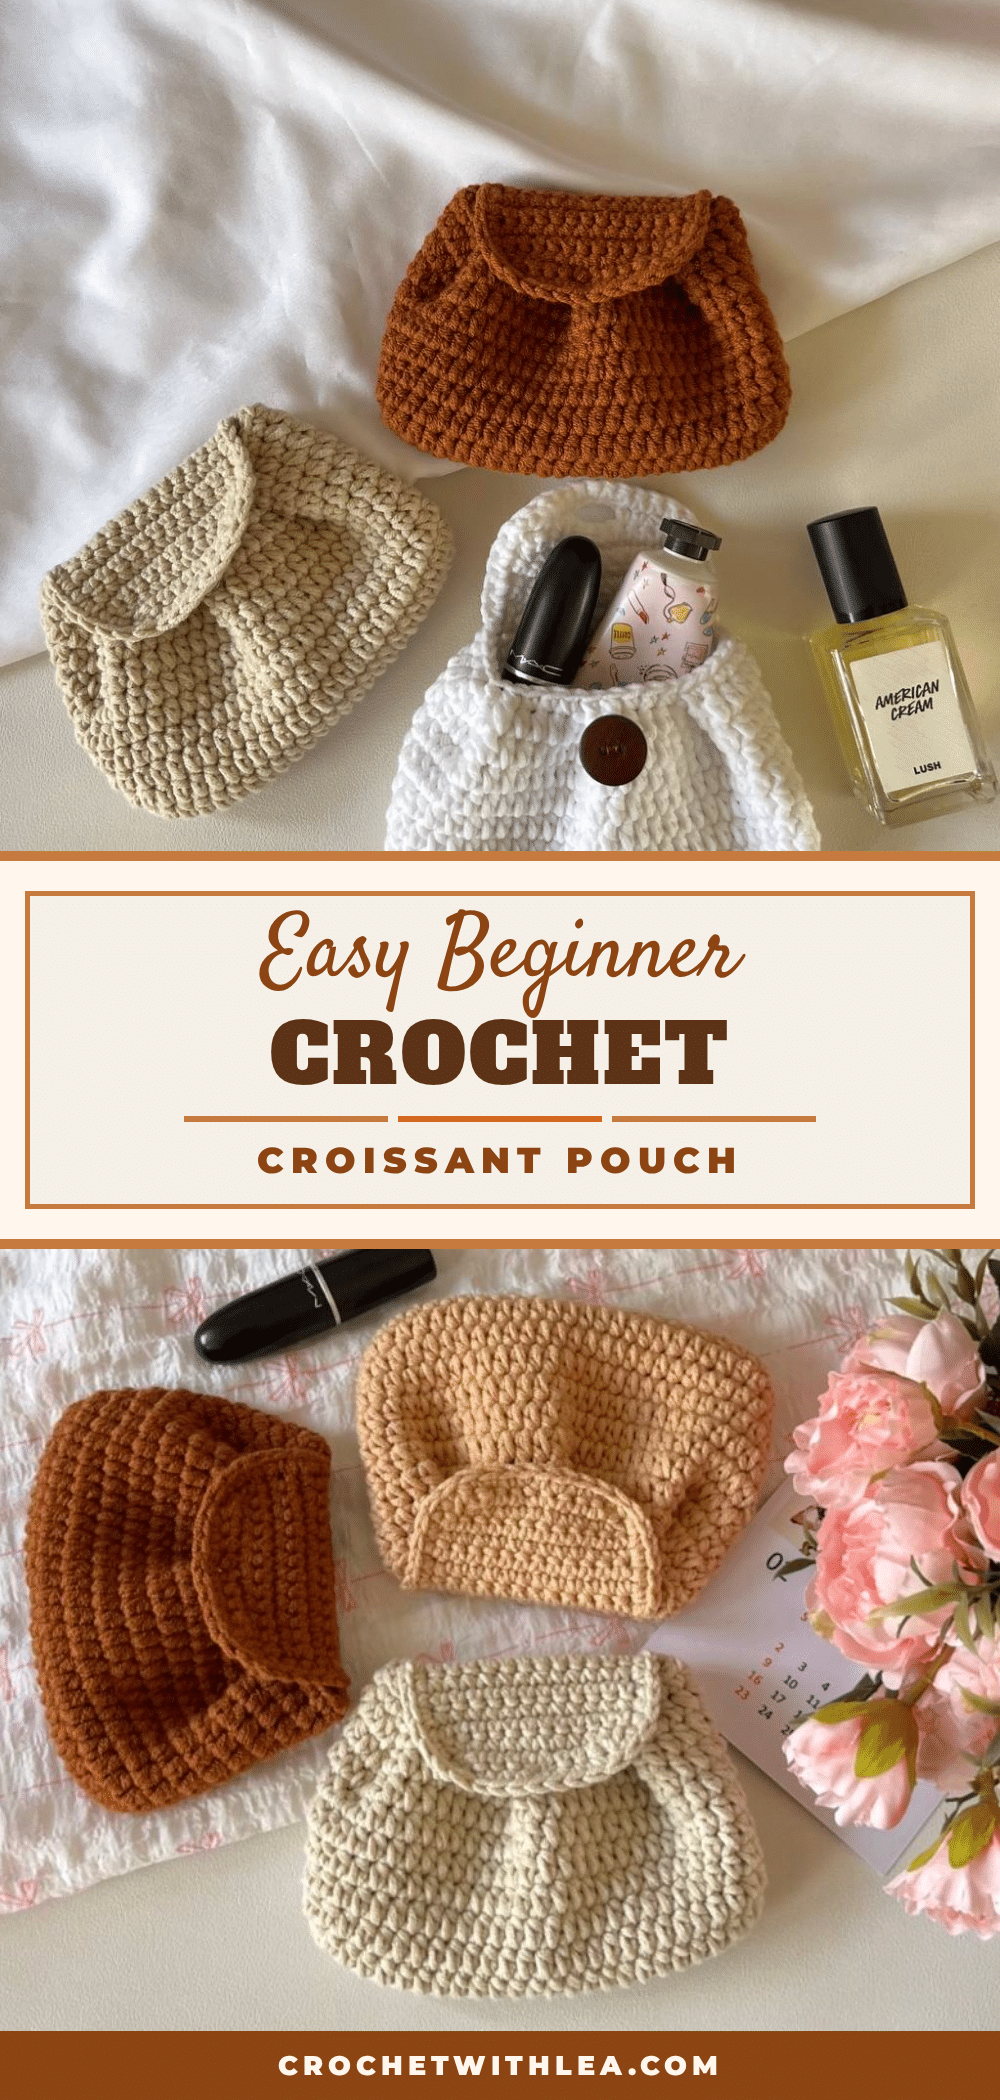
The yarn is already in your hands, the hook is warm, and the first chain stitches are forming a soft, curved line on your lap. This is the moment where a simple idea transforms into something tactile and useful. The Easy Crochet Croissant Pouch Pattern captures that specific joy of beginner-friendly amigurumi, turning basic half double crochet stitches into a charming, functional accessory that looks like a fresh pastry. It is quick to work up, forgiving for new makers, and perfect for keeping your café essentials secure.
Why This Project Works
This pouch stands out because it balances aesthetic charm with practical speed. The designer chose half double crochet (hdc) for the body, a stitch that works up significantly faster than single crochet while still providing a dense, sturdy fabric perfect for holding small items. The “croissant” shape is achieved not through complex shaping, but through clever folding and edging techniques in the final rounds. This means you get a unique, sculptural look without needing advanced shaping skills. It is an ideal project for a quick gift, a café companion, or a confidence-building win for anyone new to crochet.
Project Overview
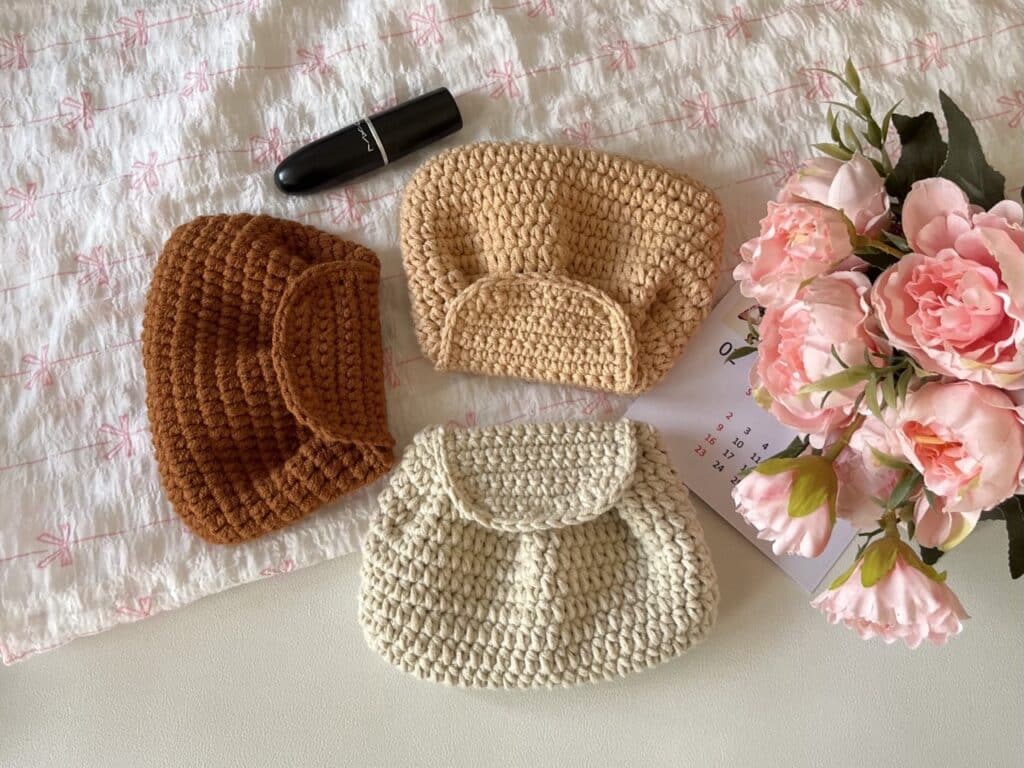
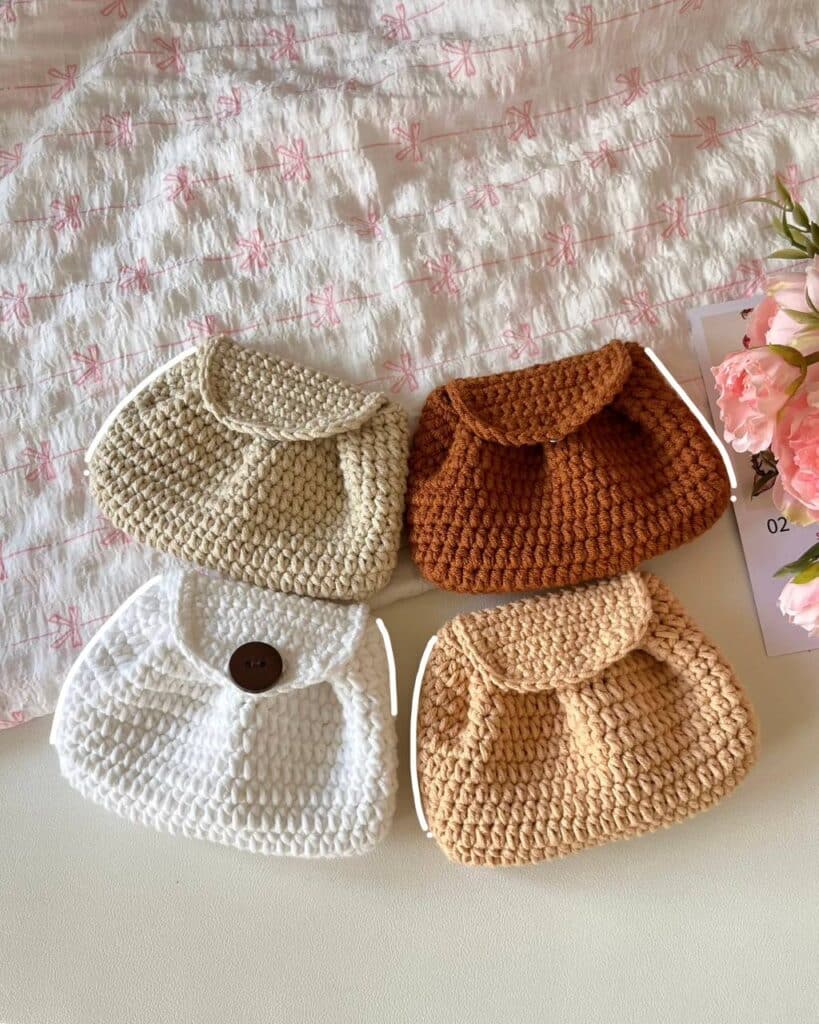
This beginner-friendly amigurumi pattern creates a small pouch designed to resemble a croissant. It features a rounded body with folded details on the front to mimic the pastry’s layers, and a flap that closes with a button or snap. The project is designed to be worked quickly, taking approximately an hour to complete, making it a perfect weekend craft or a relaxing evening project.
Materials
- Yarn: Cotton (5ply), Acrylic, or Sport weight yarn in Light Brown (or any color of your preference)
- Crochet Hook: 3mm
- Fastenings: Button or snap buttons
- Notions: Stitch markers, darning needle, pins, and scissors
Gauge and Finished Size
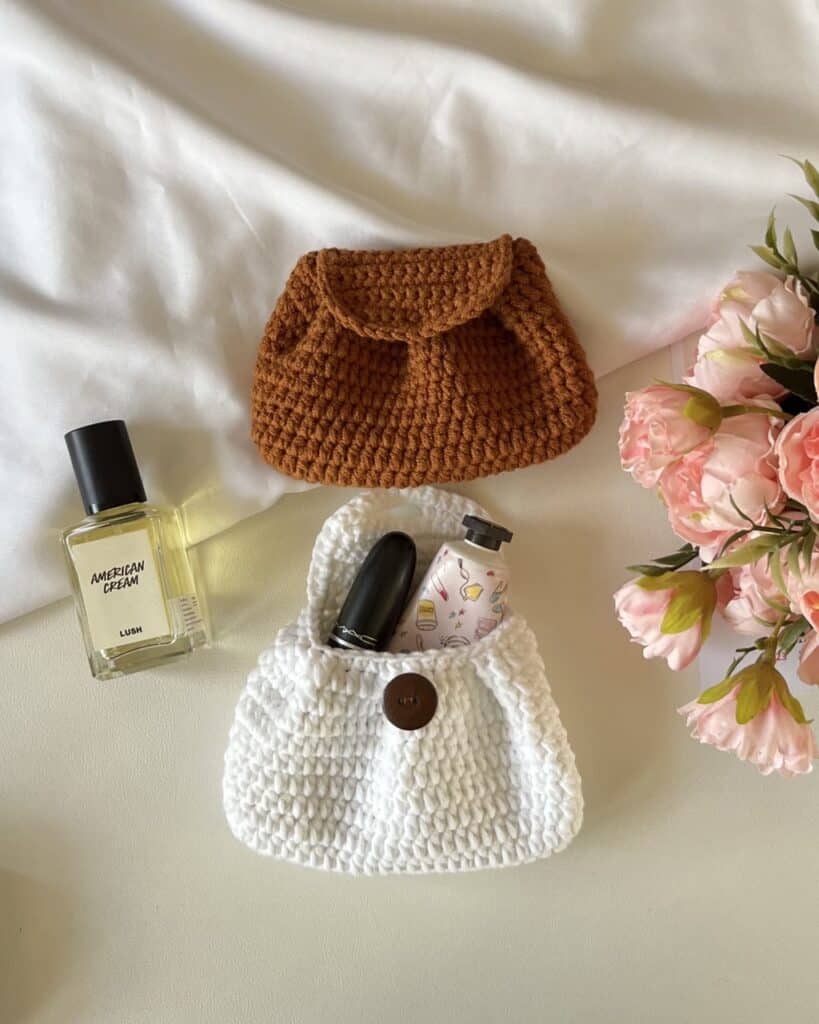
Specific gauge measurements and finished dimensions are not provided in the source pattern. The pouch size is determined by the stitch count and the natural drape of the 3mm hook with sport-weight yarn. Ensure your tension is consistent to maintain the structural integrity of the folds.
Abbreviations
- R: round/row
- Ch: chain
- st: stitch
- sc: single crochet
- inc: increase
- dec: decrease
- hdc: half double crochet
- slst: slip stitch
- *: repeat
- [ ]: total stitch count in each round/row
Pattern Notes
- Video Tutorial: For the most effective and time-saving process, it is recommended to follow along with the accompanying video tutorial, particularly for the folding techniques in Round 11 and the edging of the flap.
- Folding Technique: The signature croissant look is created in Round 11. Please refer to the tutorial for specific guidance on making these folds.
- Copyright: This pattern is designed by @chubbiesbyash. It is for personal use only. You may sell finished items made from this pattern, but mass production and selling the pattern itself are prohibited. Please do not use the blog photos without permission. Credit is appreciated when sharing creations.
Pattern Instructions
Body
Start with a slip knot and make 25ch.
R1: Starting from the 3rd ch from the hook, 1hdc inc, 21hdc, 4hdc (in the last ch), 21hdc, 1hdc inc, 1slst (into the 1st hdc) [50]
R2: Ch1, 1hdc, 1hdc inc, 21hdc, (1hdc, 1hdc inc) *2, 22hdc, 1hdc inc, 1slst [54]
R3-R10: Ch1, 54hdc, 1slst (8 rounds) [54]
R11: Ch1, 5sc, (skip 2sc, 2sc together, skip 4sc, 3sc,) *3, 16sc, 1slst [36]
Cut the yarn and weave in the ends.
Flap
Starting from the second last sc of R11 of the body, crochet from right to left!
R1: Ch1, 13sc [13]
R2-R5: Ch1 & Turn, 13sc (4 rows) [13]
R6: Ch1 & Turn, 1dec, 9sc, 1dec [11]
R7: Ch1 & Turn, 1dec, 7sc, 1dec [9]
Edging: 7sc on the 1st side, 9sc on the 2nd side or R7, 7sc on the 3rd side [23]
Alternative Buttonhole Method for R7: If using a button instead of a snap, you may modify R7. Ch1 & Turn, 1dec, 2sc, skip 3 sc, 4ch (adjust the chain length depending on the size of your button), 2sc, 1dec. For the edging in this case: 7sc on the 1st side, (3sc, 1sc on each ch, 3sc) on the 2nd side or R7, 7sc on the 3rd side.
Assembly
- Sew the snap buttons on the body and on the inner side of the flap. (Or sew a button on the body if using the alternative buttonhole method).
- Cut the yarn and weave in the ends.
Tips
- Watch the Folds: The tutorial highlights a specific section for making the folds in R11. Taking a moment to watch this ensures the “croissant” shape is accurate.
- Edging the Flap: When edging the flap, crochet along the sides carefully to maintain a neat finish. The tutorial provides a visual guide for crocheting along the sides of the flap.
- Yarn Choice: While light brown is traditional, feel free to use any color preference. Cotton 5ply provides a nice structure, but acrylic or sport weight will also work well.
FAQs
Is this pattern suitable for absolute beginners?
Yes, the pattern is explicitly labeled as beginner-friendly. It uses basic stitches like single crochet, half double crochet, increases, and decreases.
How long does it take to make this pouch?
Because the pattern utilizes half double crochet stitches which work up quickly, you can typically complete the pouch in about an hour.
Can I use a different yarn weight?
Yes, you can use Acrylic or Sport weight yarn. If you change the yarn weight, you may need to adjust your hook size to maintain a similar fabric density.
How do I make the buttonhole if I don’t want to use a snap?
You can use the alternative R7 instructions provided in the pattern, which involve skipping stitches and chaining 4 to create an opening for a button.
Can I sell items made from this pattern?
Yes, you are welcome to sell finished items made from this pattern. However, mass production and selling the pattern itself are not allowed. Please credit the original designer when sharing your work.
Pin This Crochet Pattern!