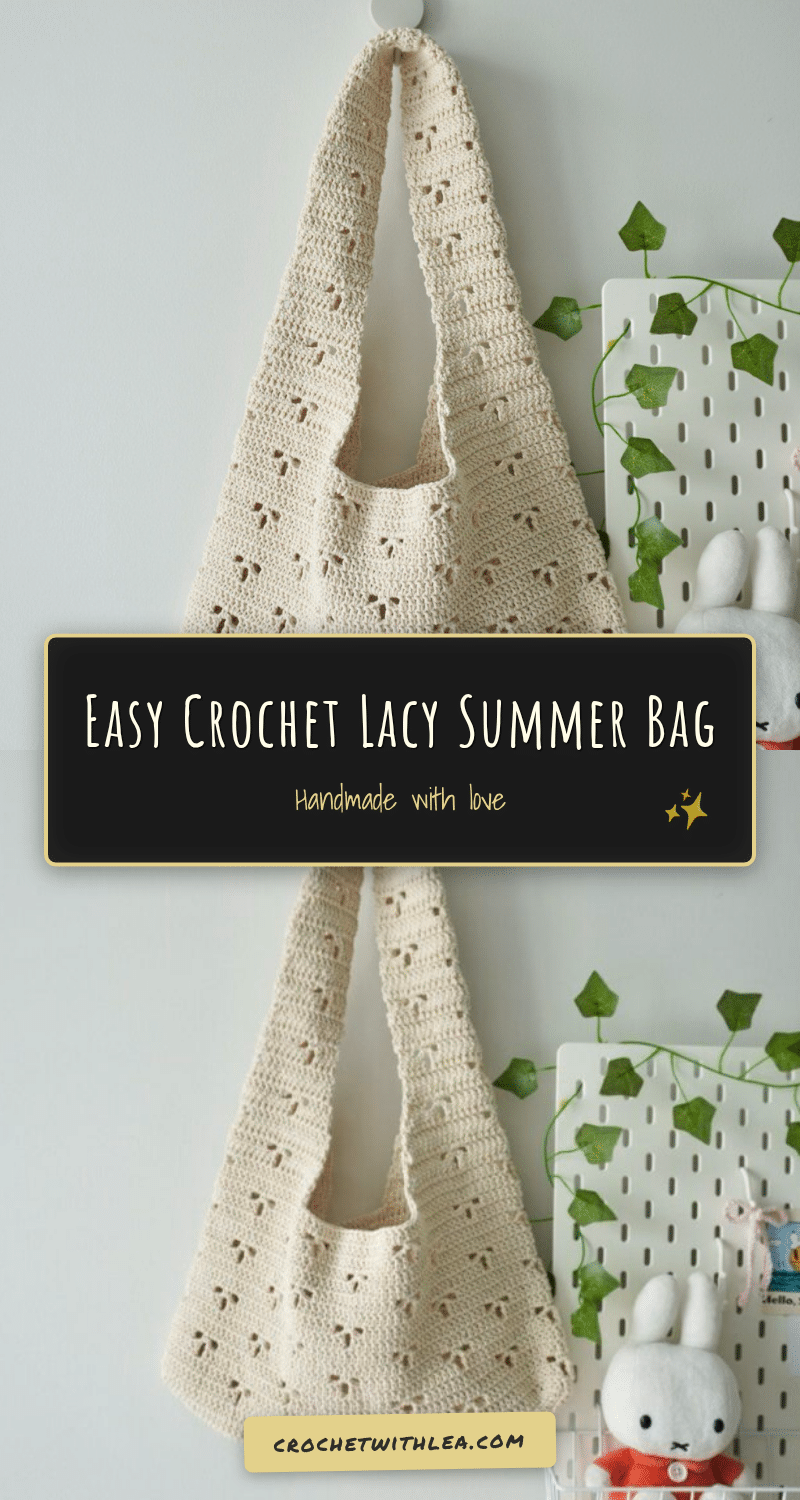
There is something deeply soothing about the rhythm of crochet, especially when the project is light and breezy. Picture a quiet evening, a small batch of cotton cord yarn in your lap, and the gentle click of your hook. You are counting stitches, settling into a relaxing repeat, and slowly building something beautiful. This lacy summer bag is the perfect companion for those cozy crafting sessions. It is airy, stylish, and surprisingly quick to make once you find your groove. Let’s dive into this pattern and create a bag that feels as good as it looks.
Small Details That Make It Better
While this pattern is technically a bag, the source describes it as an amigurumi-style project due to the structured, textured nature of the work. The real magic of this bag lies in its lacy flower motif. The openwork design allows for breathability, making it an ideal accessory for warm weather. I recommend choosing a cotton cord yarn or a strong, non-stretchy yarn to ensure the bag holds its shape beautifully. The wide strap is designed to sit comfortably on your shoulder, distributing the weight of your essentials. To elevate the look, consider pairing this bag with handmade crochet orchid flowers—a lovely combo that adds a touch of elegance. The texture of the flowers against the lacy body creates a wonderful contrast that is both modern and timeless.
Project Overview
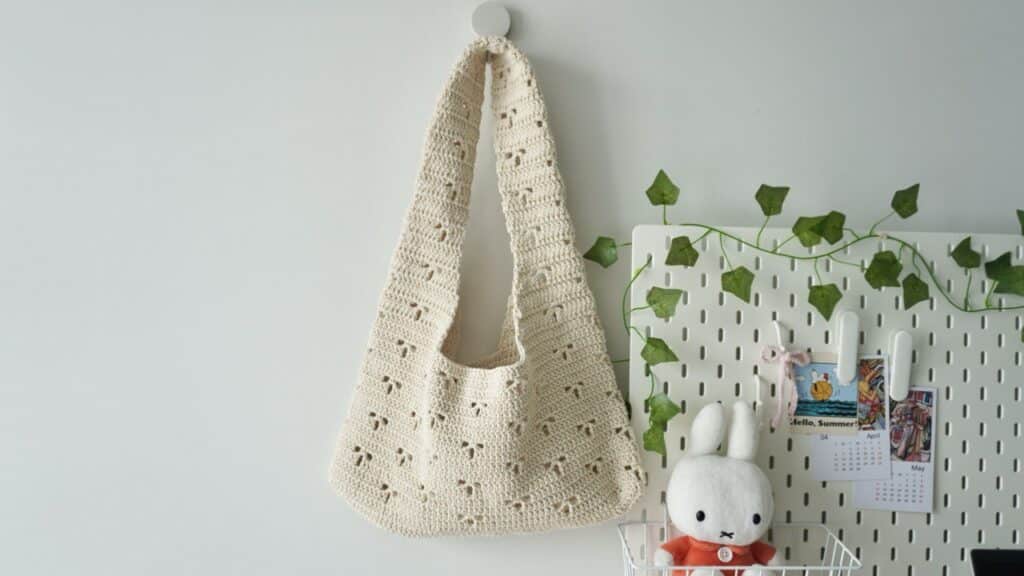
This free pattern guides you through creating a lacy summer bag with a distinctive flower pattern. The project involves creating a rectangular body, forming the flower motif in rounds, and attaching long, sturdy straps. The pattern is designed for personal use, and you are welcome to sell finished items made from this pattern, but mass production of the pattern itself is not allowed.
Materials
- Yarn: Cotton cord yarn or any yarn which is strong enough to hold its shape and does not stretch a lot. You will need around 300g of yarns!
- Crochet Hook: 3mm crochet hook
- Notions: Stitch markers, darning needle, and scissors
Gauge and Finished Size
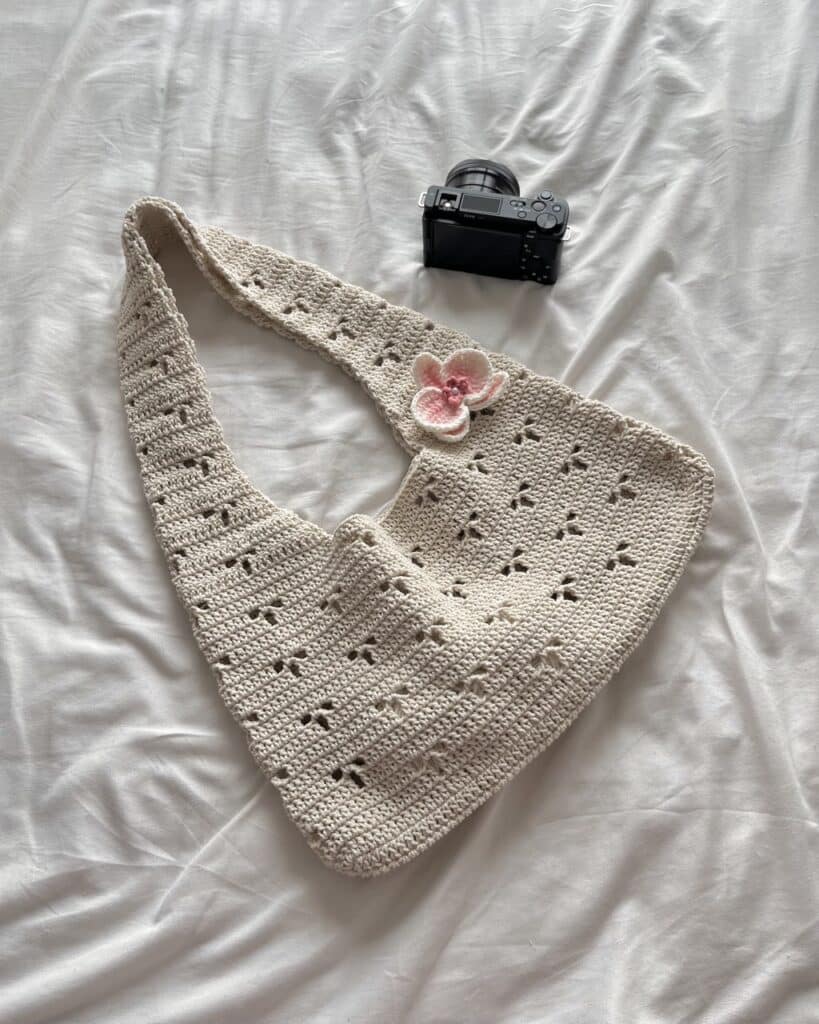
Specific gauge and finished size measurements are not provided in the source pattern. The length of the bag body is determined by the number of flower repeats, and the strap length is customizable (the source example is approximately 13 inches).
Abbreviations
The abbreviations are in US terminology!
- R – round/row
- Ch – chain
- mr – magic ring
- st – stitch
- sc – single crochet
- inc – increase
- dec – decrease
- dc – double crochet
- slst – slip stitch
- * – repeat
- [] – total stitch count in each round/row
- sk – skip
Pattern Notes
- Starting from R5, we are starting to form our flower pattern! Each flower takes 9 stitches to do and that is why, I divide the pattern into 9st clusters!
- Repeat R5 to R8 again and again (in order) until you get 4 complete flowers in each vertical row. If you want 5 flowers in each vertical row, you must repeat R5-R8 one more time and this way, you can make it longer!
- When you are finished with the body, do the last round as below which prepares for the strap!
- From the last round, we only continued one flower pattern from each side of the bag. That flower will be the center as we mark the stitches for our strap!
- Repeat from R9 to R12 again and again (in order) until you get your desired length for the strap! Once you get your desired length (I made mine about 13 inches), you can stop at any row, cut the yarn and make another strap in the same way.
Pattern Instructions
Body
Start with a slip knot and make 66ch.
R1 Starting from 3 rd ch from the hook, 1dc into each st [64]
R2-R3 Ch2 & Turn, 64dc [64]
In R4, we are crocheting around all four sides of the crochet piece we just did and make a round! Watch this part of the tutorial to see how to make R4.
R4 First side ; 2ch, 3dc in one, 2dc, 3dc in one, Second side ; 64dc, Third side ; 3dc in one, 2dc, 3dc in one, Fourth side ; 64dc, 1slst into the first dc [144 dc]
Starting from R5, we are starting to form our flower pattern! Each flower takes 9 stitches to do and that is why, I divide the pattern into 9st clusters! Watch this part of the tutorial for a more detailed explanation.
R5 Ch2, [ (4dc, Ch3, sk1, 4dc), 9dc ]*8, 1slst
R6 Ch2, [ (2dc, Ch2, sk2, 1sc, Ch2, sk2, 2dc), 9dc ] *8, 1slst
R7 Ch2, [ 9dc, (4dc, Ch3, sk1, 4dc) ] * 8, 1slst
R8 Ch2, [ 9dc, (2dc, Ch2, sk2, 1sc, Ch2, sk2, 2dc) ]*8, 1slst
Repeat R5 to R8 again and again (in order) until you get 4 complete flowers in each vertical row. If you want 5 flowers in each vertical row, you must repeat R5-R8 one more time and this way, you can make it longer!
The Last Round of the Bag Body
When you are finished with the body, do the last round as below which prepares for the strap! Watch this part of the tutorial for a more detailed explanation.
Ch2, (4dc, Ch3, sk1, 4dc), 63dc, (4dc, Ch3, sk1, 4dc), 63dc
Cut the yarn.
Strap
From the last round, we only continued one flower pattern from each side of the bag. That flower will be the center as we mark the stitches for our strap! Watch this part of the tutorial to see how to mark the stitches and start making the strap.
R1 Ch2, 1dc dec, 6dc, 9dc, (2dc, Ch2, sk2, 1sc, Ch2, sk2, 2dc), 9dc, 6dc, 1dc dec
R2 Ch2, 1dc dec, 5dc, (4dc, Ch3, sk1, 4dc), 9dc, (4dc, Ch3, sk1, 4dc), 5dc, 1dc dec
R3 Ch2, 1dc dec, 4dc, (2dc, Ch2, sk2, 1sc, Ch2, sk2, 2dc), 9dc, (2dc, Ch2, sk2, 1sc, Ch2, sk2, 2dc), 4dc,1dc dec
R4 Ch2, 1dc dec, 3dc, 9dc, (4dc, Ch3, sk1, 4dc), 9dc, 3dc, 1dc dec
R5 Ch2, 1dc dec, 2dc, 9dc, (2dc, Ch2, sk2, 1sc, Ch2, sk2, 2dc), 9dc, 2dc, 1dec
R6 Ch2, 1dc dec, 1dc, (4dc, Ch3, sk1, 4dc), 9dc, (4dc, Ch3, sk1, 4dc), 1dc, 1dc dec
R7 Ch2, 1dc dec, (2dc, Ch2, sk2, 1sc, Ch2, sk2, 2dc), 9dc, (2dc, Ch2, sk2, 1sc, Ch2, sk2, 2dc), 1dc dec
R8 Ch2, 1dc dec, 8dc, (4dc, Ch3, sk1, 4dc), 8dc, 1dc dec
R9 Ch2, 9dc, (2dc, Ch2, sk2, 1sc, Ch2, sk2, 2dc), 9dc
R10 Ch2, (4dc, Ch3, sk1, 4dc), 9dc, (4dc, Ch3, sk1), 4dc
R11 Ch2, (2dc, Ch2, sk2, 1sc, Ch2, sk2, 2dc), 9dc, (2dc, Ch2, sk2, 1sc, Ch2, sk2, 2dc)
R12 Ch2, 9dc, (4dc, Ch3, sk1, 4dc), 9dc
Repeat from R9 to R12 again and again (in order) until you get your desired length for the strap! Once you get your desired length (I made mine about 13 inches), you can stop at any row, cut the yarn and make another strap in the same way.
Assembly
Join the two straps together and watch this part of the tutorial for a more detailed explanation!
Tips
- I did complain a little at first about how long they took, but honestly, you can finish one in a good 2 or 3 days, which is totally normal for crochet pieces.
- Open this video as you crochet along to make the process more effective and time-saving.
FAQs
What type of yarn is best for this bag?
The pattern recommends cotton cord yarn or any yarn which is strong enough to hold its shape and does not stretch a lot. This ensures the bag remains structured and durable.
How many flowers should be in the vertical row?
The base pattern includes 4 complete flowers in each vertical row. You can add a 5th flower by repeating rounds R5-R8 one more time if you prefer a longer bag.
How do I determine the length of the straps?
The strap length is customizable. Repeat rounds R9-R12 until you reach your desired length. The source example is approximately 13 inches.
Can I sell the finished bags?
Yes, you are welcome to sell any finished items made from these patterns. However, mass production and selling the patterns themselves are not allowed.
Do I need to use stitch markers?
Stitch markers are listed in the materials. They are helpful for marking the start of rounds and for marking the stitches for the strap center as described in the notes.
Pin This Crochet Pattern!