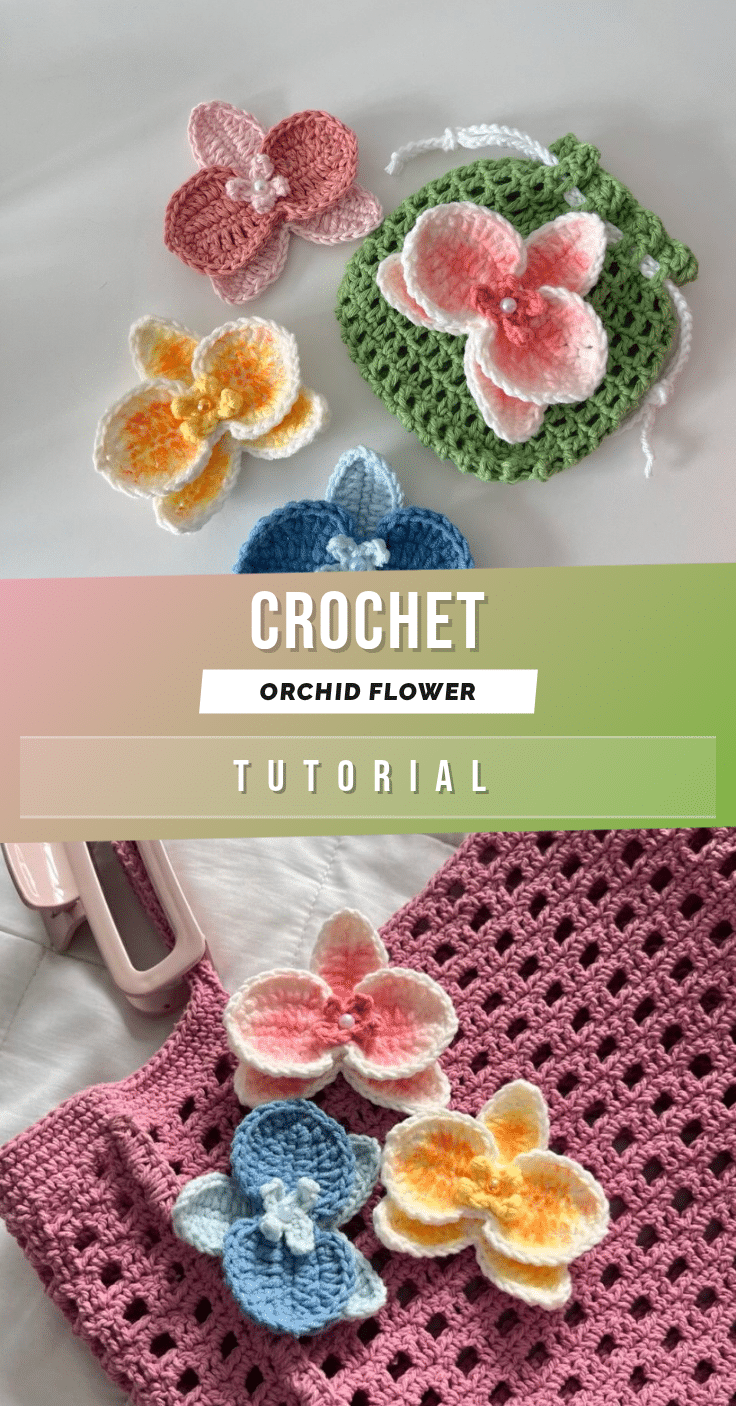
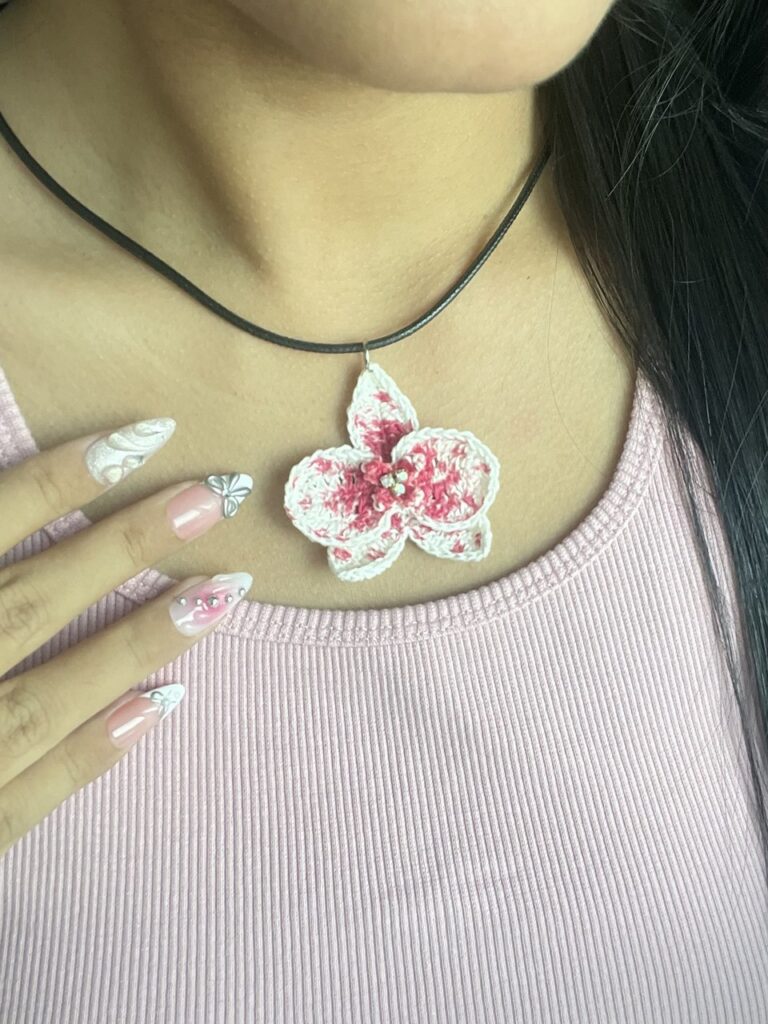
There is something deeply satisfying about watching a simple chain transform into the delicate, structured layers of an orchid. This pattern relies on the interplay of tight single crochets and expansive double crochet clusters to create that signature orchid shape. The texture shifts from the dense, rounded base of the petals to the open, airy curves of the outer edges, inviting you to slow down and appreciate the rhythm of each round. It is a project that rewards patience, offering a beautiful, dimensional result that feels like a small work of art in your hands.
Texture and Stitch Notes
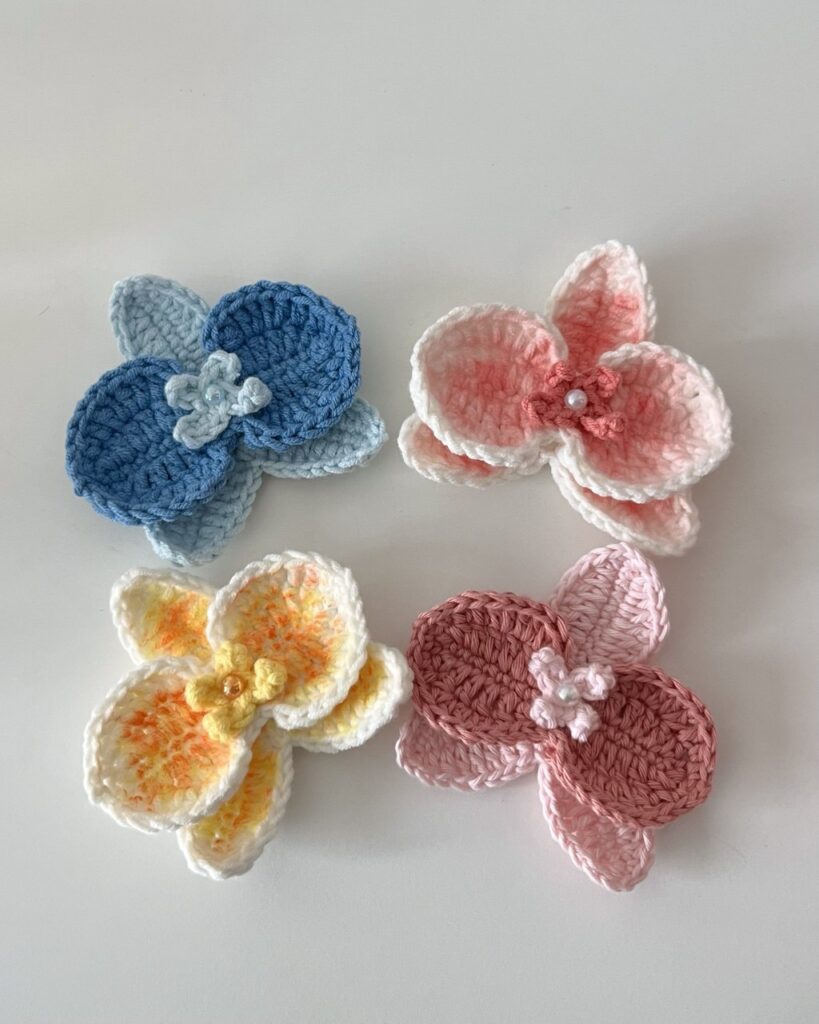
What makes this orchid applique truly special is the way the stitches define the flower’s anatomy. The three-piece and two-piece petals rely on a specific sequence of single crochets, half double crochets, and double crochets to create a cupped, organic shape. Pay close attention to the tension in Round 3 of the two-piece petal; keeping your stitches loose and relaxed is crucial for that natural, unfurling look. The mini center petal adds a nice textural contrast with its tighter, smaller clusters, providing a perfect focal point. Whether you leave it in its natural yarn color or add a touch of shading, the stitch definition here is what gives the flower its lifelike character.
Project Overview
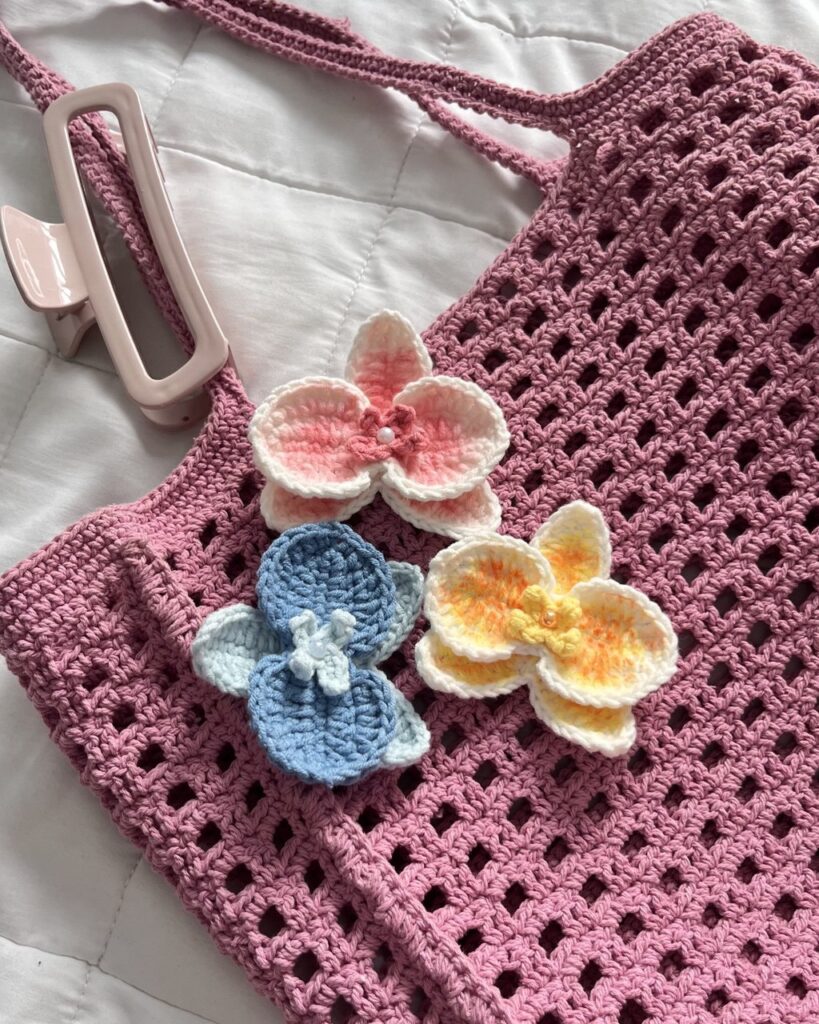
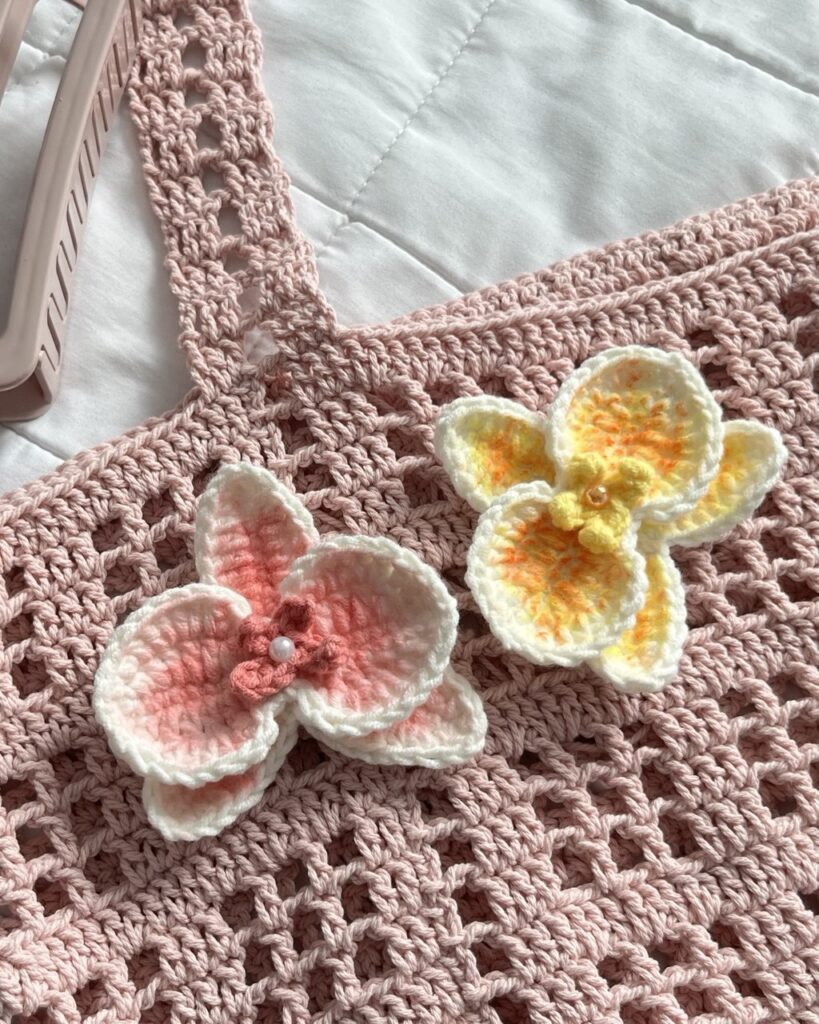
This is a charming crochet applique pattern designed to create a realistic orchid flower. It is constructed using three distinct petal components: a three-piece outer petal, a two-piece middle petal, and a mini center petal. The pattern is written in US terminology and is suitable for crocheters who are comfortable with basic stitches and shaping. The final piece can be used as a standalone applique, a hair accessory, or a decorative element for other amigurumi projects.
Materials
- Yarn: Cotton (5ply), Acrylic, or Sport weight in light blue and dark blue (or your preferred colors)
- Crochet Hooks: 2.5mm hook (primary), 3mm hook (optional, recommended for specific rounds)
- Stitch markers
- Darning needle
- Scissors
- Glue (optional)
- Decorations: Pearls, beads, or charms (optional)
Gauge and Finished Size
Specific gauge and finished size measurements are not provided for this pattern. The size of the finished orchid will vary slightly depending on your personal tension and the exact weight of the yarn used. Focus on maintaining the stitch counts and shaping instructions to achieve the correct flower structure.
Abbreviations
The abbreviations are in US terminology!
- R – round/row
- Ch – chain
- mr – magic ring
- st – stitch
- sc – single crochet
- inc – increase
- dec – decrease
- hdc – half double crochet
- dc – double crochet
- slst – slip stitch
- *- repeat
- [] – total stitch count in each round/row
- sk – skip
Pattern Notes
- The abbreviations are in US terminology!
- Highly recommended: switch to a larger hook (e.g 3mm or 4mm) to make R3 of the two-piece petal to keep the stitches loose and relaxed. If you don’t have a larger hook, it’s also fine but be careful to not crochet too tight. Keep your tension pretty loose!
Pattern Instructions
Three-piece petal
Start with a magic ring, using a 2.5mm hook!
R1 (11ch, starting from 2nd ch from the hook, 10sc, 1slst into mr) *3, pull the yarn and close the magic ring. In R2, we’ll crochet into each and every stitch of the three pieces we made in R1, including the bottom parts of the ch. Watch this part of the tutorial for more details.
R2 Ch1, (1sc, 2hdc, 4dc, 2hdc, 1sc, 2ch, 1sc, 2hdc, 4dc, 2hdc, 1sc) *3 Cut the yarn leaving a long tail.
Two-piece petal
Start with a magic ring using a 2.5mm hook.
R1 (9ch, starting from 2nd ch from the hook, 8sc, 1slst in mr) *2, pull the yarn and close the magic ring.
R2 Ch1, (1sc, 1hdc, 4dc, 1hdc, 1sc) *4
R3 Ch1, (2slst, 3dc inc, 1dc, 1hdc, 1sc, 2ch, 1sc, 1hdc, 1dc, 3dc inc, 2slst) *2
Mini center petal
Start with a magic ring using a 2.5mm hook.
R1 (4ch, 3sc, 1slst into mr) *2, (3ch, 2sc, 1slst) *2, pull the yarn and close the magic ring.
Assembly
(Optional) In the three-piece petal section, sew only the upper part of the two bottom petals together, make sure to leave the lower parts open and unsewn. Watch this part of the tutorial for more details.
Sew the two-piece petal on top of the three-piece petal and the mini petal on top of these two in the middle. You can also add small beads or pearls on top of everything to make it pop!
Tips
For coloring, you can use eyeshadow, blusher, oil pastel or watercolor. They are not completely smudge proof and may fade over time but great for testing out and playing around with colors. If you want a permanent paint that doesn’t smudge, I recommend fabric paint but they may be quite hard to use and can get messy if you are not careful.
FAQs
Can I use a different yarn weight for this pattern?
Yes, you can use Cotton (5ply), Acrylic, or Sport weight yarn. Keep in mind that changing the yarn weight may alter the final size and drape of the flower.
Why is it recommended to switch hooks for R3 of the two-piece petal?
Switching to a larger hook (3mm or 4mm) for Round 3 helps keep the stitches loose and relaxed, which is essential for achieving the natural, open shape of the orchid petal.
Do I need to color the orchid?
Coloring is optional. You can leave the flower in its natural yarn color or use eyeshadow, blusher, oil pastels, watercolors, or fabric paint to add depth and realism.
How do I attach the petals together?
Use a darning needle and yarn to sew the components together. For the three-piece petal, you can optionally sew only the upper parts of the bottom petals together, leaving the lower parts open for a more dynamic look.
Can I sell items made from this pattern?
Yes, you are welcome to sell finished items made from this pattern. However, mass production and selling the pattern itself are not allowed. Please credit the original designer when sharing your creations.
Pin This Crochet Pattern!