The yarn is already on the table, and the hook is resting in your hand, waiting for that first loop. There is a quiet magic in that moment before the first stitch is made, where a simple idea begins to take shape through your fingertips. This project is a perfect example of that magic—a charming, no-sew crochet pouch that transforms basic stitches into a functional and adorable accessory. It’s a project that feels less like a chore and more like a playful experiment, inviting you to follow along as the fabric grows and the character emerges.
Why This Project Works
This pattern stands out because it removes the friction of sewing. By using a clever joining technique that connects the front and back panels directly with half double crochet stitches, you skip the tedious hand-sewing steps that often slow down amigurumi projects. The result is a sturdy, structured pouch that holds its shape beautifully. The “tomato” aesthetic is incredibly versatile; while the pattern suggests a red yarn for the body, the use of cotton or acrylic sports weight yarn allows you to customize the color to match your personal style or gift recipient. It is a quick, satisfying make that yields a high-impact result, perfect for storing small essentials or simply adding a pop of personality to your bag.
Project Overview
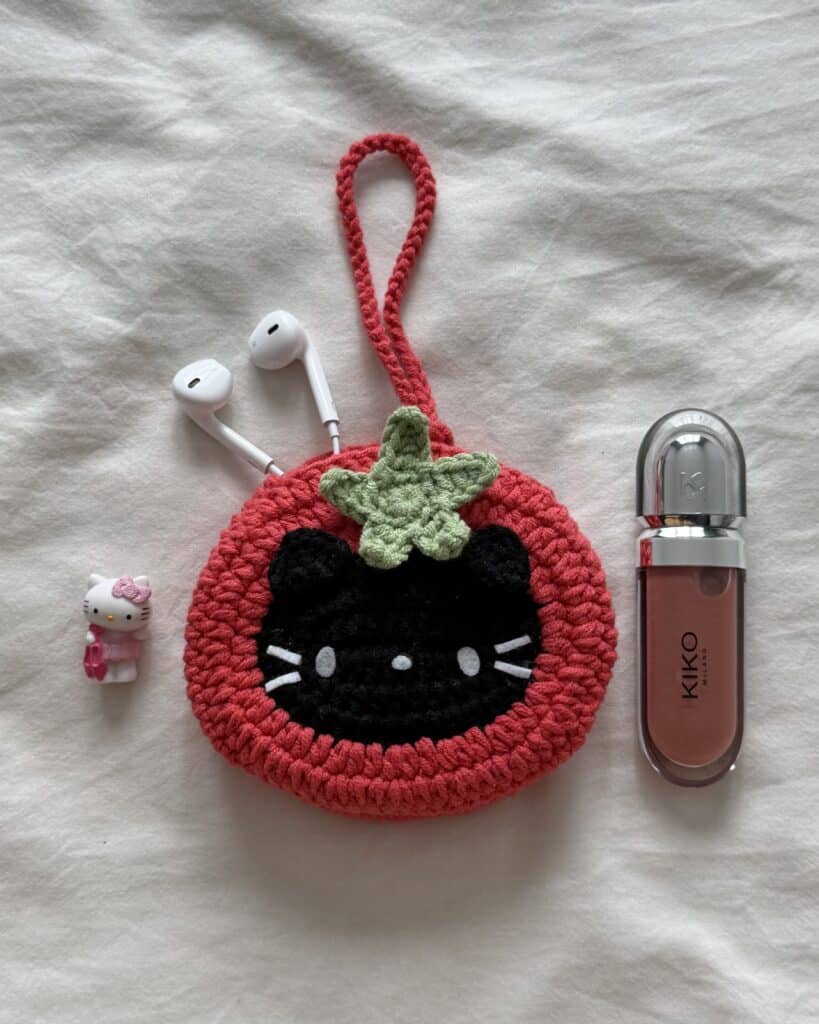
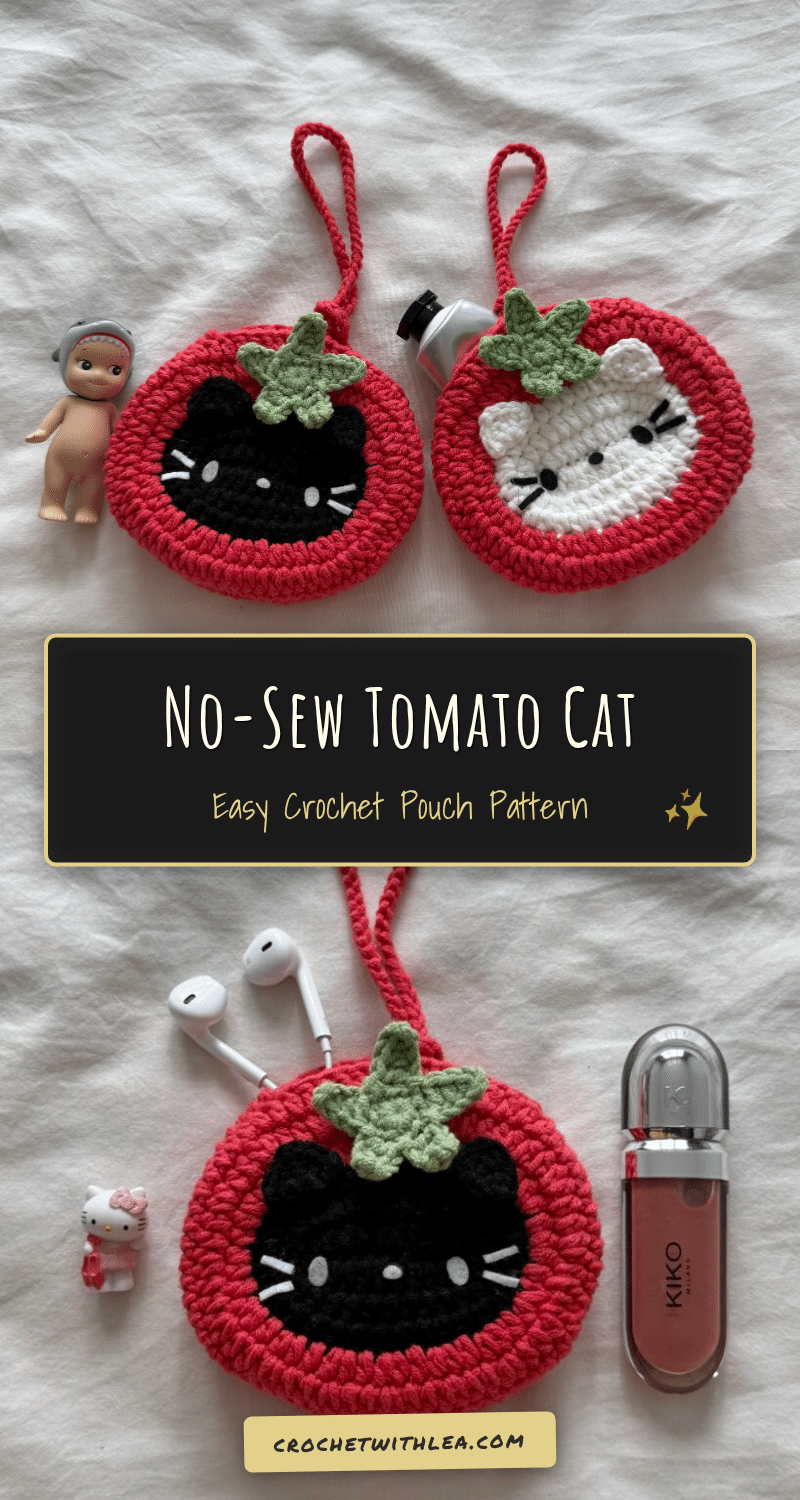
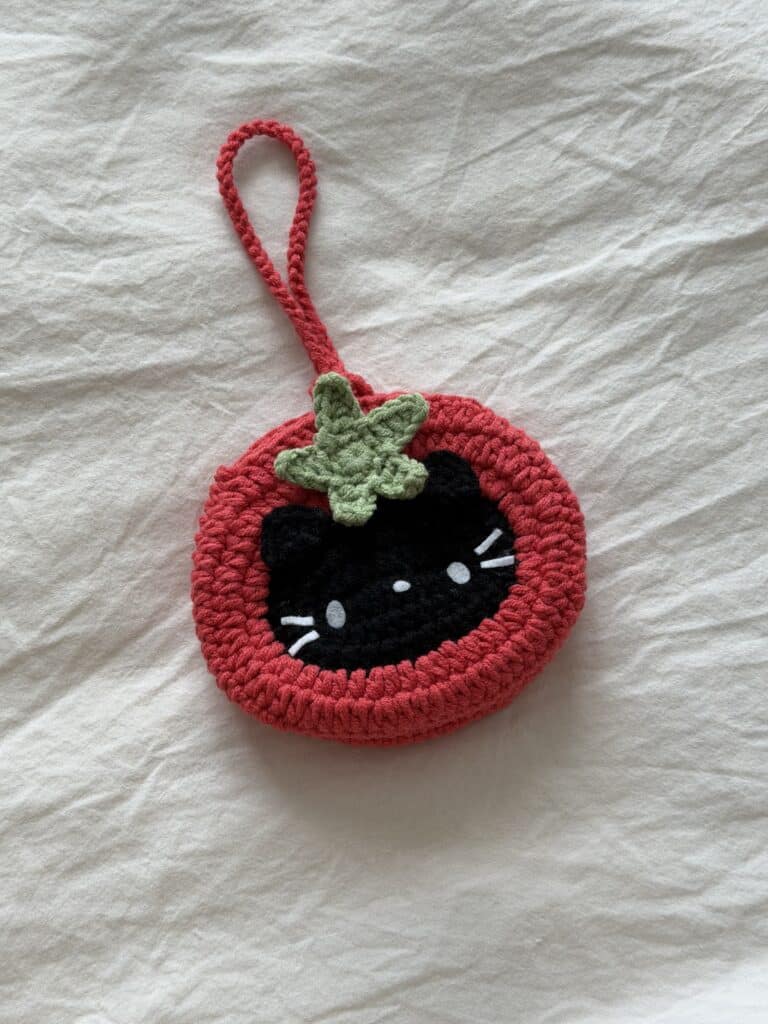
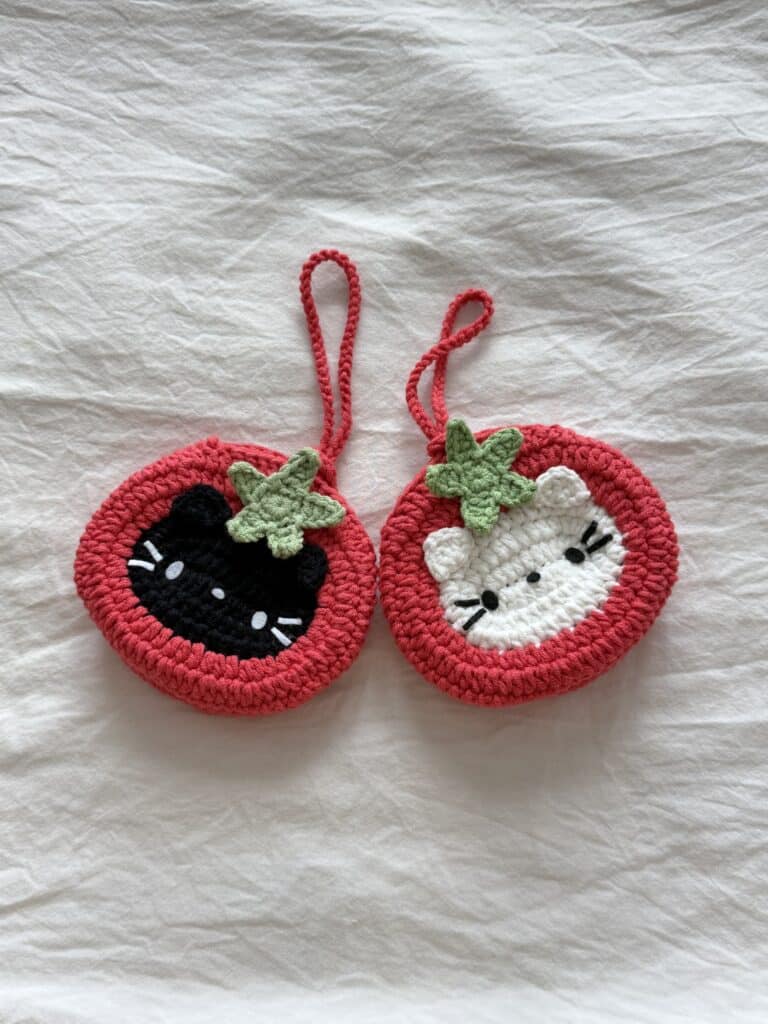
This is a no-sew crochet pattern for a tomato-shaped cat pouch. The design consists of two main panels (front and back) that are joined together using a specific stitch technique, leaving an opening at the top. The pouch features integrated straps or loops for carrying, and it is finished with felt details for the face and a leaf on top. The project is designed for personal use and is suitable for makers looking for a quick, functional amigurumi-style project.
Materials
- Cotton or Acrylic yarn (sports weight, 5ply) in any color you prefer (Red for the body, plus color for straps/loops)
- 3mm crochet hook
- Stitch markers
- Darning needle
- Scissors
- Brown felt cloth (optional, for face details)
- Black or white felt cloth (for eyes, nose, and whiskers)
- Green felt cloth (for the leaf)
- Fabric glue (for assembly of felt pieces)
Gauge and Finished Size
Gauge and finished size measurements are not specified in the source pattern. The finished size will depend on your tension and the exact yarn weight used. Ensure you use the recommended 3mm hook and sports weight (5ply) yarn to maintain the intended structure.
Abbreviations
The abbreviations are in US terminology!
- R – round/row
- Ch – chain
- st – stitch
- sc – single crochet
- inc – increase
- dec – decrease
- dc – double crochet
- hdc – half double crochet
- slst – slip stitch
- *- repeat
- [] – total stitch count in each round/row
- sk – skip
- FLO – Front Loop Only
- BLO – Back Loop Only
- mr – Magic Ring
Pattern Notes
- The abbreviations are in US terminology.
- Copyright Notice: The crochet patterns shared on this blog are designed by @chubbiesbyash__ and are for personal use only. You are welcome to sell any finished items made from these patterns, but mass production and selling the patterns themselves are not allowed. Please don’t use the photos from this blog without permission. If you share your creations, credit the creator with a link to their blog, Instagram, or YouTube channel.
- Do not miss out any details! It is recommended to open the accompanying video tutorial as you crochet along to make the process more effective and time-saving.
Pattern Instructions
Front Panel
Start with a slip knot and make 12ch.
R1 Starting from 3rd ch from the hook, 1hdc inc, 8hdc, (4hdc) into last ch, Crocheting into lower loops of each ch: 8hdc, 1hdc inc, 1slst (into first st) [24]
R2 Ch1, 1hdc, 1hdc inc, 8hdc, (1hdc, 1hdc inc)*2, 9hdc, 1hdc inc, 1slst [28]
R3 Ch1, 2hdc, 1hdc inc, 8hdc, (2hdc, 1hdc inc)*2, 10hdc, 1hdc inc, 1slst [32]
Change to Red at the end of R3
R4 In Red, FLO, Ch1, (1hdc, 1hdc inc)*16, 1slst [48]
R5 Ch1, (2hdc, 1hdc inc)*16, 1slst [64]
R6 Ch1, 10hdc, 9dc, For long strap (40ch, 1slst into 1st ch), 9dc, 16hdc, 16sc, 4hdc, 1slst [64]
Cut yarn leaving a short tail.
Back Panel
Start with a magic ring.
R1 12hdc in mr, 1slst [12]
R2 Ch1, 12hdc inc, 1slst [24]
R3 Ch1, (1hdc, 1hdc inc)*12, 1slst [36]
R4 Ch1, (2hdc, 1hdc inc)*12, 1slst [48]
R5 Ch1, (2hdc, 1hdc inc)*16, 1slst [64]
R6 Ch1, 10hdc, 9dc, For short strap or loop (8ch, 1slst into 1st ch), 9dc, 16hdc, 16sc, 4hdc, 1slst [64]
Cut yarn leaving a short tail.
Connecting Two Panels
Place the right sides of each panel together with the front panel on top and the back panel underneath.
On both panels, mark 8sts to the right and to the left of the gap formed beneath where the straps are added. Place marker into the 8th st of both sides.
Starting from the two markers on the left sides of front and back panels, bring Red yarn and make 1hdc by going through BLO on the front panel and FLO on the back panel. Continue joining two panels this way using hdc till the two markers on the right side. (The remaining unjoined stitches in the middle at the top will form the opening of the pouch)
When finished, cut yarn and weave in the ends.
Ears
Start with a magic ring.
R1 4sc in mr
R2 Ch1 & turn, 2sc, 2ch, 2sc
Cut yarn and weave in the ends.
Leaf
Start with a magic ring.
R1 10sc in mr, 1slst
R2 (Ch5, starting form 3rd ch from the hook, 1sc, 1hdc, 1dc, sk one st on R, 1slst)*5, **make the last slst into the slst from R1
Cut yarn and weave in the ends.
Assembly
- Cut black or white felt cloth into small oval shapes to make the eyes and nose.
- Cut small strips for whiskers and glue them on the face patch of the pouch, on the front panel.
- Glue the ears onto the top of the pouch, one on each side.
- Glue the green leaf in the middle, between the ears.
Tips
- This pattern evolved through 2 to 3 rounds of errors and changes to reach its simplest and cutest version. Don’t be discouraged if your first attempt needs tweaking; it is definitely worth the trials and errors.
- Refer to the accompanying video tutorial for a more detailed explanation of the joining process and other tricky steps.
- Use stitch markers to keep track of your increases and the specific points where you need to join the panels.
FAQs
Can I use a different yarn weight?
The pattern is designed for sports weight (5ply) yarn with a 3mm hook. Using a significantly different weight may alter the size and structure of the pouch, particularly the no-sew joining technique.
How do I make the straps longer?
In Round 6 of the Front Panel, the long strap is created by chaining 40 stitches. You can increase or decrease this chain count to adjust the strap length to your preference.
Is this pattern suitable for beginners?
Yes, the stitches used are basic (sc, hdc, dc, ch). However, the no-sew joining technique requires careful attention to working through both layers of fabric, so following the instructions closely is recommended.
Can I wash the finished pouch?
Since the pouch includes felt details glued on, it is best to spot clean the pouch or hand wash it gently and lay it flat to dry to preserve the shape and the attached felt features.
What if I don’t have felt?
You can use fabric paint to draw the face details, or use embroidery floss to stitch the eyes, nose, and whiskers directly onto the crochet fabric.
Pin This Crochet Pattern!