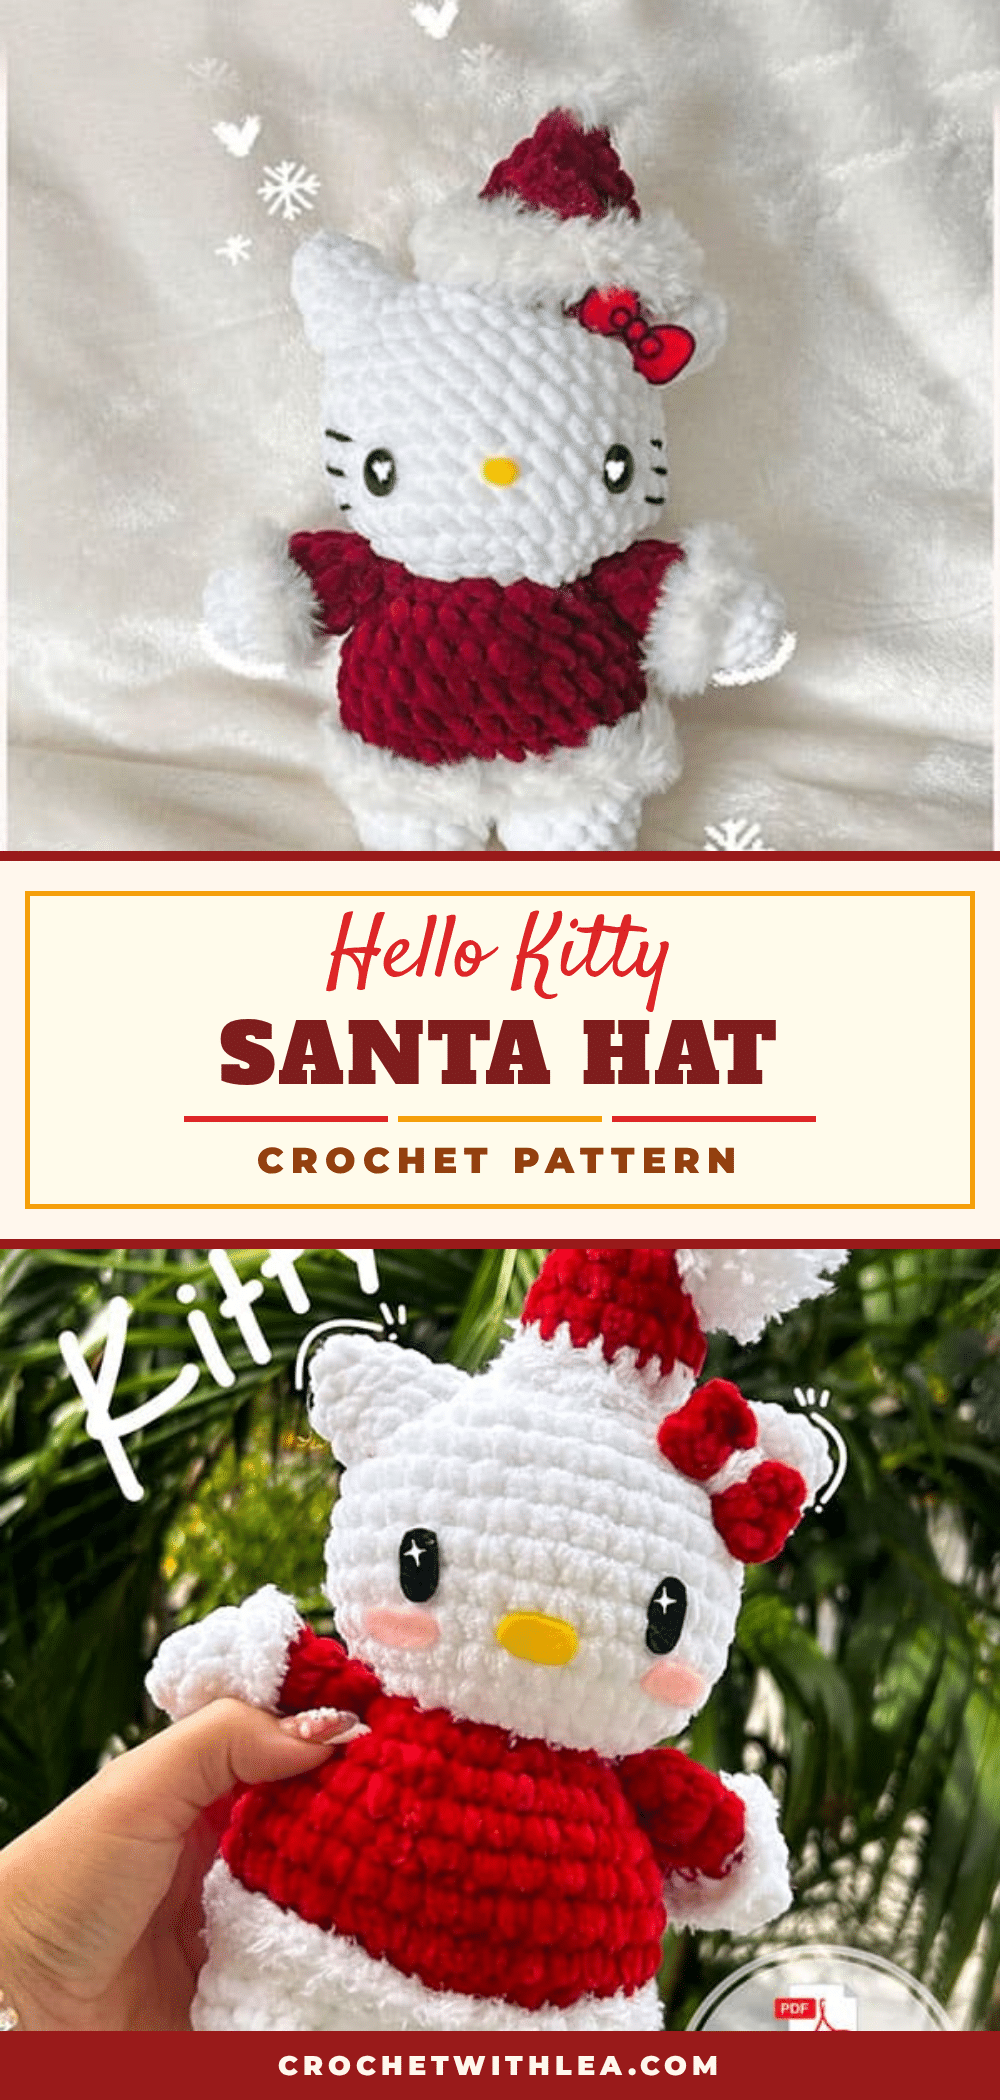
There is nothing quite like the magic of the holiday season to inspire our crafting projects. As the year winds down, there is a special joy in creating handmade gifts that bring warmth and cheer to loved ones. This Hello Kitty Santa Hat Amigurumi pattern captures that festive spirit perfectly, blending the iconic cuteness of a beloved character with the cozy traditions of Christmas. Whether you are looking to add a unique touch to your holiday tree, create a memorable gift for a child, or simply enjoy a relaxing seasonal project, this pattern offers a delightful way to spend your crafting evenings.
Seasonal Styling Ideas
Once your Hello Kitty Santa is complete, the possibilities for display are endless. This amigurumi is the perfect size for a nursery shelf, adding a touch of whimsy to a winter wonderland theme. You can also use it as a centerpiece for a holiday table setting, where its soft textures and festive colors will complement seasonal decor. For a more interactive approach, consider attaching a ribbon to the back of the hat to turn it into a charming ornament. The combination of the plush white lining and the classic red hat makes it a versatile piece that fits seamlessly into any Christmas aesthetic, from traditional red and green to modern pink and white palettes.
Project Overview
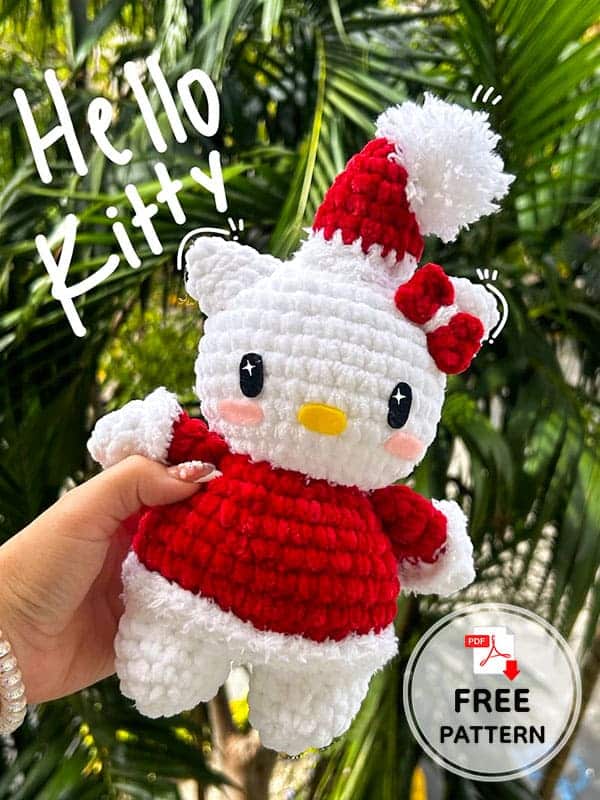
This pattern guides you through creating a charming Hello Kitty figure dressed in a festive Santa hat. The design features a white body with red accents, fluffy white lining for added texture, and a classic Santa hat complete with a bobble and a bow. The pattern is designed to be accessible for crocheters who are comfortable with basic amigurumi techniques, resulting in a soft, huggable toy that children and collectors alike will adore. The design is by xochitlmochi_crochet.
Materials
- Size 6 yarn in pink & white (Note: The source text specifies pink and white, but the pattern instructions primarily utilize white and red for the body and hat. Ensure you have white and red yarn available based on the instructions).
- Fluffy yarn in white or chenille white yarn (optional, for the lining and hat trim).
- Crochet hook appropriate for your yarn.
- Polyfill stuffing.
- Stitch marker.
- Tapestry needle.
- Felt for the eyes and nose OR safety eyes/nose.
- Pompom.
Gauge and Finished Size
Gauge and finished size measurements are not provided in the source pattern. The size of the final amigurumi may vary slightly depending on your yarn weight, hook size, and tension. Using plush yarn, as suggested in the notes, will result in a larger, softer toy.
Abbreviations
- Sc: Single crochet
- MR: Magic ring
- Dc: Double crochet
- Inc: Increase
- Dec: Decrease
- Ch: Chain
- R: Row
- FO: Fasten off
- BLO: Back loop only
- FLO: Front loop only
- BBL: Bobble stitch
- Slst: Slip stitch
Pattern Notes
You can use plush yarn if you wish while working this Hello Kitty crochet pattern. In this way, you can get a softer texture amigurumi. In addition, a larger Hello Kitty Santa toy will emerge. Make the crochet Hello Kitty amigurumi toy that children will love by following it for free below and prepare a nice surprise for them this Christmas.
Pattern Instructions
Head (In white)
R1. 7 sc in MR (7)
R2. inc x7 (14)
R3. (sc,inc)x7 (21)
R4. (2sc,inc)x7 (28)
R5. (3sc,inc)x7 (35)
R6-12. sc around (7 rounds). Place eyes between R10/R11, 8 stitches between the eyes and nose in the middle.
R13. (3sc,dec)x7 (28). Start stuffing.
R14. (2sc,dec)x7 (21)
R15. (sc,dec)x7 (14)
R16. dec x7 (7). FO, sew closed.
Legs/body
Starting in white.
Leg one:
R1. 6 sc in MR (6)
R2. inc x6 (12)
R3-5. sc around (12) (3 rounds). FO for first leg.
Repeat R1-R5 for the 2nd leg.
Attach the 2nd leg to the 1st leg with a sc (that sc will count as the first sc for the next row).
R6. 10 sc, 2 inc in first leg, 2 inc, 10 sc in second leg (28)
R7. sc around (28)
R8. Switch to red and sc in BLO (28). Place a stitch marker in the front loops of the first and last stitch of that row; you will be crocheting into those loops at the end.
R9-R10. sc around (28) (2 rounds)
R11. (5sc,dec)x4 (24)
R12. sc around (24)
R13. (4sc,dec)x4 (20)
R14. (3sc,dec)x4 (16). FO, leave a long tail for sewing and stuff.
Arms (make 2)
Starting in white.
R1. 9 sc in MR (9)
R2-R3. sc around (9) (2 rounds)
R4. Switch to red and in BLO sc around (9). Place stitch markers in the front loops of the first and last stitch of the row we will be crocheting into these at the end.
R5-R7. sc around (9) (3 rounds). Optional: stuff lightly and sew arms closed.
FO, leave a tail for sewing.
Ears (make 2)
In white.
R1. 5 sc in MR (5)
R2. (sc,inc)x2, sc (7)
R3. (2sc,inc)x2, sc (9)
R4. (3sc,inc)x2, sc (11). FO, leave a tail for sewing.
Fluffy lining
With your fluffy yarn make a slip knot. Flip the arms and body upside down. Insert your hook into the stitch markers we placed on the front loops of the body and arms and sc around. FO and weave in the ends.
Santa hat
Starting in red.
R1. 4 sc in MR (4)
R2. inc x4 (8)
R3. (sc,inc)x4 (12)
R4. (2sc,inc)x4 (16)
R5. sc around (16)
R6. (3sc,inc)x4 (20)
R7. (4sc,inc)x4 (24)
R8. Switch to the fluffy yarn and sc around (24)
R9. sc around (24). Optional stuff hat. FO, weave in ends.
With fluffy yarn make a slip knot, insert hook into the top of the hat and make a BBL stitch.
Bow
Ch 7. Sc into the 2nd chain from the hook & 5sc after that. Ch 1 turn. 6hdc. Ch 1 turn. 6hdc. FO. Tuck in loose ends.
Get white yarn & wrap around the red rectangle to make a bow. Make a knot in the back & leave a long tail to sew on or hot glue.
Assembly
- Sew head onto body.
- Sew arms between head and body.
- Sew ears onto R3/R4 of head.
- Place hat next to right ear; you can sew it on or just leave sitting on top.
- (If not already added) Place safety eyes and nose on head or cut out felt details like photo reference.
- Lastly embroider whiskers on the side of the face.
- Don’t forget to make the bow with felt and place on the right ear under the hat.
Tips
For a softer texture and a larger final toy, consider using plush yarn for the body and hat lining as suggested in the pattern notes. Ensure you place your stitch markers correctly in the front loops of the body and arms to create the fluffy lining effect seamlessly.
FAQs
Can I use a different yarn weight?
The pattern calls for Size 6 yarn. While you can substitute yarn, be aware that using a different weight may alter the finished size and the fit of the hat and lining. The source suggests that using plush yarn will result in a larger toy.
How do I make the bobble stitch (BBL)?
The pattern lists BBL as Bobble stitch. Typically, this involves yarning over, inserting the hook, pulling up a loop, and repeating this several times in the same stitch before pulling through all loops and chaining one to secure. Refer to your specific yarn’s recommended bobble stitch method if not specified.
Can I skip the fluffy lining?
Yes, the fluffy lining is optional. You can choose to crochet the body and arms without the red BLO section and stitch markers, skipping the “Fluffy lining” instructions if you prefer a smoother texture.
How do I attach the hat?
The assembly instructions suggest placing the hat next to the right ear. You can sew it securely in place for durability, or simply rest it on top for a casual look.
What size safety eyes should I use?
The source pattern does not specify a size for safety eyes. Choose a size that is proportional to your finished head size, typically between 6mm and 8mm for amigurumi of this scale.
Pin This Crochet Pattern!