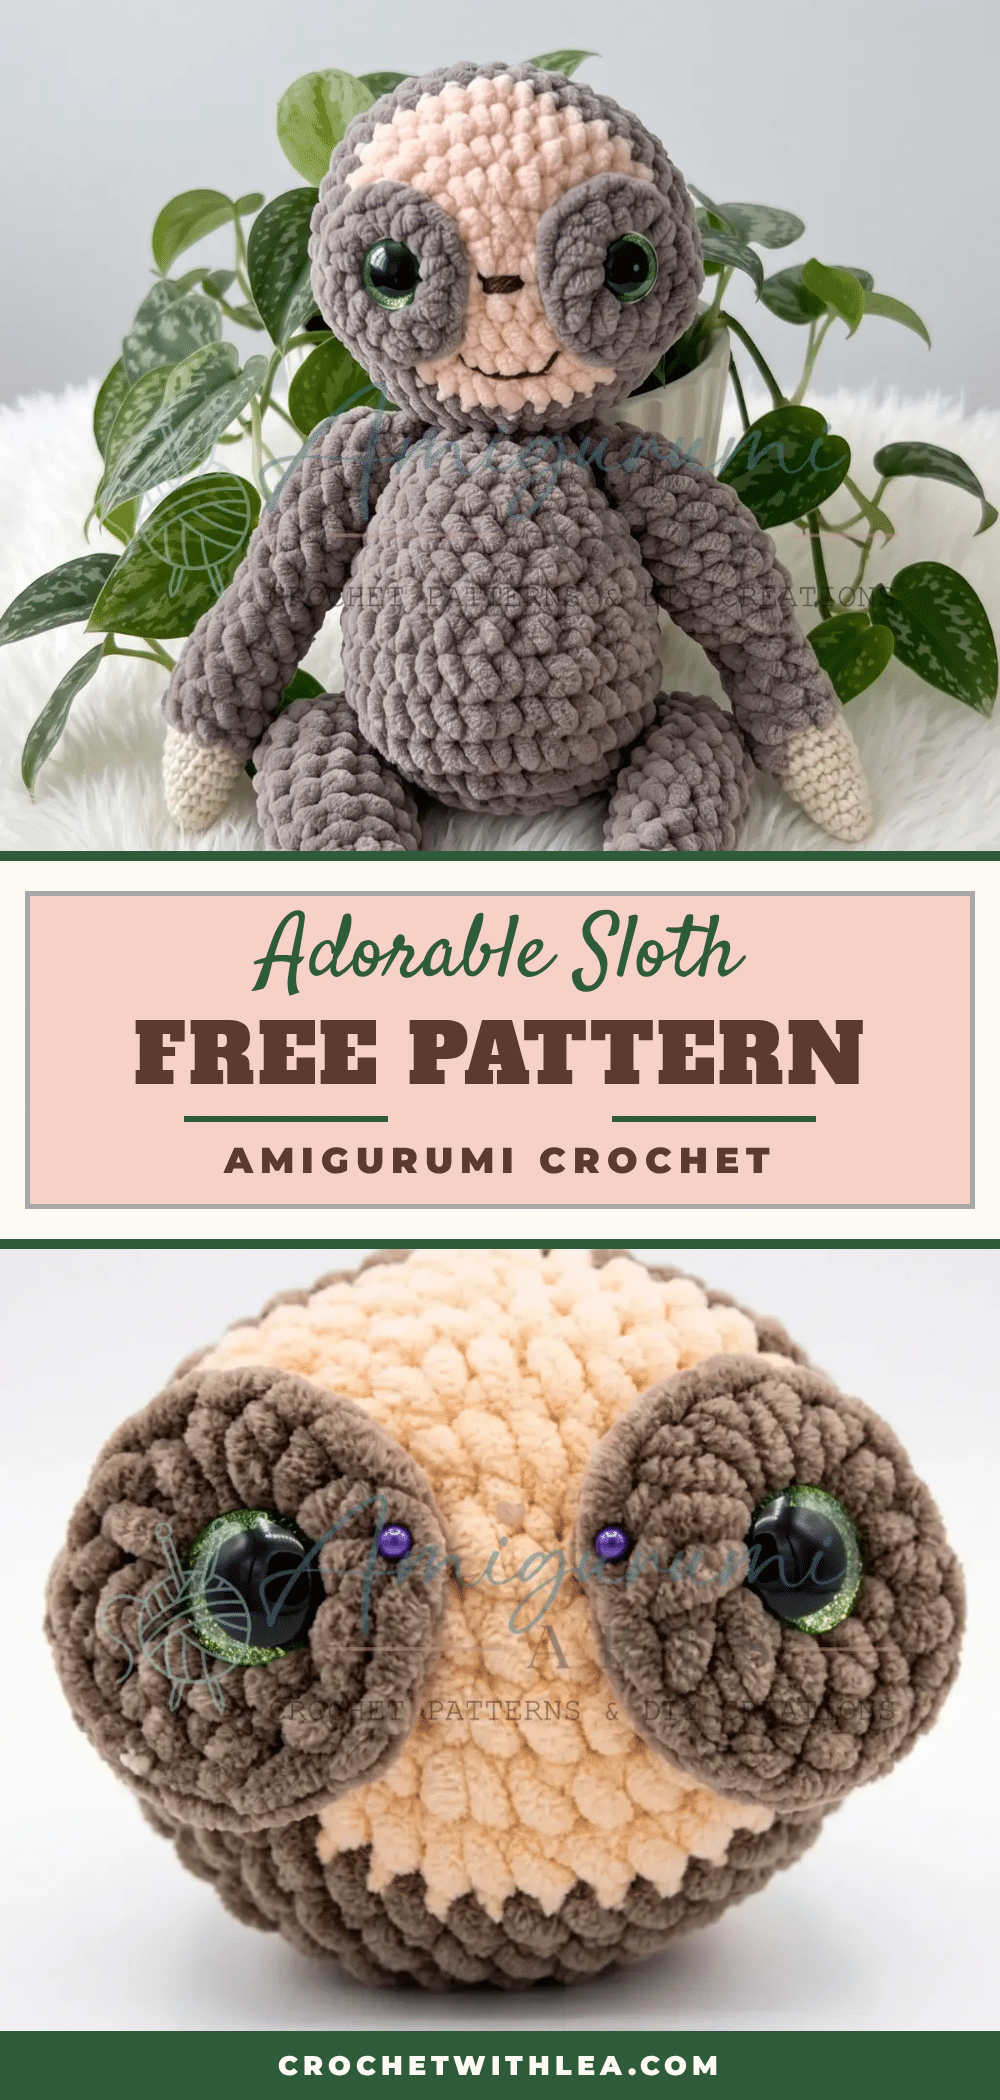
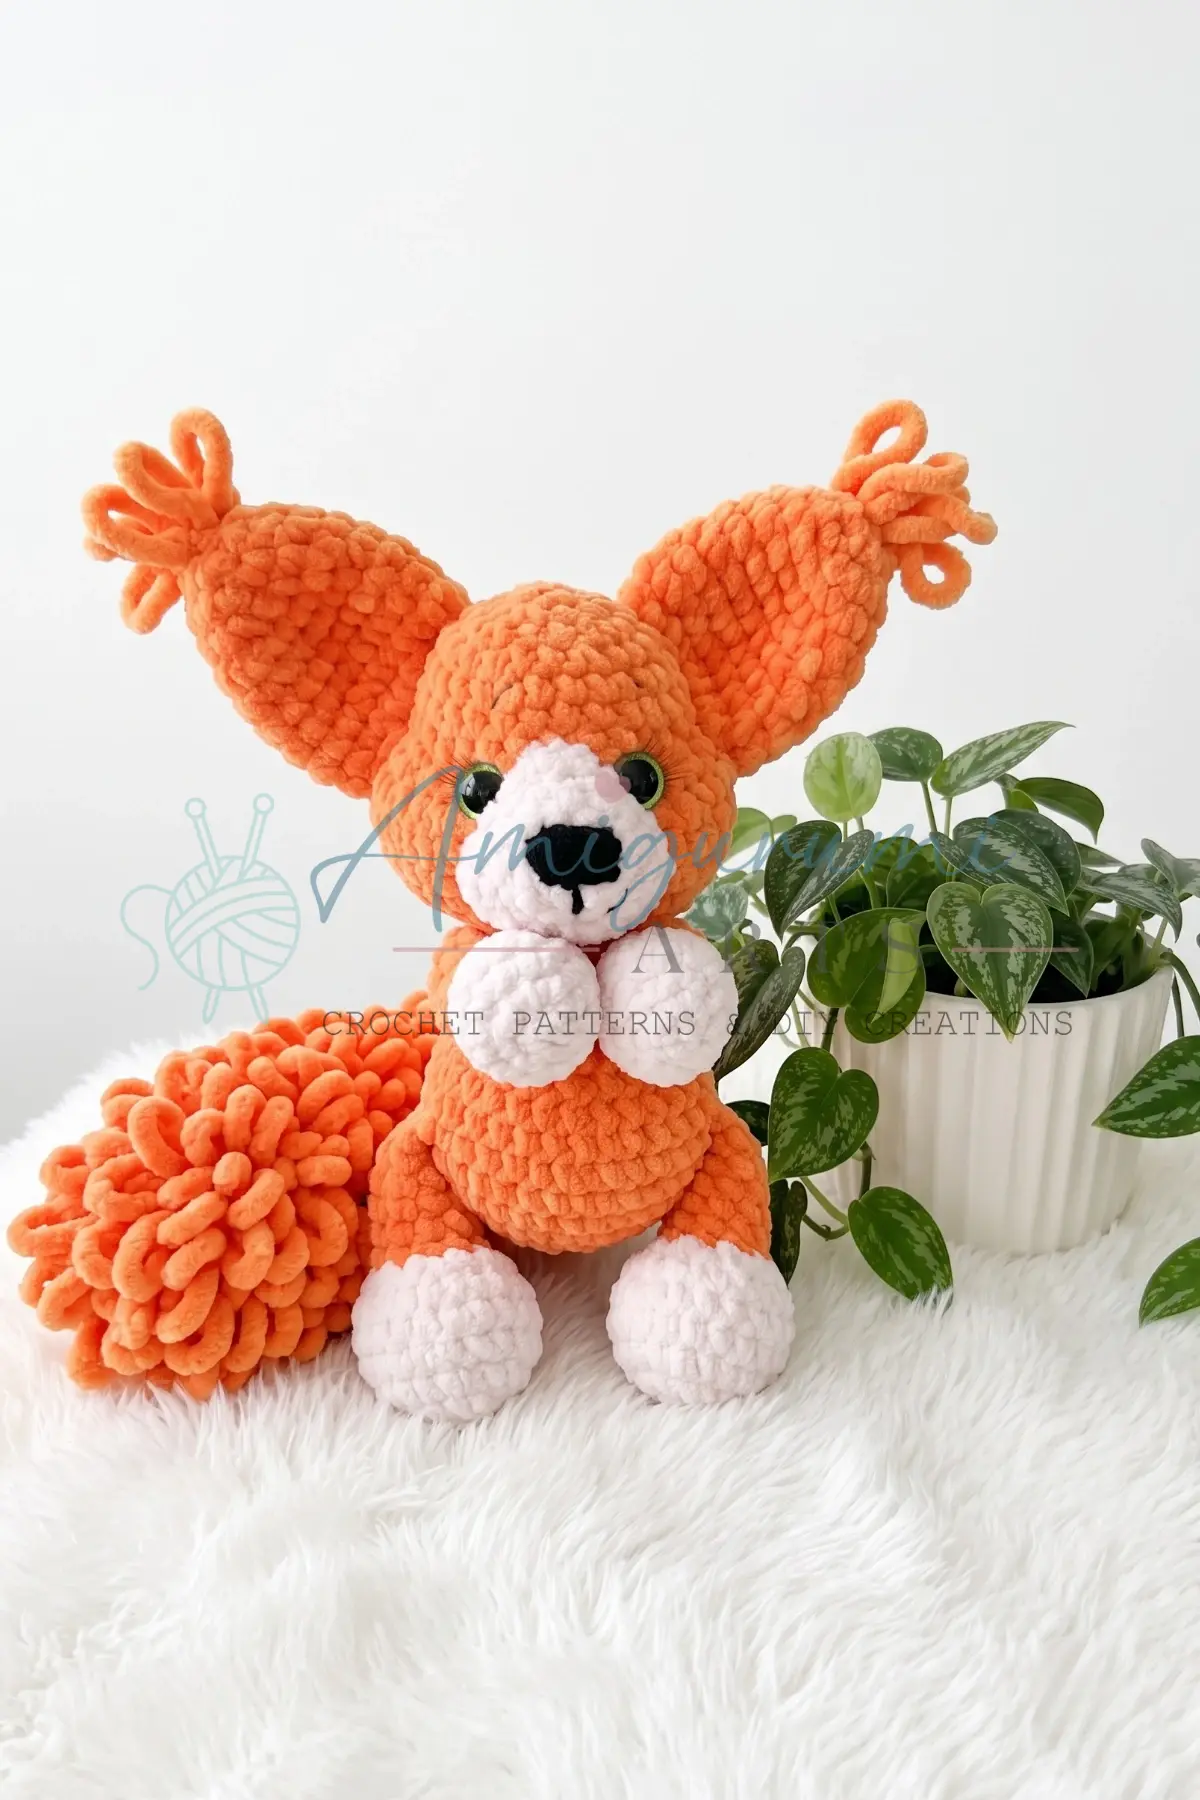
There is something undeniably heartwarming about handmade toys that capture the essence of the season. As the weather turns cooler and the days grow shorter, there is a natural desire to create cozy, huggable companions that bring warmth to a nursery or a child’s playroom. Sonya the Sloth is the perfect seasonal craft project for this time of year. Her chunky, round shape and sleepy expression make her an ideal gift for baby showers, holiday markets, or simply as a comforting presence during the winter months. This pattern invites you to create a plush friend that practically begs to be squeezed.
Seasonal Styling Ideas
Sonya’s soft, plush texture and neutral color palette make her incredibly versatile for seasonal styling. Because she is made from velvet-style yarn, she naturally fits into a cozy autumn or winter aesthetic. You can style her with a simple knitted scarf in a festive red or forest green for the holidays, or drape a tiny blanket over her shoulders for a nursery display. Her drowsy smile and relaxed posture make her a perfect “quiet” toy for bedtime routines. Additionally, because her design relies on soft textures rather than bright, busy patterns, she transitions beautifully into spring and summer decor when paired with pastel accessories or placed in a basket of natural fibers.
Project Overview
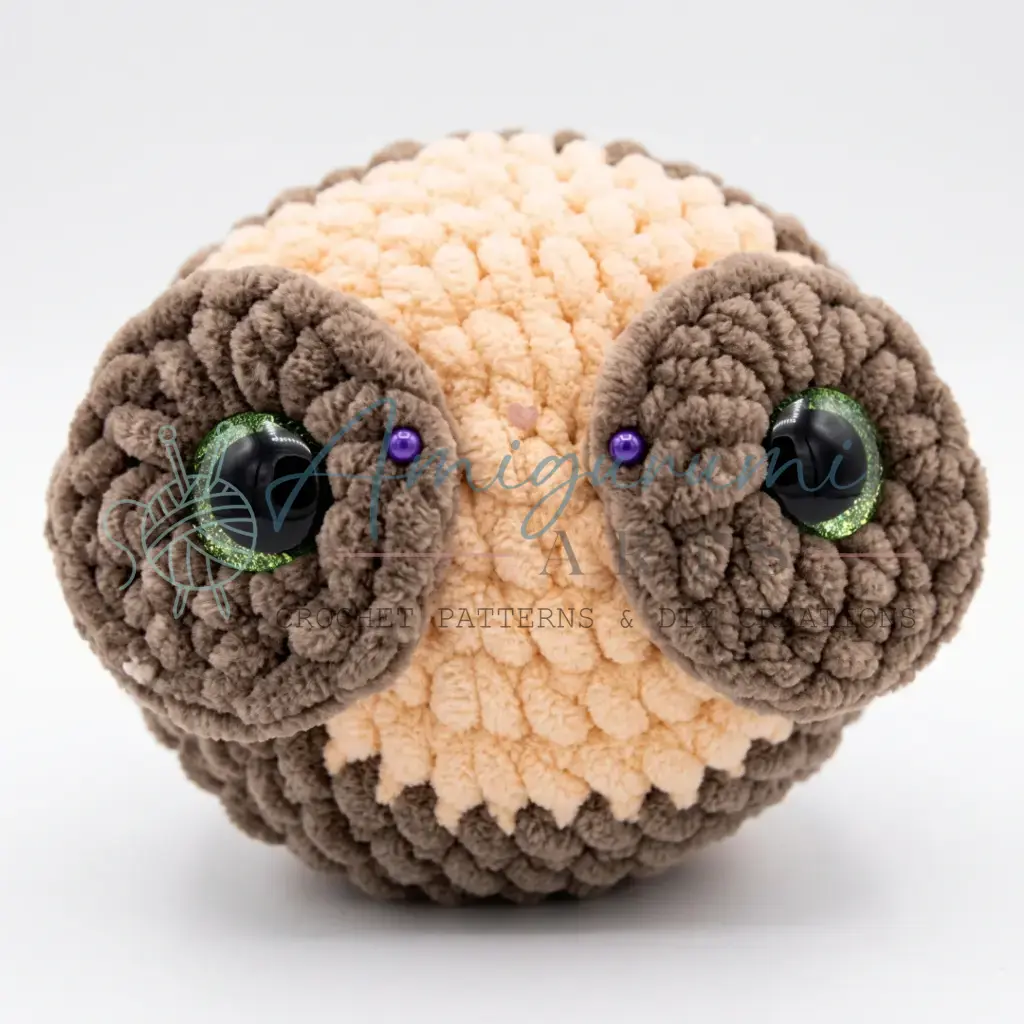
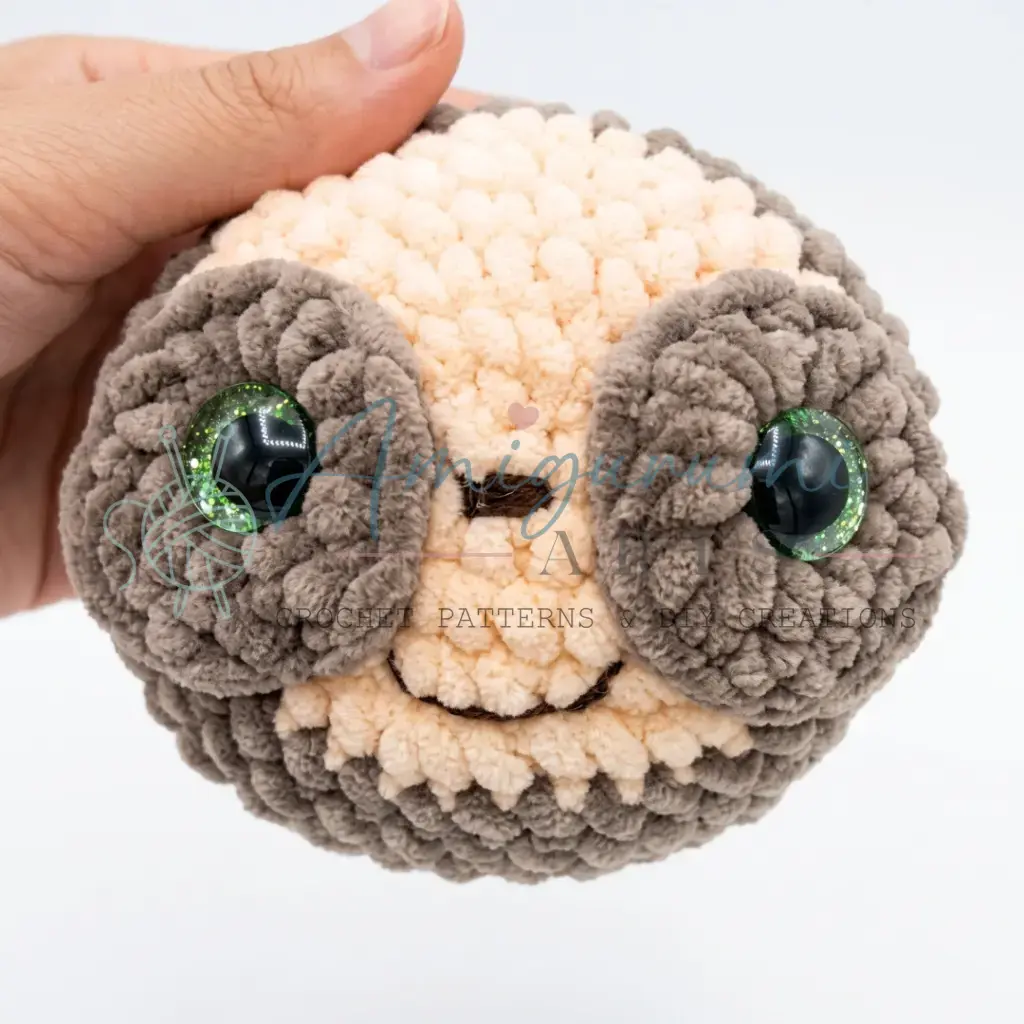
Sonya the Sloth is a beginner-friendly intermediate amigurumi project. She is characterized by a chunky, round face, a pale beige muzzle, and signature dark eye patches that give her an unforgettable sleepy expression. The pattern involves working with two different yarn types—plush yarn for the body and smooth yarn for the paws—and shaping an oval head. The character is built through careful needle and thread work before assembly, resulting in a high-quality finish.
Materials
- Yarn (main color): Plush/velvet-style yarn in gray or brown — approximately one full skein (e.g., Himalaya Dolphin Baby or YarnArt Dolce).
- Yarn (beige/cream): Plush yarn in beige — approximately 10 g, used for the lower face.
- Yarn (milk white): Semi-cotton or similar smooth yarn in off-white/milk — approximately 10 g (e.g., Kartopu Amigurumi K025), used for the paws.
- Hook sizes: Match to your yarn — typically a 3.5 mm (E-4) hook for the plush yarn and a 3.0 mm (D-3) hook for the smooth milk-white yarn.
- Safety eyes: 16 mm, 2 pieces.
- Stuffing: Polyester fiberfill, enough to firmly fill the head and body.
- Embroidery floss or fine yarn: Small amounts of brown (for nose and mouth) and white (for eye highlights), such as Kartopu Amigurumi or standard 6-strand floss.
- Yarn needle / tapestry needle.
- Scissors.
- Stitch markers.
Gauge and Finished Size
Gauge is not critical for amigurumi, but tighter tension creates a firmer fabric that hides stuffing better — aim for no visible gaps between stitches.
Abbreviations
- ch — Chain
- dc — Double Crochet
- dec — Invisible Decrease (insert hook through front loops of next 2 sts, pull up a loop, yarn over, pull through all 3 loops)
- hdc — Half Double Crochet
- inc — Increase (2 sc in the same stitch)
- MR — Magic Ring
- sc — Single Crochet
- sl st — Slip Stitch
Pattern Notes
This pattern is written in US crochet terminology. The head and body are worked in a continuous spiral — do not join or turn at the end of each round. Use a stitch marker to track the first stitch of each round. The eye patches are worked as small joined rounds (slip stitch to close) and finished flat. The paws are worked in a continuous spiral, beginning with smooth milk-white yarn and transitioning to the main-color plush yarn partway through. Stitch counts are given in parentheses at the end of each round: (12). Gauge is not critical for amigurumi, but tighter tension creates a firmer fabric that hides stuffing better — aim for no visible gaps between stitches. Insert safety eyes and attach the eye patches before closing the head — you will not be able to reach inside once the opening is too small. Stuff the head firmly before completing the final decrease rounds.
Pattern Instructions
Eye Patches (Make 2)
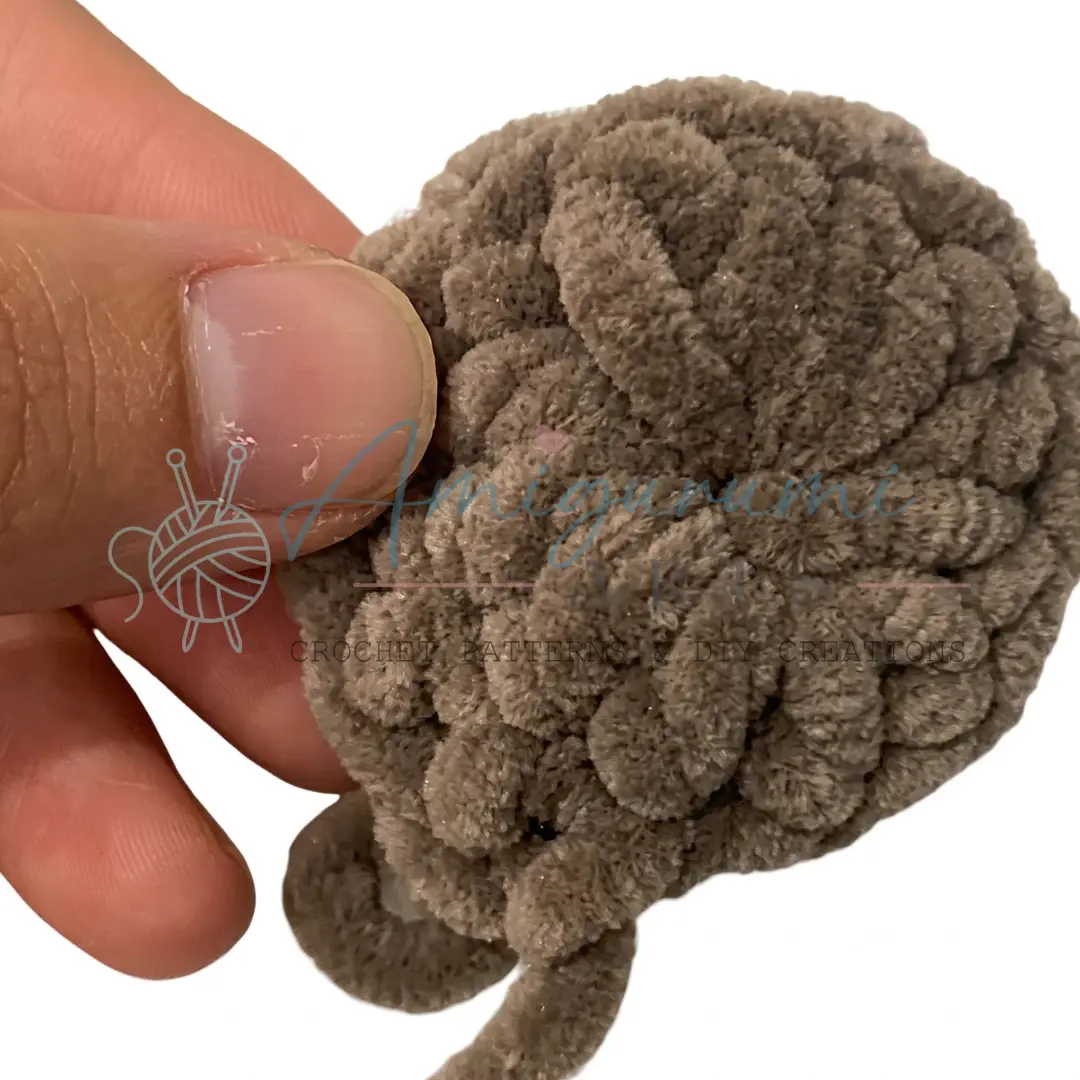
These small rounds create the dark, rounded patches that give Sonya her characteristic sleepy sloth face. Work them before beginning the head so they’re ready to attach at the right moment.
- Rnd 1: Ch 4, join with sl st to form a ring, ch 2 (counts as first hdc).
- Rnd 2: Work 12 hdc into the center of the ring. (12)
- Rnd 3: 6 sc, sl st to join. (6)
Fasten off and weave in ends.
Head
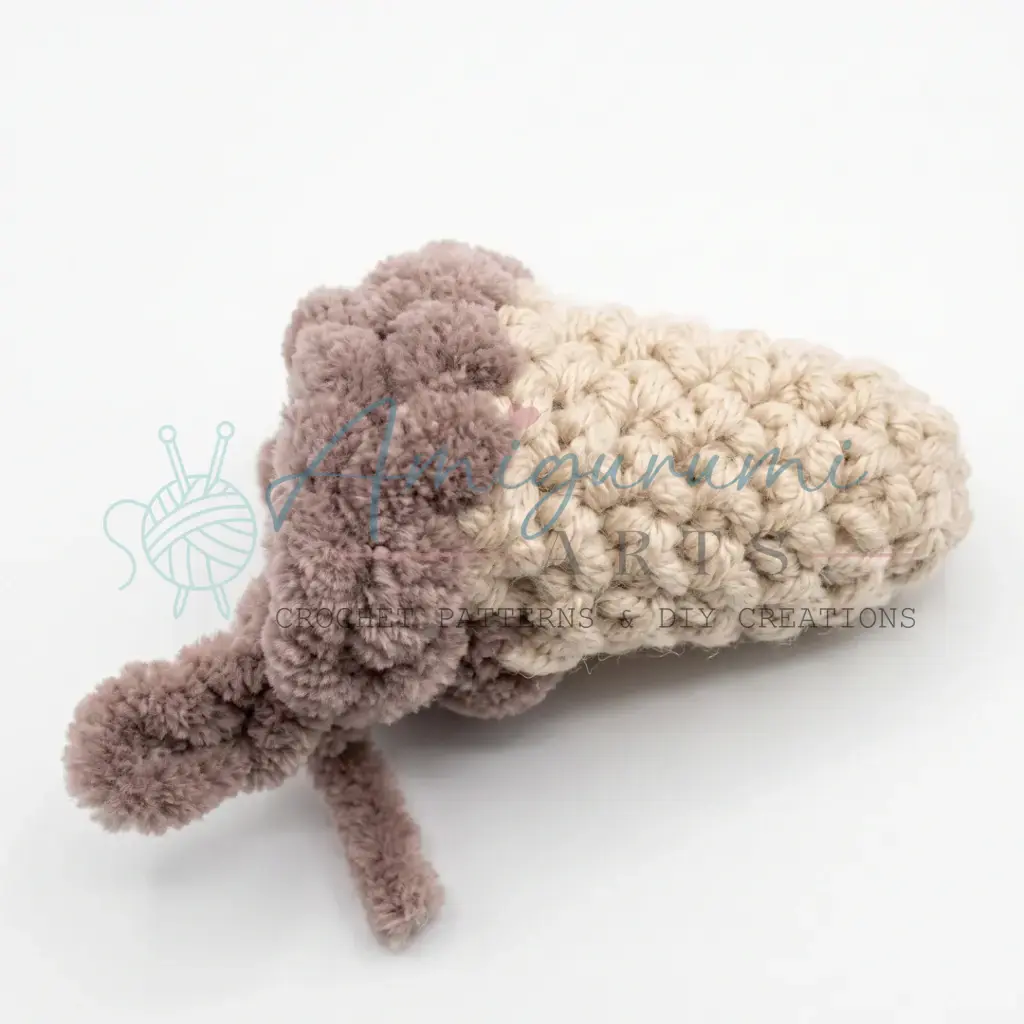
Begin with beige plush yarn. The head starts as an oval base worked from a foundation chain, then expands into a rounded shape. The lower portion (Rnds 1–5) is worked in beige; the upper portion switches to the main color.
- Rnd 1: Ch 6. Starting in the 2nd ch from hook: 4 sc across, 3 sc in the last ch (corner), then working back along the other side of the chain: 3 sc, inc in the final ch. (12)
- Rnd 2: inc, 3 sc, inc 3 times, 3 sc, inc 2 times. (18)
- Rnd 3: sc, inc, 3 sc, sc, inc repeat 3 times, 3 sc, inc, sc, inc. (24)
- Rnd 4: 2 sc, inc, 4 sc, 2 sc, inc repeat 3 times, 4 sc, inc, 2 sc, inc. (30)
- Rnd 5: 3 sc, inc, 5 sc, 3 sc, inc repeat 3 times, 5 sc, inc, 3 sc, inc. (36)
Switch to main-color plush yarn. To make the color transition less visible, work to a side section of the round before changing yarn.
- Rnds 6–9: sc in each st around. (36)
To keep the head oval rather than round, the decreases in the following rounds must be positioned along the sides. Keep the beginning of the round at the front center.
- Rnd 10: 3 sc, 3 sc, dec repeat 3 times, 3 sc, 3 sc, dec repeat 3 times. (30)
- Rnd 11: 3 sc, 2 sc, dec repeat 3 times, 3 sc, 2 sc, dec repeat 3 times. (24)
- Rnd 12: 3 sc, sc, dec repeat 3 times, 3 sc, sc, dec repeat 3 times. (18)
At this point, attach the eye patches and insert the safety eyes (see Face Details below). After completing the face, begin stuffing the head.
- Rnd 13: 3 sc, dec 3 times, 3 sc, dec 3 times. (12)
- Stuff firmly to the end.
- Rnd 14: dec 6 times. (6)
Fasten off, close the opening by pulling yarn through remaining stitches, and weave in the end securely.
Face Details
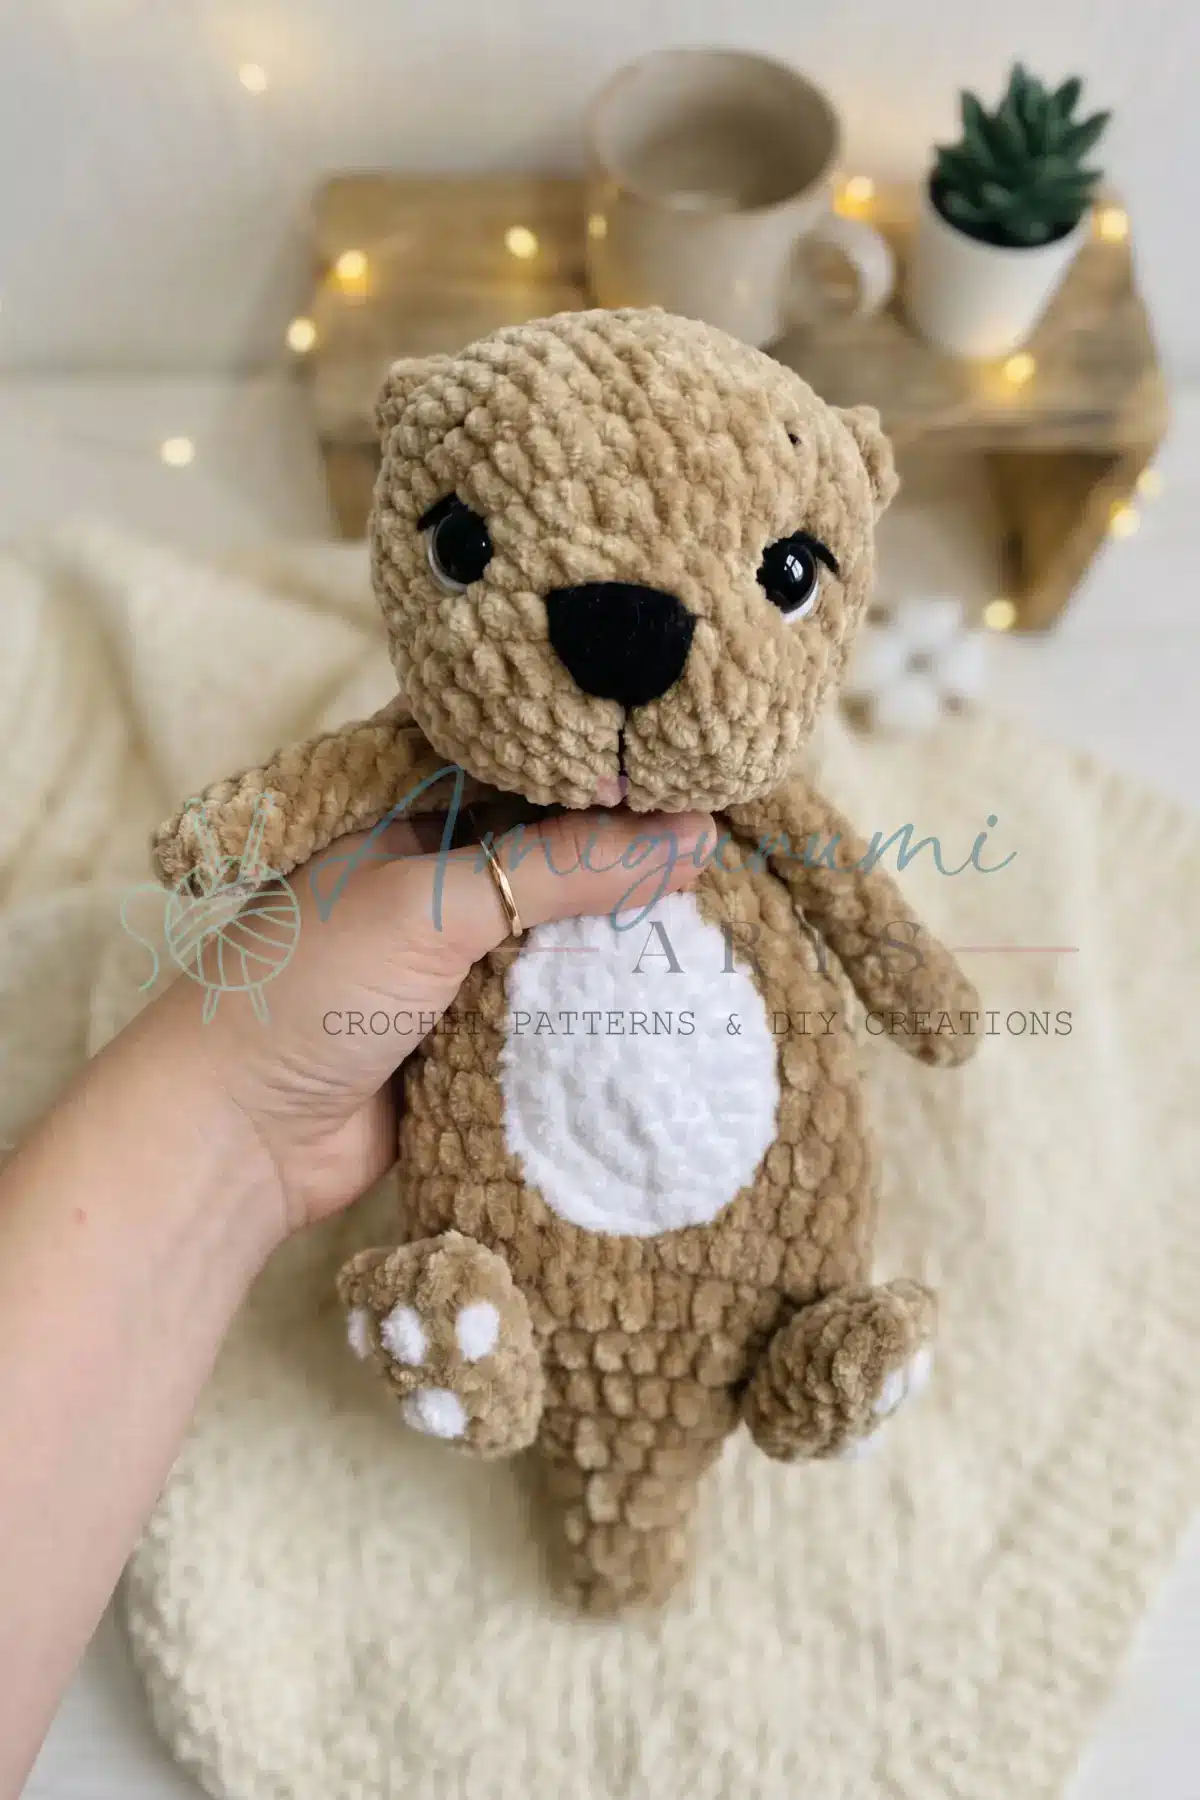
Complete this step between Rnds 12 and 13 of the Head.
- Position the eye patches so that the larger rounded hdc section faces upward and the flat sc edge sits at the bottom. Attach them at the level of Rnd 3 of the head, centered on the face.
- Insert the 16 mm safety eyes through the center of each patch, then snap the washers in place on the inside.
- Using yarn in a color that matches the main plush yarn, sew the eye patches down with a tapestry needle, stitching around the edges so they lie flat and flush.
- Using brown embroidery floss, embroider a small nose at the level of Rnd 2 of the face (just below the eye patches). Embroider the mouth at the level of Rnds 4–5 — a gentle curved line gives Sonya her signature drowsy smile. Finally, add small white highlights inside each eye using white embroidery floss.
Body
- Rnd 1: 6 sc in MR. (6)
- Rnd 2: inc in each st around. (12)
- Rnd 3: sc, inc repeat 6 times. (18)
- Rnd 4: 2 sc, inc repeat 6 times. (24)
- Rnd 5: 3 sc, inc repeat 6 times. (30)
- Rnd 6: 4 sc, inc repeat 6 times. (36)
- Rnds 7–8: sc in each st around. (36)
- Rnd 9: 12 sc, dec 6 times, 12 sc. (30)
- Rnd 10: sc in each st around. (30)
- Rnd 11: 3 sc, dec repeat 6 times. (24)
- Rnd 12: sc in each st around. (24)
- Rnd 13: 2 sc, dec repeat 6 times. (18)
- Rnd 14: sc in each st around. (18)
Begin stuffing the body.
- Rnd 15: sc, dec repeat 6 times. (12)
- Rnds 16–17: sc in each st around. (12)
- Rnd 18: dec 6 times. (6)
Fasten off, close the opening, and weave in the end.
Front Arms (Make 2)
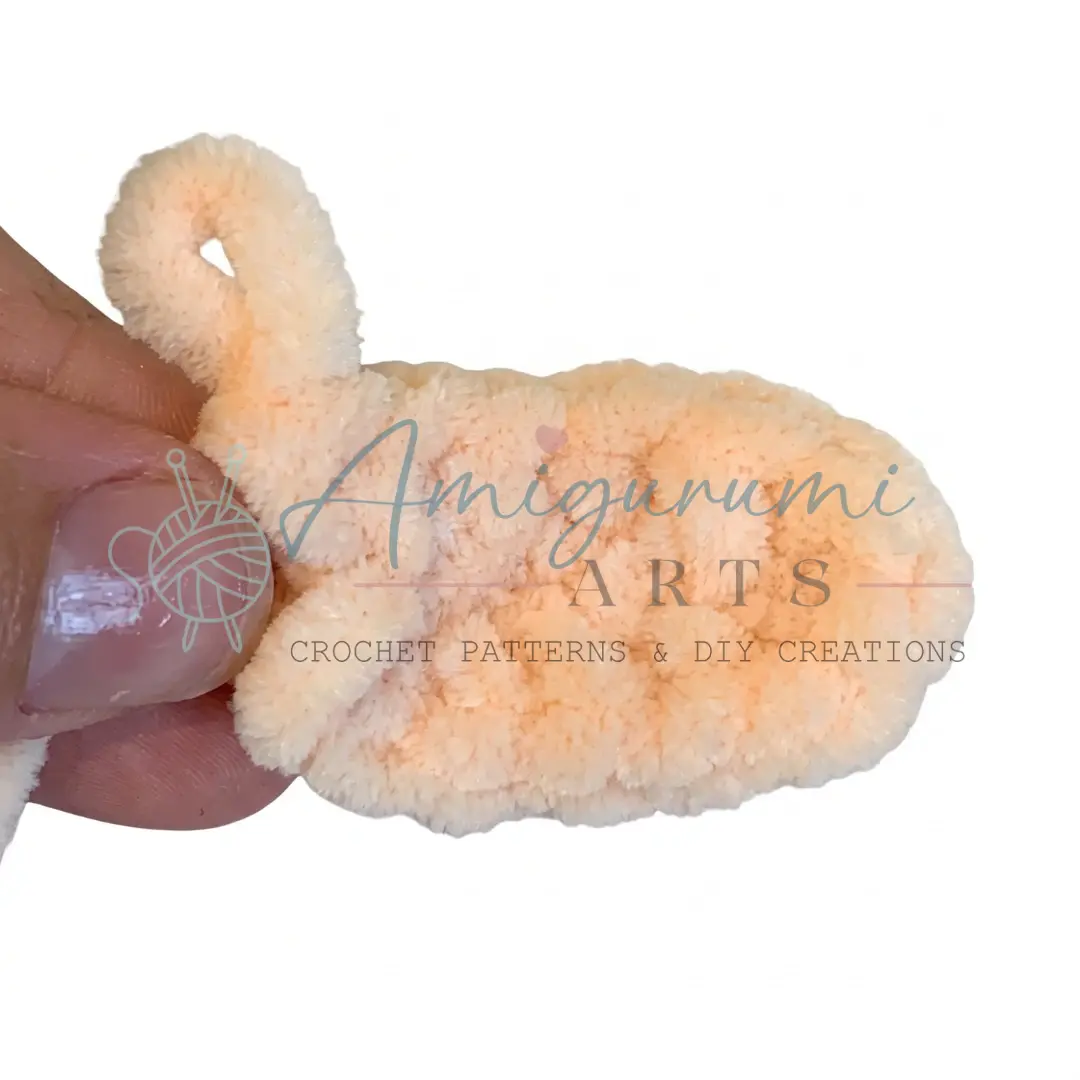
Begin with milk-white smooth yarn.
- Rnd 1: 6 sc in MR. (6)
- Rnd 2: sc in each st around. (6)
- Rnd 3: sc, inc repeat 3 times. (9)
- Rnds 4–5: sc in each st around. (9)
- Rnd 6: inc, 8 sc. (10)
- Rnds 7–8: sc in each st around. (10)
Switch to main-color plush yarn. Work the first round of the color change using the smaller hook (3.0 mm / D-3) so the tension matches the smooth yarn.
- Rnd 9: 3 sc, dec, 3 sc, dec. (8)
- Rnds 10–11: sc in each st around. (8)
- Rnd 12: inc, 3 sc, dec, 2 sc. (8)
- Rnd 13: 4 sc, dec, 2 sc. (7)
Stuff the paw lightly.
- Rnd 14: 5 sc, dec. (6)
- Rnd 15: inc, 4 sc, inc. (8)
- Rnd 16: sc, inc, 5 sc, inc. (10)
- Rnd 17: 9 sc, inc. (11)
- Rnds 18–20: sc in each st around. (11)
- Rnd 21: 3 sc, dec, 4 sc, dec. (9)
- Rnd 22: sc, dec repeat 3 times. (6)
Fasten off and close the opening.
Back Legs (Make 2)
Begin with milk-white smooth yarn.
- Rnd 1: 6 sc in MR. (6)
- Rnd 2: sc, inc repeat 3 times. (9)
- Rnds 3–5: sc in each st around. (9)
- Rnd 6: 2 sc, inc repeat 3 times. (12)
Note: the original stitch count at Rnd 6 reads (9) in the source, but the instruction “2 sc, inc × 3” starting from 9 stitches correctly yields 12. Rnds 7–9 continue at 12.
- Rnds 7–9: sc in each st around. (12)
- Rnd 10: 2 sc, dec repeat 3 times. (9)
- Rnd 11: sc in each st around. (9)
- Rnd 12: dec, 7 sc. (8)
- Rnd 13: dec, 6 sc. (7)
- Rnd 14: sc in each st around. (7)
- Rnd 15: inc, sc, inc, 4 sc. (9)
- Rnd 16: 2 sc, inc repeat 3 times. (12)
- Rnds 17–20: sc in each st around. (12)
- Rnd 21: 2 sc, dec repeat 3 times. (9)
Stuff the leg.
- Rnd 22: sc, dec repeat 3 times. (6)
Fasten off, close the opening, and weave in the end.
Assembly
Sew the head to the top of the body using the yarn tail and a tapestry needle. Use a whipstitch around the entire base of the head, pulling firmly so there is no gap between head and body. Attach the front arms to the body at the level of Rnd 17 of the body, one on each side. You can sew them on securely with a tapestry needle for a fixed pose, or use button joints for poseable arms — sew through both the arm and the body, back and forth several times, and finish off on the inside of the body. Attach the back legs at the level of Rnd 5 of the body, one on each side, using the same method as the arms. Weave in all remaining yarn ends.
Tips
- Work with tight tension throughout. Plush yarn is wonderfully forgiving, but it also hides gaps less predictably than smooth yarn. Keep your tension firm from the very first round — if stuffing peeks through anywhere, your hook size is too large for the yarn you’re using.
- Take your time at the yarn transition. Switching between smooth and plush yarn mid-piece is the trickiest step in this pattern. Make the switch mid-round rather than at the round’s start so the join is tucked into the side of the piece where it’s hardest to spot.
- Pin the eye patches before you sew. Before committing needle to yarn, hold the eye patches against the head and check their placement from every angle. Sonya’s expression lives entirely in the position of those patches — a few millimeters higher or lower changes her face completely.
- Stuff the head firmly but not rigidly. The head should feel solid when you squeeze it, but the plush fabric needs a little give so the embroidered nose and mouth sit naturally. Overstuffing causes the surface to pull tight and distort the face embroidery.
- Use matching yarn — not floss — to sew on the eye patches. The plush yarn texture means regular sewing thread or floss can cut through the fibers over time. A length of the main-color yarn on a tapestry needle gives you a nearly invisible join that’s also structurally secure.
FAQs
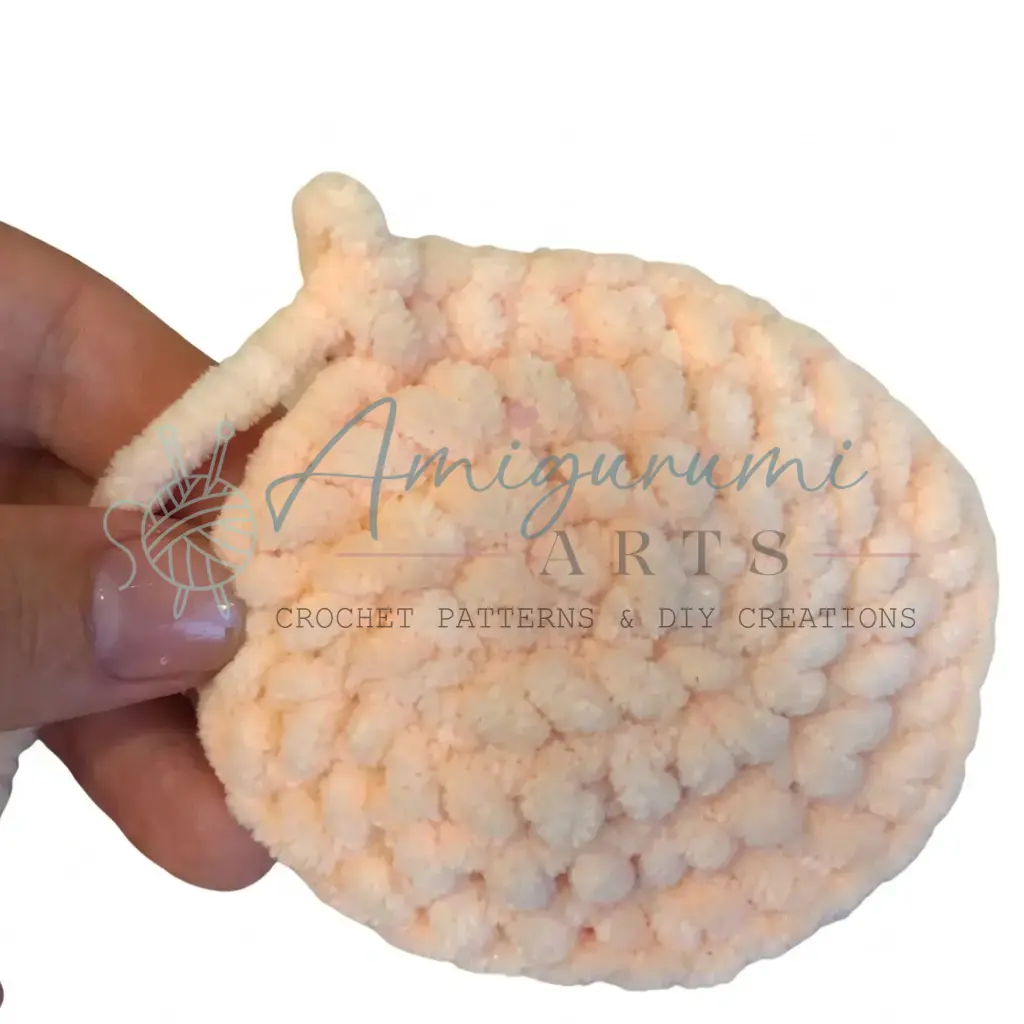
Can I use a different hook size?
It is recommended to use a 3.5 mm (E-4) hook for the plush yarn and a 3.0 mm (D-3) hook for the smooth milk-white yarn. Using a larger hook may result in loose tension and visible gaps where stuffing shows through.
How do I hide the yarn color change?
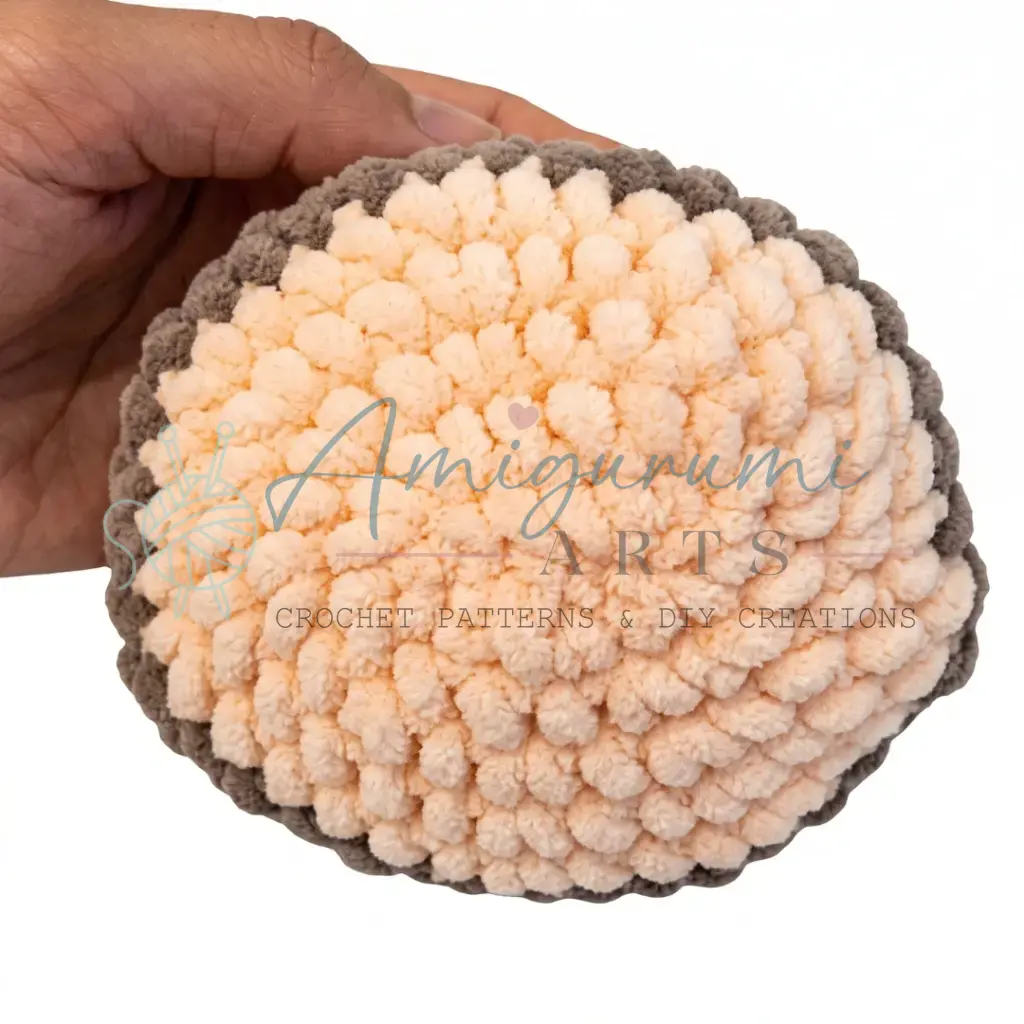
When switching from the smooth milk-white yarn to the main-color plush yarn on the arms, work the first round of the color change using the smaller hook. Additionally, try to make the switch mid-round rather than at the beginning of a round to tuck the join into the side of the piece.
When should I insert the safety eyes?
Insert the safety eyes and attach the eye patches between Rounds 12 and 13 of the Head. Once you proceed to Round 13 and stuff the head, the opening will be too small to reach inside for assembly.
What type of yarn is best for Sonya?
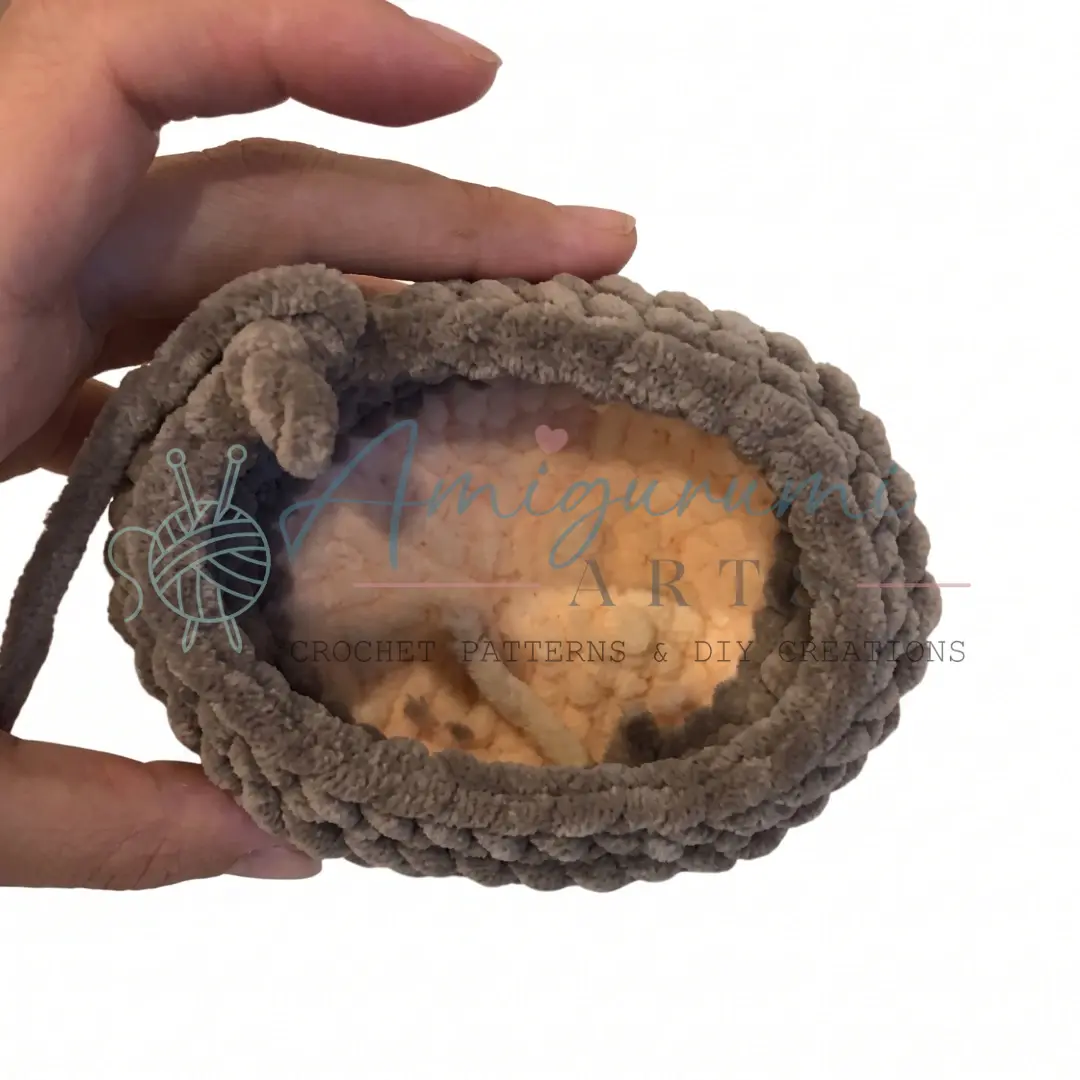
Plush or velvet-style yarns like Himalaya Dolphin Baby or YarnArt Dolce work best for the main body to achieve the signature soft, sleepy look. For the paws, a semi-cotton smooth yarn like Kartopu Amigurumi provides a nice textural contrast.
Can I make Sonya poseable?
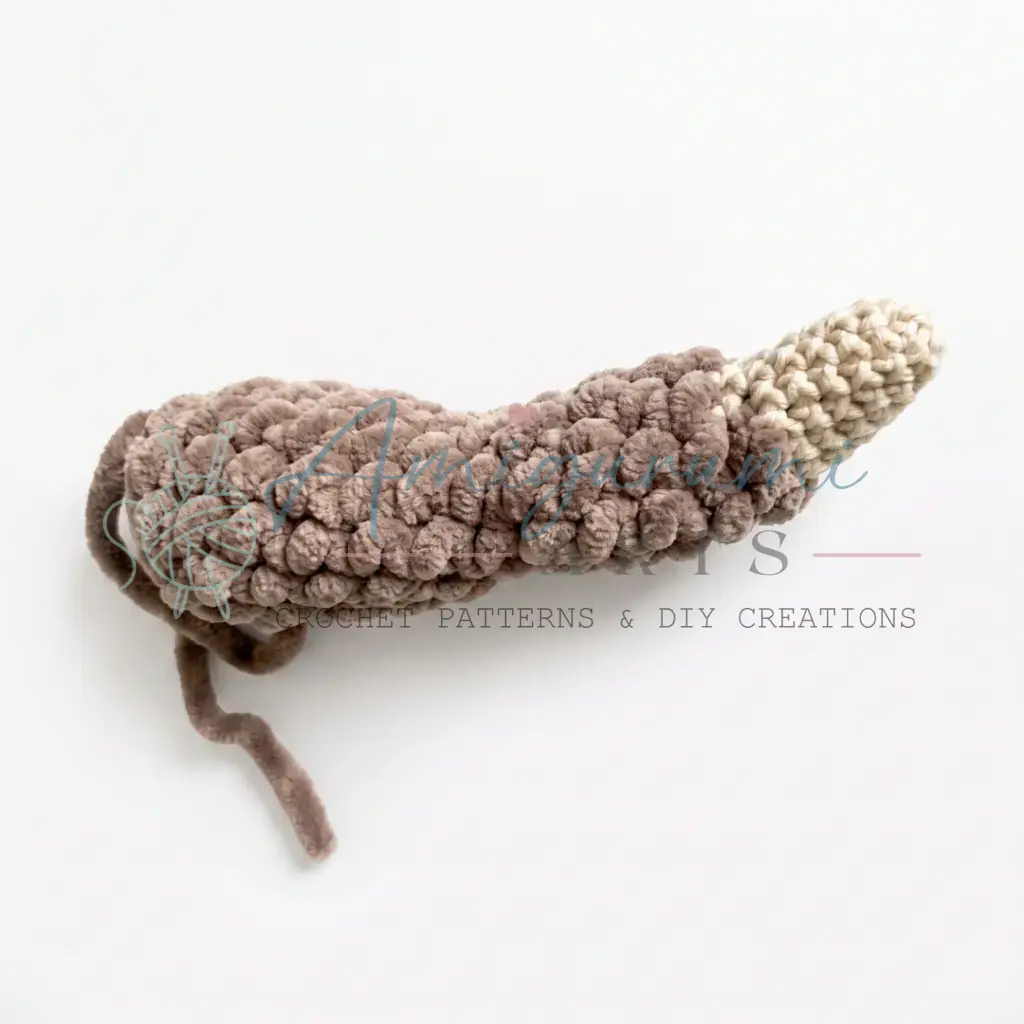
Yes. While the pattern suggests sewing the arms and legs on securely, you can use button joints for the arms to allow for poseable movement. Simply sew through both the arm and the body, back and forth several times, and finish off on the inside.
Pin This Crochet Pattern!