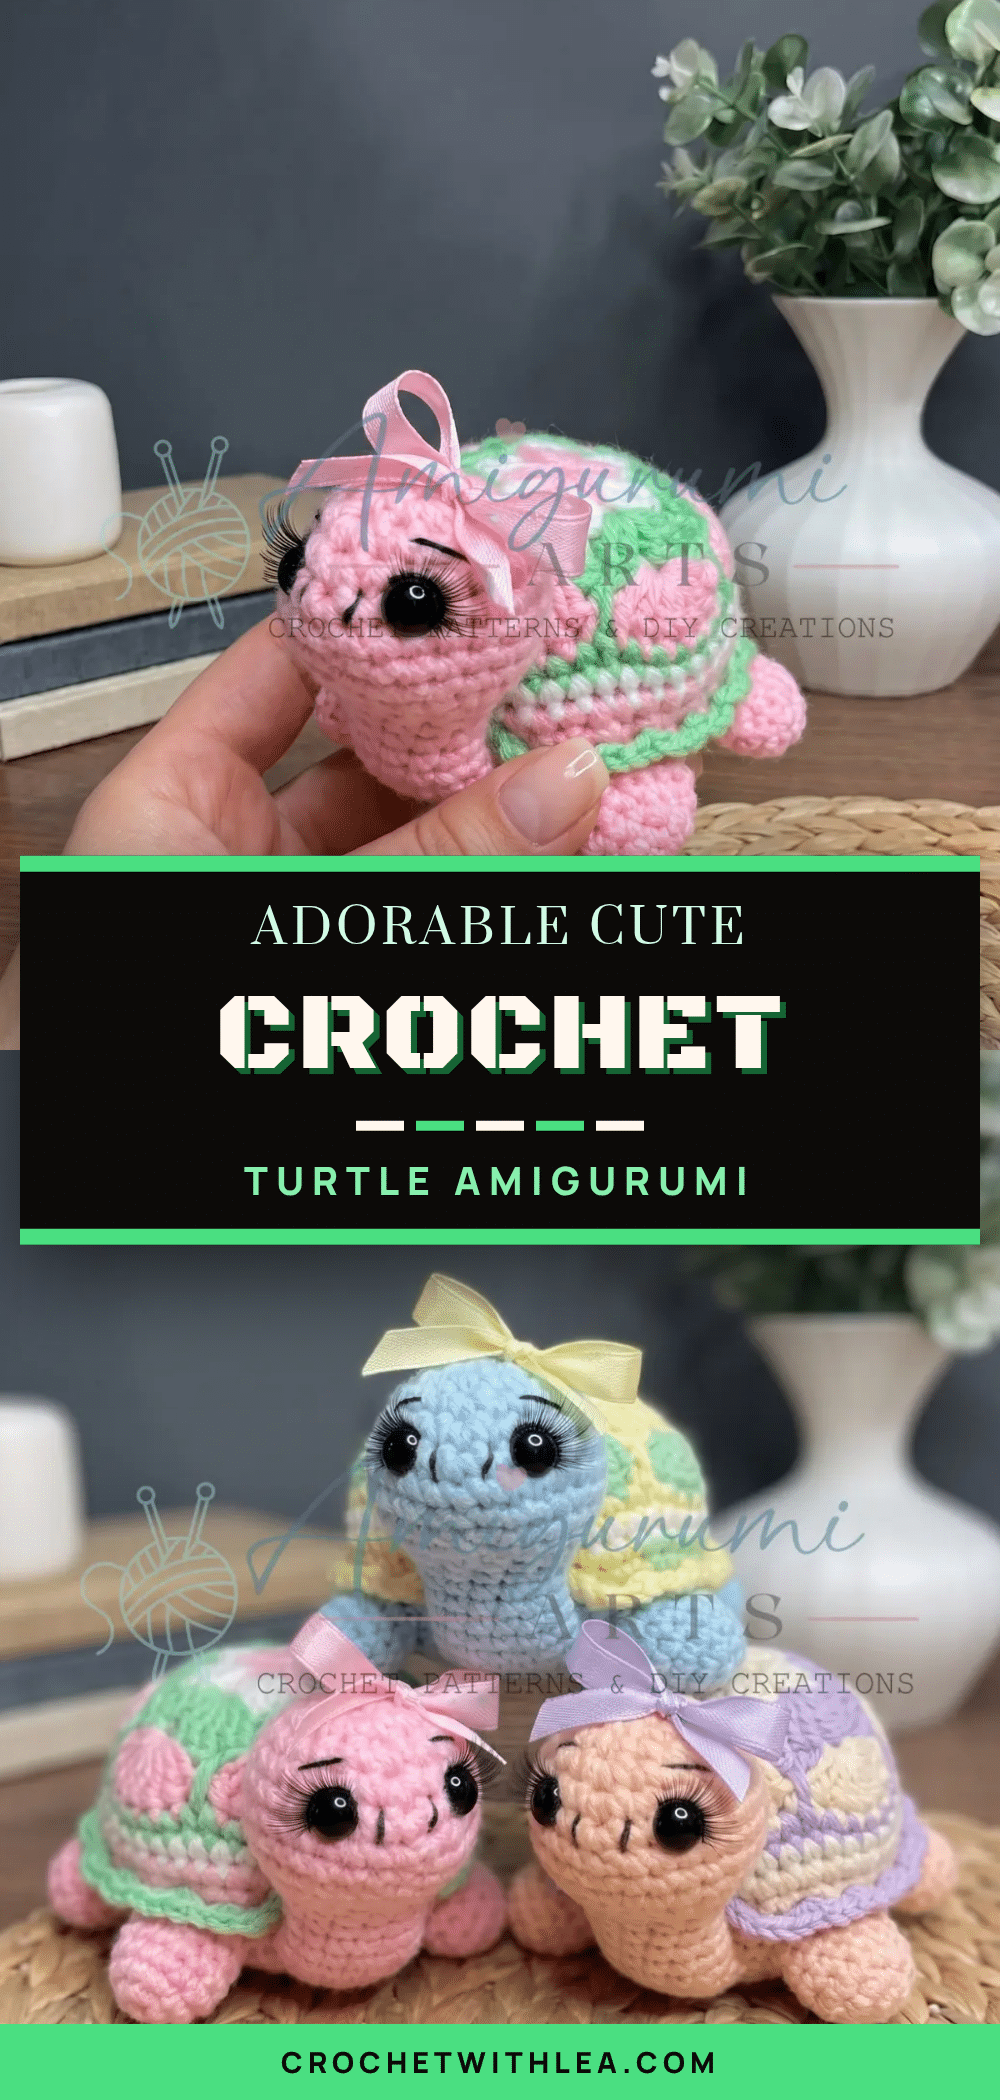
It is completely normal to worry that your first amigurumi project will end up looking lopsided or that the stuffing will peek through the stitches. You might even fear that the “pinch” technique required for the head will result in a crooked neck. But here is the good news: Tata the Turtle is designed to forgive those early learning curves. Her sturdy, round belly and the structural integrity of the African Flower shell provide a stable base that makes her incredibly approachable. Even if your tension isn’t perfect, the charm of her lifted-head pose and the texture of the shell ensure she turns out adorable every time.
Maker Notes
Tata is more than just a cute turtle; she is a canvas for your creativity. Because the pattern allows for any yarn weight and fiber composition, you can decide exactly how she feels and looks. Want a plush, cuddly companion? Use a bulky wool blend. Prefer a delicate, display-worthy piece? Opt for a finer cotton or acrylic. The shell is the star of the show, and the African Flower motif allows for endless color combinations. You can go for a traditional single-color shell for a clean, modern look, or mix multiple colors to create a vibrant, stained-glass effect that catches the light. Her personality is defined by that subtle upward tilt of the head, a detail that comes entirely from how you pinch and close the neck. Take your time with that step, and you will find she has a distinct character of her own.
Project Overview
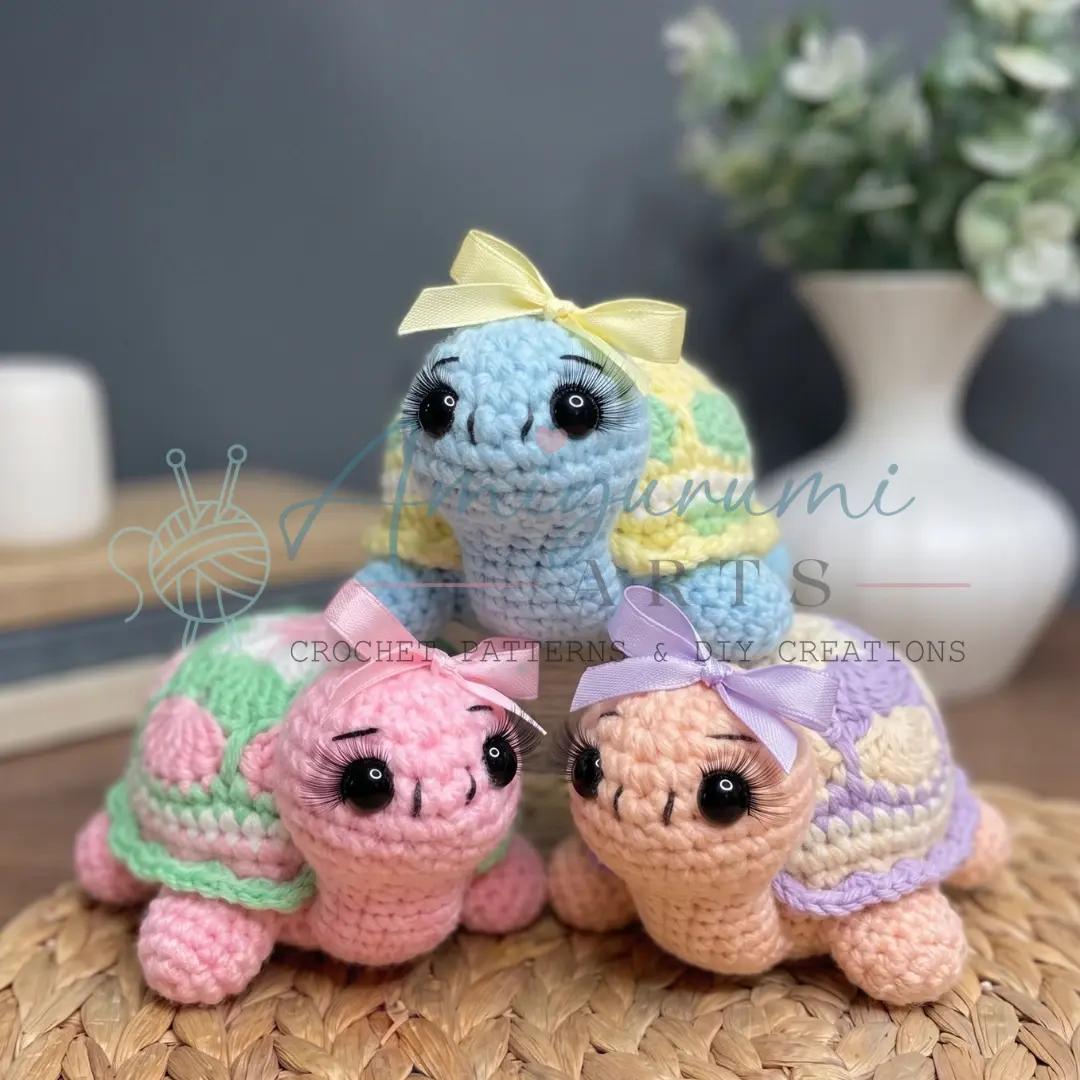
Tata the Turtle is a beginner-friendly amigurumi project that combines basic single crochet shaping with a classic African Flower motif for the shell. She features a round belly, a lifted head, and a patchwork-style shell. The pattern is written in US crochet terminology and is designed to be worked in continuous spirals. It is an excellent project for crocheters who are comfortable working in the round and want to move beyond simple spheres.
Materials
- Yarn: Any weight and fiber composition. Note that yarn thickness determines the finished size (lighter yarn = smaller turtle, bulkier yarn = larger turtle). You will need at least one main color for the belly and body parts, and one or more contrasting colors for the shell (optional).
- Hook: A hook appropriate for your yarn weight (typically one size smaller than the yarn label recommends to ensure tight fabric).
- Safety Eyes: 6 mm diameter, 2 pieces (or substitute with beads, half-beads, or buttons).
- Stuffing: Polyester fiberfill.
- Stitch Markers: 1–2 markers to track the beginning of each round.
- Yarn Needle / Tapestry Needle: For weaving in ends and sewing.
- Black Sewing Thread: For embroidering eyebrows and the nose.
- Sewing Needle: For assembly.
- Scissors.
- Optional: A small ribbon or bow for decoration.
Gauge and Finished Size
Gauge is not critical for this project. Your finished size will scale naturally with your chosen yarn weight and hook size. Stitch counts are provided at the end of each round in parentheses to help you maintain the correct shape.
Abbreviations
- ch — Chain
- dc — Double Crochet
- dec — Invisible Decrease (insert hook through front loop of next 2 sts, yo, pull through both loops, yo, pull through remaining 2 loops)
- inc — Increase (2 sc in the same stitch)
- MR — Magic Ring
- sc — Single Crochet
- sl st — Slip Stitch
- st / sts — Stitch / Stitches
Pattern Notes
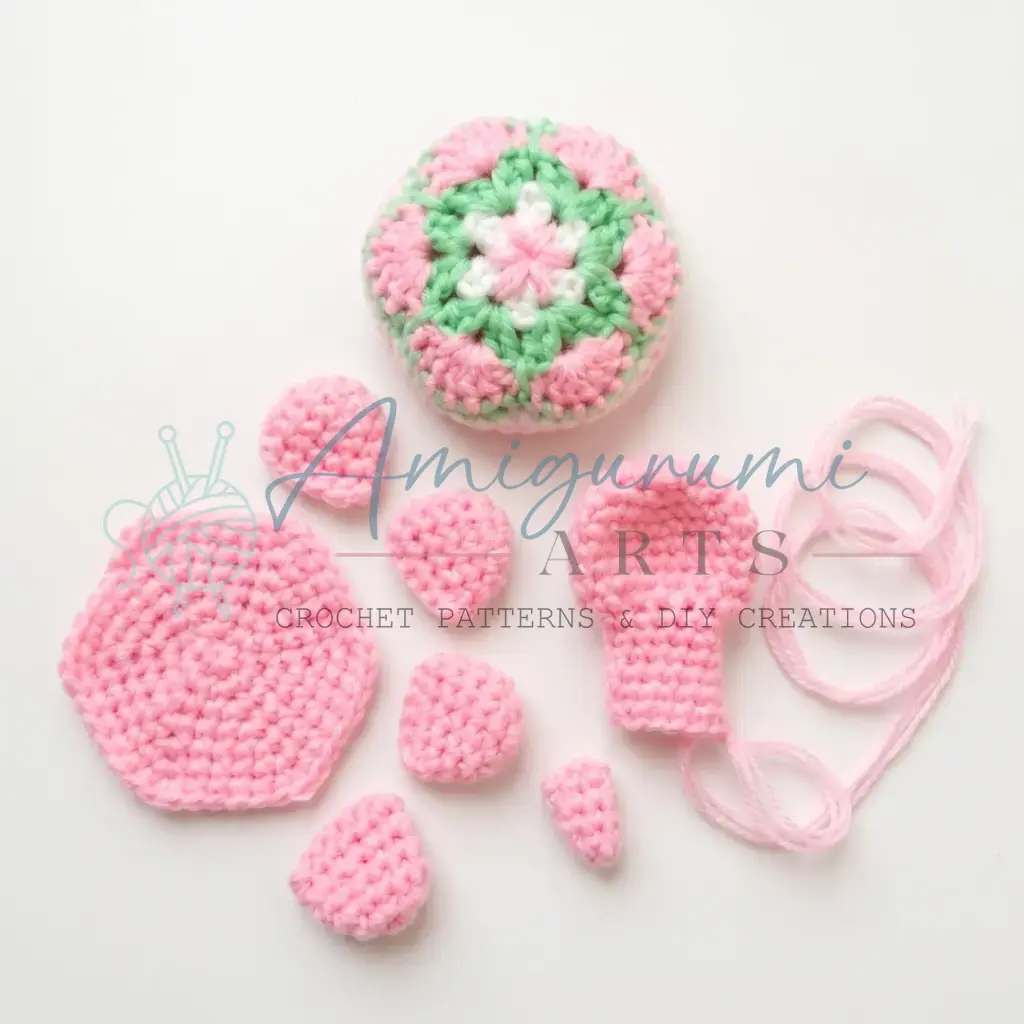
- All components are worked in a continuous spiral; do not join at the end of each round unless specified.
- Use a stitch marker to track the first stitch of each round.
- The Shell is worked as an African Flower motif. It can be crocheted in a single color or multiple colors for a patchwork effect.
- The Head is stuffed firmly through the face portion, then very loosely through the neck section. The neck is pinched flat and closed to create Tata’s characteristic lifted-head pose.
- Legs and the Tail are pinched flat at the open end and closed by crocheting through both layers; no separate seaming is needed.
- Insert safety eyes and embroider facial details (eyebrows and nose) before sewing the head closed and before final assembly.
Pattern Instructions
Shell (Make 1)
The Shell is worked from a diagram based on the African Flower motif. Work the motif in your chosen color or colors. This is a motif worked in joined rounds from a central ring outward. Follow your African Flower diagram, joining each round with a sl st and beginning each new round with the appropriate starting ch.
Once the motif is complete, work a border round of small shell stitches (3 dc in each ch-sp around) or any edging of your choice. Fasten off and weave in the ends.
Belly (Make 1)
- Rnd 1: 6 sc in MR. (6)
- Rnd 2: inc in each st around. (12)
- Rnd 3: sc, inc repeat 6 times around. (18)
- Rnd 4: 2 sc, inc repeat 6 times around. (24)
- Rnd 5: 3 sc, inc repeat 6 times around. (30)
- Rnd 6: 4 sc, inc repeat 6 times around. (36)
- Rnd 7: 5 sc, inc repeat 6 times around. (42)
Fasten off, leaving a long yarn tail for assembly.
Head (Make 1)
- Rnd 1: 6 sc in MR. (6)
- Rnd 2: inc in each st around. (12)
- Rnd 3: sc, inc repeat 6 times around. (18)
- Rnd 4: 2 sc, inc repeat 6 times around. (24)
- Rnds 5–8: sc in each st around. (24)
- Rnd 9: dec 12 times around. (12)
- Rnds 10–16: sc in each st around. (12)
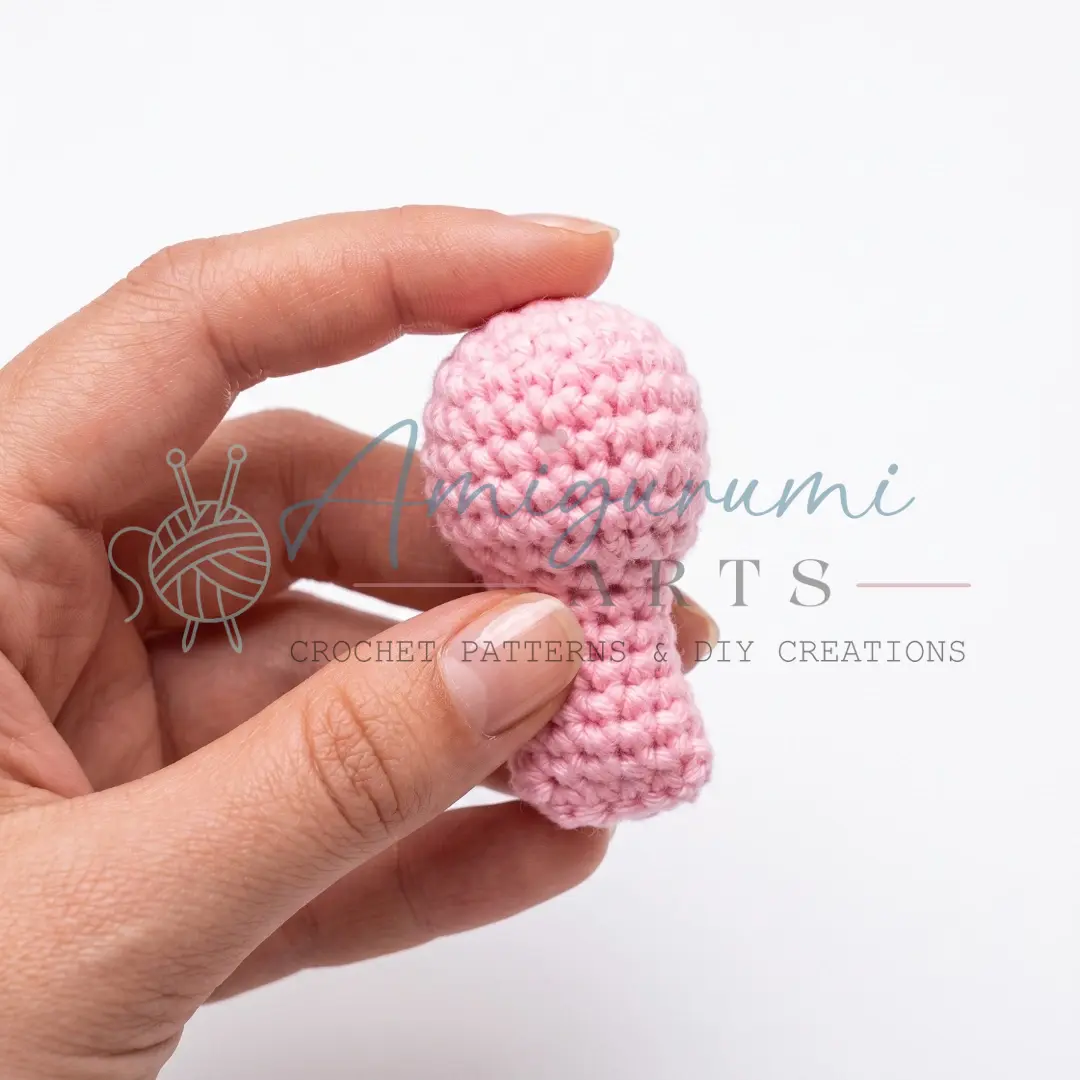
Stuff the face portion of the head firmly with fiberfill. Stuff the neck section (Rnds 10–16) very loosely—it needs to remain flexible. Pinch the neck flat with your fingers and close the opening by crocheting or whipstitching across the flattened edge. Attach safety eyes and embroider the nose and eyebrows before closing the neck.
Legs (Make 4)
- Rnd 1: 6 sc in MR. (6)
- Rnd 2: inc in each st around. (12)
- Rnds 3–5: sc in each st around. (12)
Do not stuff. Pinch the open end flat with your fingers and close the opening by crocheting across the flattened edge, working through both layers.
Tail (Make 1)
- Rnd 1: 6 sc in MR. (6)
- Rnds 2–4: sc in each st around. (6)
Do not stuff. Pinch the open end flat and close by crocheting across the flattened edge, working through both layers.
Assembly
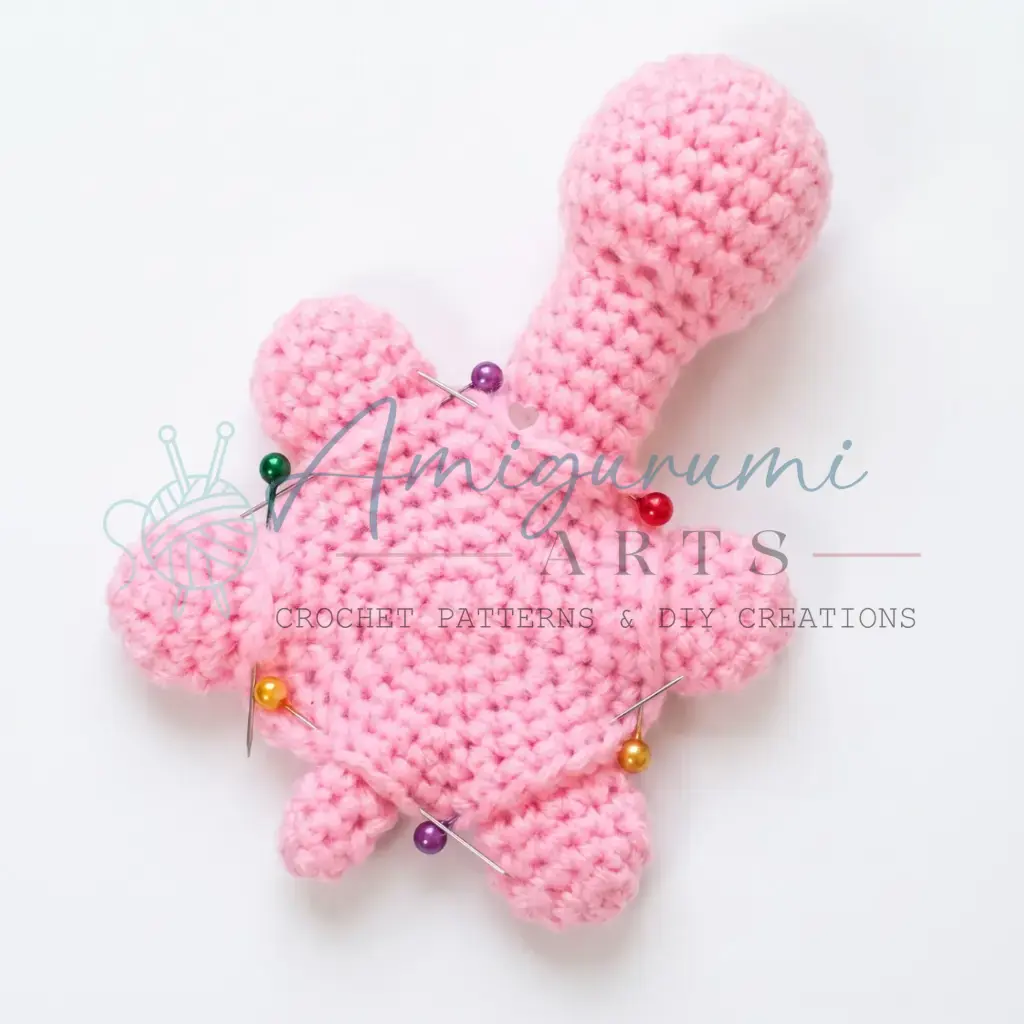
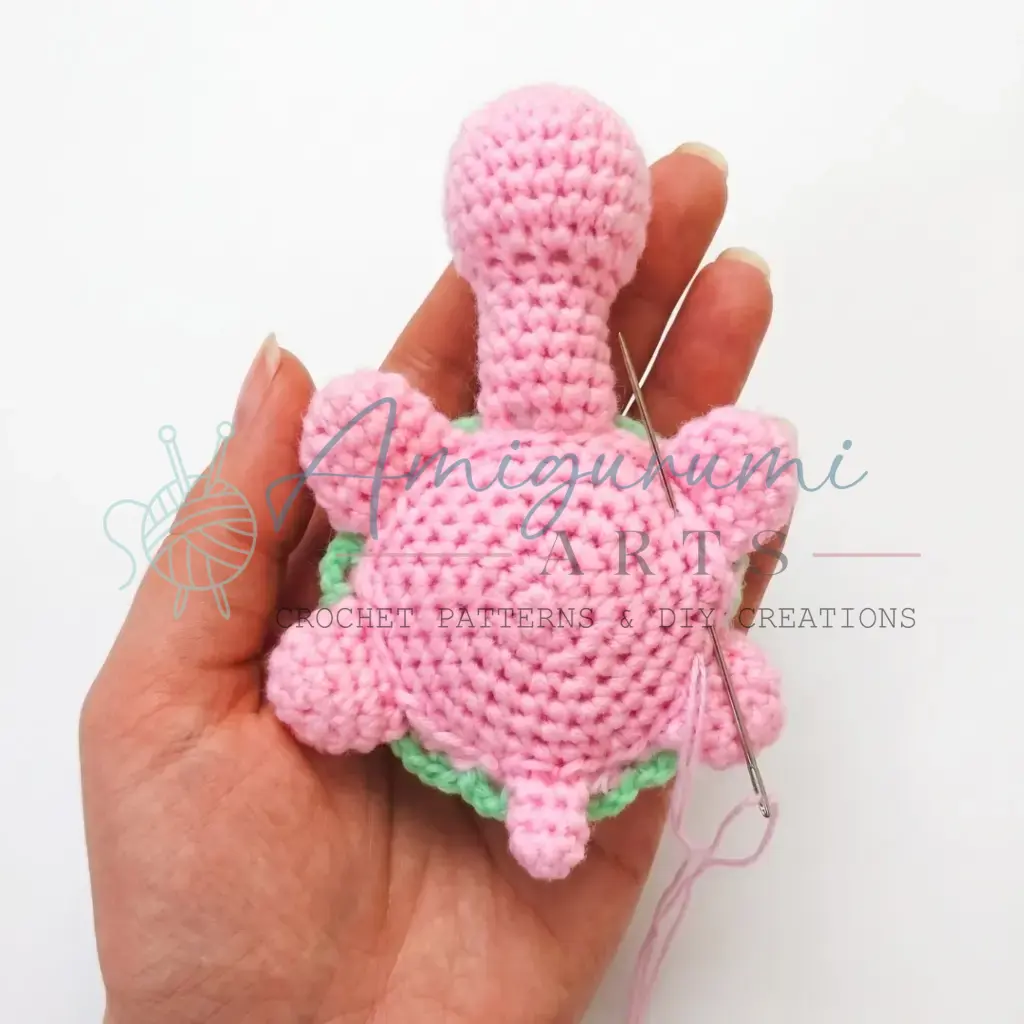
- Use pins to position all pieces on the Belly before sewing anything permanently. Place the four Legs evenly around the outer edge, the Head at the front, and the Tail at the back.
- Sew each Leg securely to the Belly using your yarn needle and the long tail left at fastening off. Use a whipstitch and pull snugly so there is no gap between the leg and the belly.
- Sew the Tail to the back of the Belly in the same manner.
- Sew the Head to the front of the Belly, leaving it slightly raised rather than flat. This gives Tata her characteristic upward gaze.
- Place the Shell (African Flower motif) on top of the assembled body, aligning it centrally over the Belly. Pin it in place, paying close attention to the decorative edge details.
- Before sewing the Shell down completely, stuff the body cavity firmly with fiberfill through the gap between the Shell and the Belly.
- Sew the Shell to the Belly all the way around, closing the opening as you go.
- Once the Shell is secured, tilt the Head upward slightly so it rests against the underside of the Shell edge and stitch it in that lifted position for Tata’s classic pose.
- Use your sewing needle and black thread to sculpt a small dimple for the mouth by taking a stitch through the head and pulling gently.
- Embroider the eyebrows and nose with short straight stitches.
- If you haven’t already, attach the safety eyes by pressing the posts through the fabric at your chosen position and securing the washers on the inside.
- Tie a small ribbon into a bow and stitch or tie it onto Tata’s head or neck as a finishing touch.
- Weave in all remaining yarn ends.
Tips & Tricks
- Go down a hook size: Amigurumi looks best—and holds its stuffing best—when there are no visible gaps between stitches. If you can see the fiberfill peeking through, switch to a smaller hook. A snug fabric also helps Tata hold her shape over time.
- The neck pinch is key: Don’t rush Rnds 10–16 on the Head. Stuff the face firmly, then keep the neck almost empty so it collapses naturally when pinched. When you flatten and close it, angle the head slightly upward before fastening off. That subtle tilt is what makes her look curious and alive.
- Pin before you sew: Because Tata has six separate pieces to attach (four legs, one head, one tail), it’s worth taking two minutes to pin everything in place and step back before committing with your needle. Symmetry in the legs especially makes a big difference in how the finished turtle sits.
- Closing the legs and tail flat: When you pinch these pieces and crochet through both layers to close them, insert your hook through one stitch from the front layer and the corresponding stitch from the back layer simultaneously. Work sc across. This creates a clean, invisible seam that doubles as the flat base of each limb.
- African Flower shell color combinations: If you’re using multiple colors, plan them before you begin. Working each round or section in a different color creates a stained-glass effect; keeping the outer ring one solid color ties the whole shell together neatly. Weave in ends as you go on this piece—it has the most ends of any component.
Frequently Asked Questions
Can I use a different hook size than recommended?
Yes, but keep in mind that the hook size directly affects the tightness of your fabric. Using a hook that is too large may result in gaps where stuffing can escape. For the best results, use a hook one size smaller than recommended for your yarn weight to ensure tight stitches.
Do I have to use an African Flower motif for the shell?
The pattern specifies an African Flower motif, but you can adapt the shell to any shape or motif you prefer. However, the African Flower provides a structured, hexagonal shape that mimics a turtle shell well. If you change the motif, adjust the assembly steps to ensure it fits securely over the belly.
How do I make the neck stay in the lifted position?
The lifted pose is achieved by stuffing the neck section very loosely and then pinching it flat. When you crochet or whipstitch across the flattened neck, ensure you are angling the head slightly upward. The lack of stuffing in the neck allows it to bend, while the tight closing keeps the shape in place.
Can I use buttons instead of safety eyes?
Yes, you can substitute safety eyes with beads, half-beads, or buttons. If using buttons, you will need to sew them on securely. Ensure they are age-appropriate and safe for the intended recipient.
Why are the legs and tail pinched flat?
Pinching the legs and tail flat creates a stable base that allows the turtle to sit upright. By crocheting through both layers of the pinched fabric, you create a seamless, flat bottom without needing to add separate flat pieces.
Pin This Crochet Pattern!